If you just installed WordPress and chose the GeneratePress theme, your site probably looks super plain right now. No design, no structure, just a basic blog layout. But don’t worry, because in this beginner-friendly tutorial, I’ll walk you through exactly how to customize your WordPress site using GeneratePress.
By the end, you’ll have a fast, clean, and polished website that looks great and works well even if you’ve never touched a line of code. Plus, I’ll show you how to use GenerateBlocks to build custom sections on your homepage without any page builders slowing your site down. Let’s get in.
Step 1: Hosting and Theme Setup
Before we touch the design, let’s make sure your setup is right. If you haven’t installed WordPress yet, I recommend using Hostinger. It’s affordable, super fast, and works perfectly with GeneratePress. Plus, you’ll get a free domain and SSL.
Once your WordPress install is ready, go to Appearance > Themes > Add New, search for “GeneratePress,” and click Install, then Activate. If you want even more control over layout and design, you can upgrade to GeneratePress Premium. But for this tutorial, we’re sticking with the free version and GenerateBlocks.
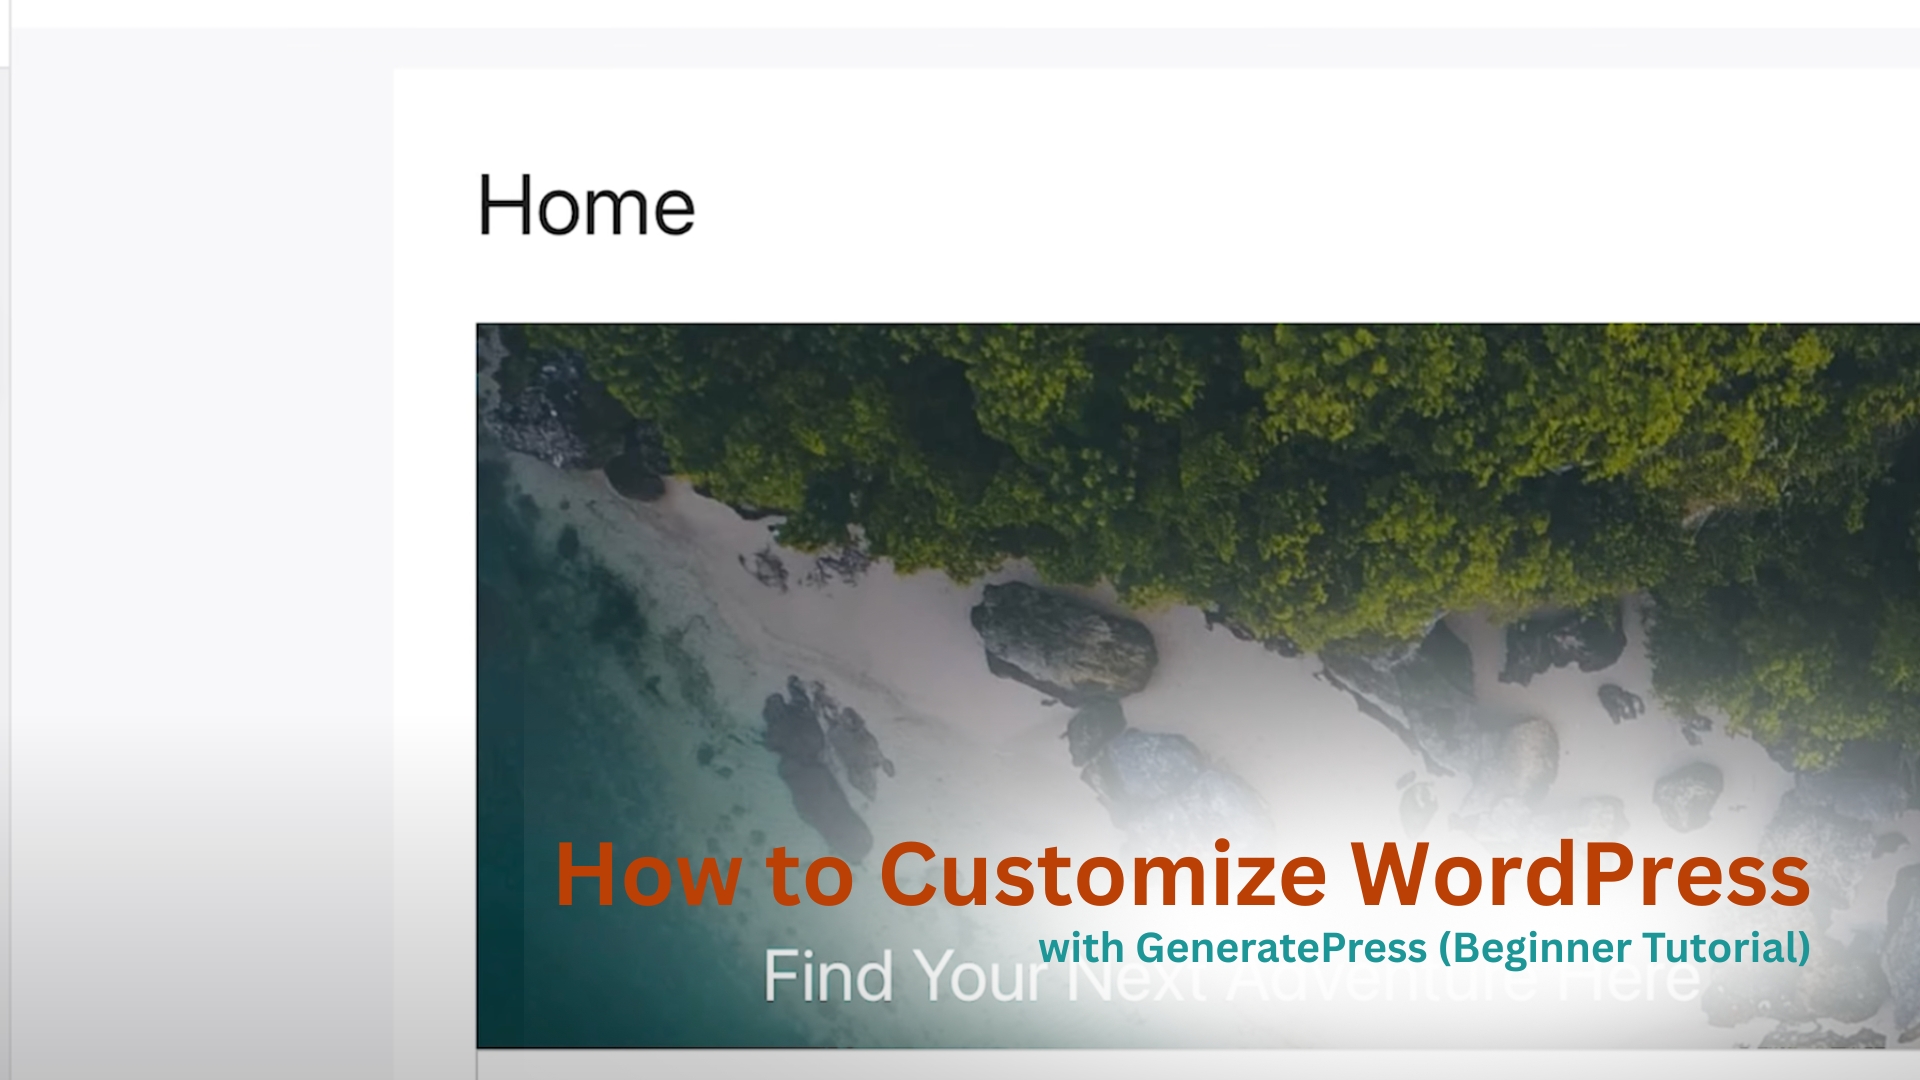
Step 2: Create a Custom Homepage
Out of the box, WordPress shows your latest blog posts on the homepage. That’s fine for some sites, but if you want a structured layout, you’ll want to create a custom homepage. Go to Pages > Add New, and name the page something like “Home.” You don’t need to add anything yet. Click Publish. Then go to Settings > Reading, and under Your homepage displays, select “A static page.” Set your homepage to the page you just created. Now we’re ready to build.
Step 3: Customize the Header
Head to Appearance > Customize to open the visual customizer.
Under Site Identity:
- Change your Site Title and Tagline to match your brand.
- If you have a logo, upload it here.
- Add a site icon (favicon) if you want.
If you don’t have a logo yet, just use the site title for now. Keep it clean and readable.
Step 4: Tweak Your Typography
Still inside the customizer, go to Typography.
Here’s where you’ll:
- Change the font family to something more modern (like Inter or Open Sans).
- Adjust font weights for headings and body text.
- Increase the menu font size so it’s easier to read.
A simple font update can make your site feel way more professional with zero design skills needed.
Step 5: Set a Unified Layout
By default, GeneratePress uses “separate containers,” which adds extra padding between the header, content, and footer. We’re going to unify that layout. In the customizer, go to
Layout > Container and switch to One Container. This removes the boxy look and gives your site a smooth flow from top to bottom. While you’re here, go to Colors > Background and set the site background to pure white (#ffffff) to keep things clean.
Step 6: Choose to Keep or Remove the Sidebar
Depending on your content, you may want a sidebar or not.
Go to Layout > Sidebars, and choose “No Sidebar” if you want a full-width design. If you keep it, you’ll want to clean it up in a later step.
Step 7: Install GenerateBlocks
Now it’s time to actually build your homepage. For that, we’ll use a free plugin called GenerateBlocks. It works perfectly with GeneratePress and adds powerful layout blocks to the Gutenberg editor.
Go to Plugins > Add New, search for “GenerateBlocks,” and install it.
Once active, go to Pages > Home, and click Edit.
Step 8: Add Homepage Sections
Now we’re building. Inside the homepage editor:
- Add a Container block.
- Inside that container, add a Headline block. Write a welcome message like “Welcome to My Blog.”
- Add a Separator under the heading to break up sections visually.
Next, create a Recent Posts section using the Query Loop block (this comes with WordPress). Set it to show the latest blog posts in a grid layout. You can choose how many posts, how many columns, and what content shows.
Repeat this for a second section called “You Might Like” or “Trending Posts,” using different categories or filters. Add one final container with a CTA like a link to your About page or newsletter.
Step 9: Clean Up the Sidebar (If You Kept It)
If you chose to keep the sidebar, go to Appearance > Widgets.
Remove any default widgets you don’t need, like archives or meta. Keep it clean with only the essentials: maybe a search bar, recent posts, and a signup form.
Step 10: Final Tweaks and Publish
Before you finish:
- Preview your site on mobile and tablet.
- Make sure the text is readable and the layout adjusts properly.
- Check links, headings, and image loading speed.
Once everything looks good, hit Publish.
Final Thoughts
GeneratePress is lightweight, fast, and super customizable even without touching any code. And when you combine it with GenerateBlocks, you can build pretty much any layout you want, all inside the block editor. This setup gives you a clean foundation that you can grow with over time. Whether you’re starting a blog, building a niche site, or launching a personal brand, this stack is perfect for beginners.