If you’re launching a personal brand, side hustle, or online service, a one-page website is often all you need. It’s clean, fast to build, and gets straight to the point. And with Squarespace, you don’t need design skills or coding experience to make one that looks professional.
In this guide, I’ll show you exactly how to build a one-page website with Squarespace, from picking a template to customizing each section. You’ll have everything you need to go live today. Let’s get in.
Step 1: Start Your Free Trial
Go to squarespace.com and click “Get Started.” You’ll be asked a few quick questions about your site goals. Choose whatever fits best, like “personal site”, “consulting”, or “portfolio.”

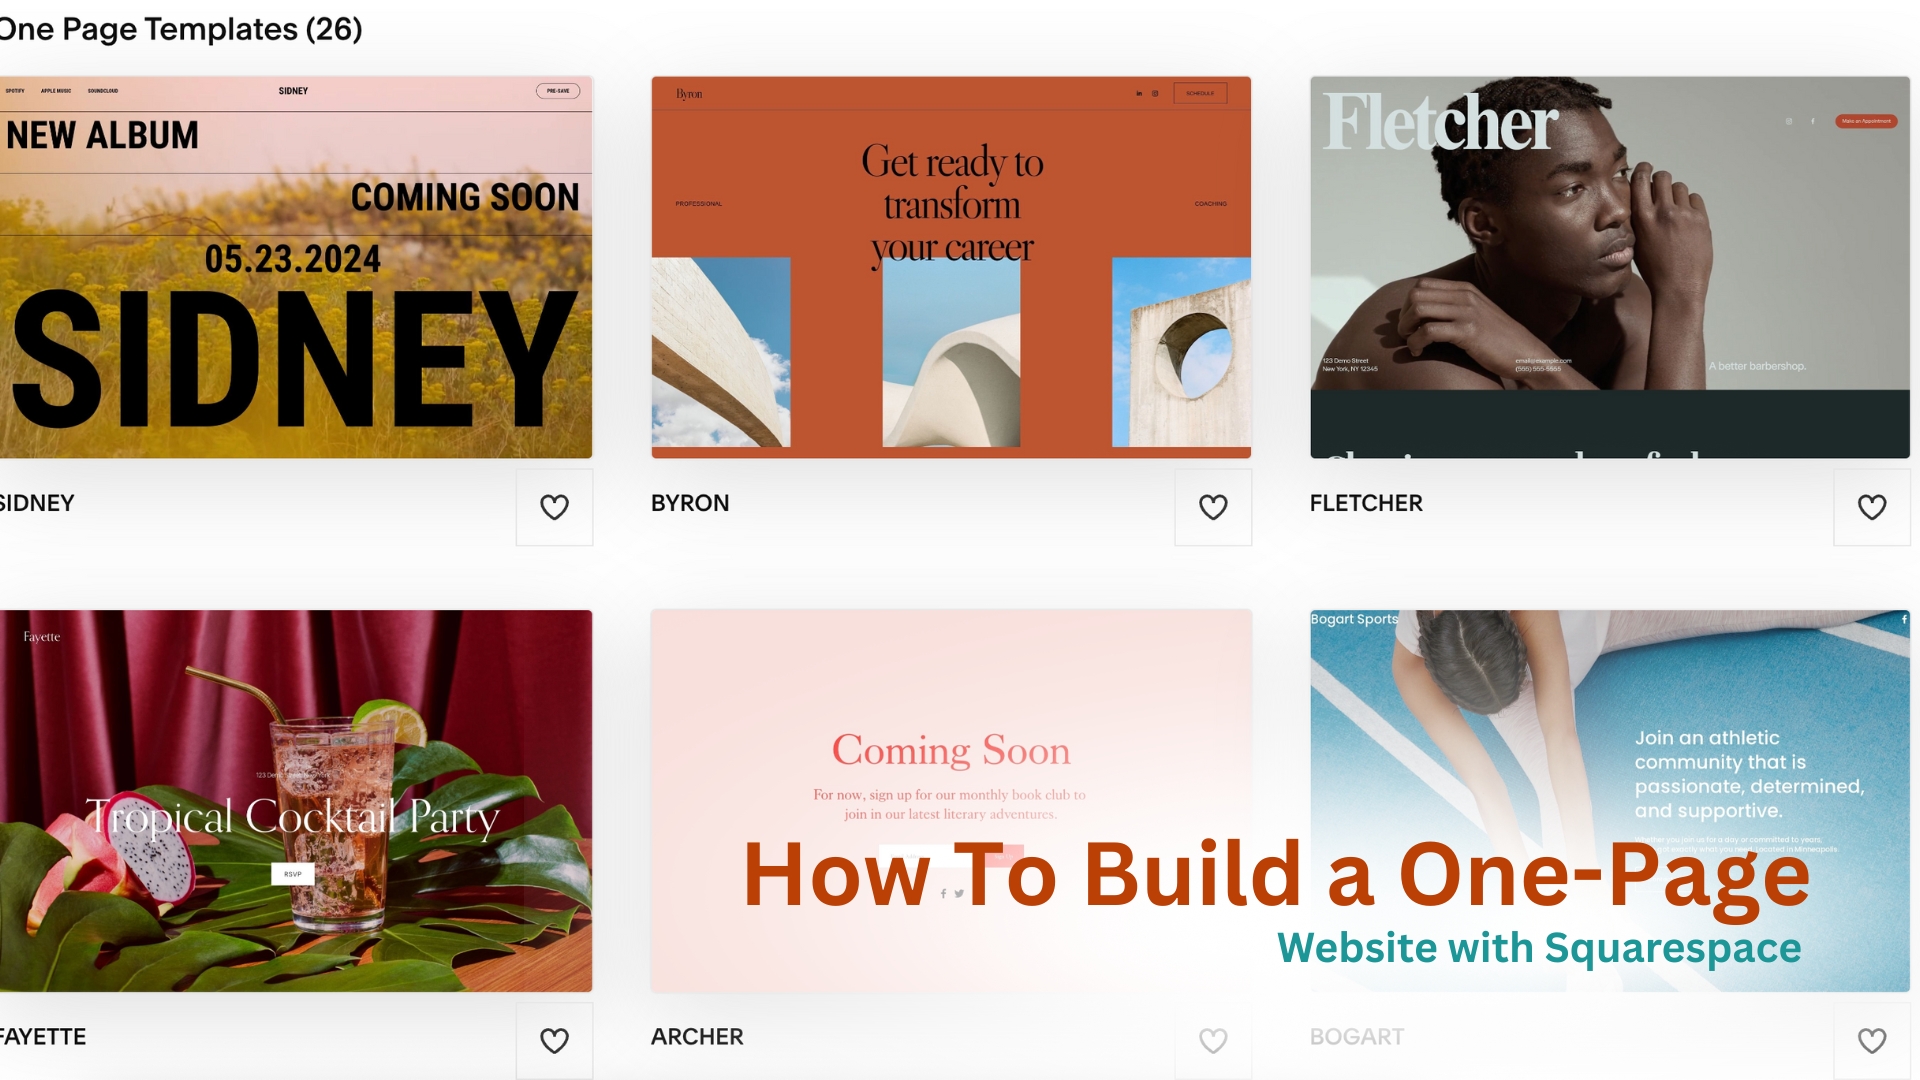
Then, pick a template. For one-page sites, go with something clean and modern like Rally, Hester, or Lusaka. These templates focus on flow and visual storytelling, which work great for single-page layouts.
Click “Start with [Template]” to enter the editor. You now have a working site.
Step 2: Remove Extra Pages
By default, Squarespace adds multiple pages to your site. Since we’re building a one-pager, you can remove everything except your Home page.
Go to Pages in the left-hand menu. Click the “•••” next to each extra page and choose “Delete”. Keep only the Home page. You’ll now turn this one page into multiple sections: Hero, About, Services, Testimonials, and Contact.
Step 3: Edit Your Header and Navigation
Even with a single-page site, your navigation can link to different sections on the page. It helps users jump straight to what they need. In the header area:
- Click on the site title to add your name or brand.
- Update the logo if you have one.
- Go to Pages > Navigation, click the Home page, and rename it something like “Home.”
To create anchor links (so the nav links scroll to sections), you’ll add section IDs next.
Step 4: Build Your Page Sections
Now we’ll build out the core parts of your one-pager.
- Hero Section (Top of Page)
This is your first impression. Add a bold headline, a short intro, and a call-to-action button (like “Book a Call” or “Download Resume”).
- About Section
Use a Text Block to write a quick paragraph about who you are, what you do, and who you help. Add a photo or logo beside it.
- Services or Offerings
Use a grid or stacked layout to list what you offer. Each block can include a title, short description, and optional button to contact you.
- Testimonials (Optional)
If you’ve worked with clients, add 2–3 quotes here. Use a Carousel or Quote block to format these cleanly.
- Contact Section
Add a simple form: name, email, and message. You can also list your social links and location (if relevant).
Each section can be added using the “+” button in the editor. Use Section IDs to make each part linkable from the nav menu.
Step 5: Add Section IDs for Smooth Navigation
To create in-page scrolling links:
- Hover over a section and click the gear icon.
- Add a name under Section ID (like “about” or “services”).
Then go to Pages > Navigation, click the “+” to add a link, and enter #about, #services, #contact, etc. This way, clicking a nav link scrolls the user to that section, all on one page.
Step 6: Customize Design and Mobile View
Squarespace offers a high level of flexibility with fonts, colors, and layout spacing.
Go to Design > Site Styles to:
- Pick a font pair that matches your brand.
- Set consistent button styles and link colors.
- Adjust spacing and padding between sections.
Then click the mobile icon to preview the site on phones. You can tweak font sizes, alignment, and section layouts to make sure it looks clean and readable on all devices.
Step 7: Set Up Your Contact Form
Click into the Contact section and customize the form fields. Keep it simple:
- Name
- Message
Connect the form to your email by clicking Storage and entering your email address (or connect Google Drive or Mailchimp if needed). Double-check the “Submit” button message and thank-you message after submission.
Step 8: Add SEO and Site Details
Before publishing, set up the basic site info:
- Settings > SEO: Add a clear site title and meta description.
- Settings > Social Sharing: Upload an image that shows when your link is shared.
- Settings > Domains: Use a custom domain if you have one (like yourname.com). You can buy one through Squarespace or connect an existing one.
This ensures your site looks clean when shared on social or found in Google search.
Step 9: Preview and Publish
Click the Preview button to test the full experience. Scroll through the page, click navigation links, and fill out your form to make sure everything works. When you’re ready, click Publish Site. If you’re still on the free trial, your site will be live on a Squarespace subdomain. You can upgrade to a paid plan to use your own domain and remove Squarespace branding.
Final Thoughts
A one-page website is perfect when you want something fast, professional, and focused. And with Squarespace, you can build it all without touching a single line of code.
From the landing section to the contact form, everything just works. You can always come back and add new sections or build out a full site later, but starting simple is often the smartest move. If you’re ready to build your one-page site, try Squarespace’s free trial and get it live in the next few hours.