Adding pictures to your WordPress site is like putting the cherry on your content. It makes everything look better and can even help your site rank higher in search results. But if you need help doing it right, don't worry! We're here to walk you through adding and optimizing images in WordPress using two popular tools: Gutenberg and Elementor. Let's keep things simple and get straight to the point.
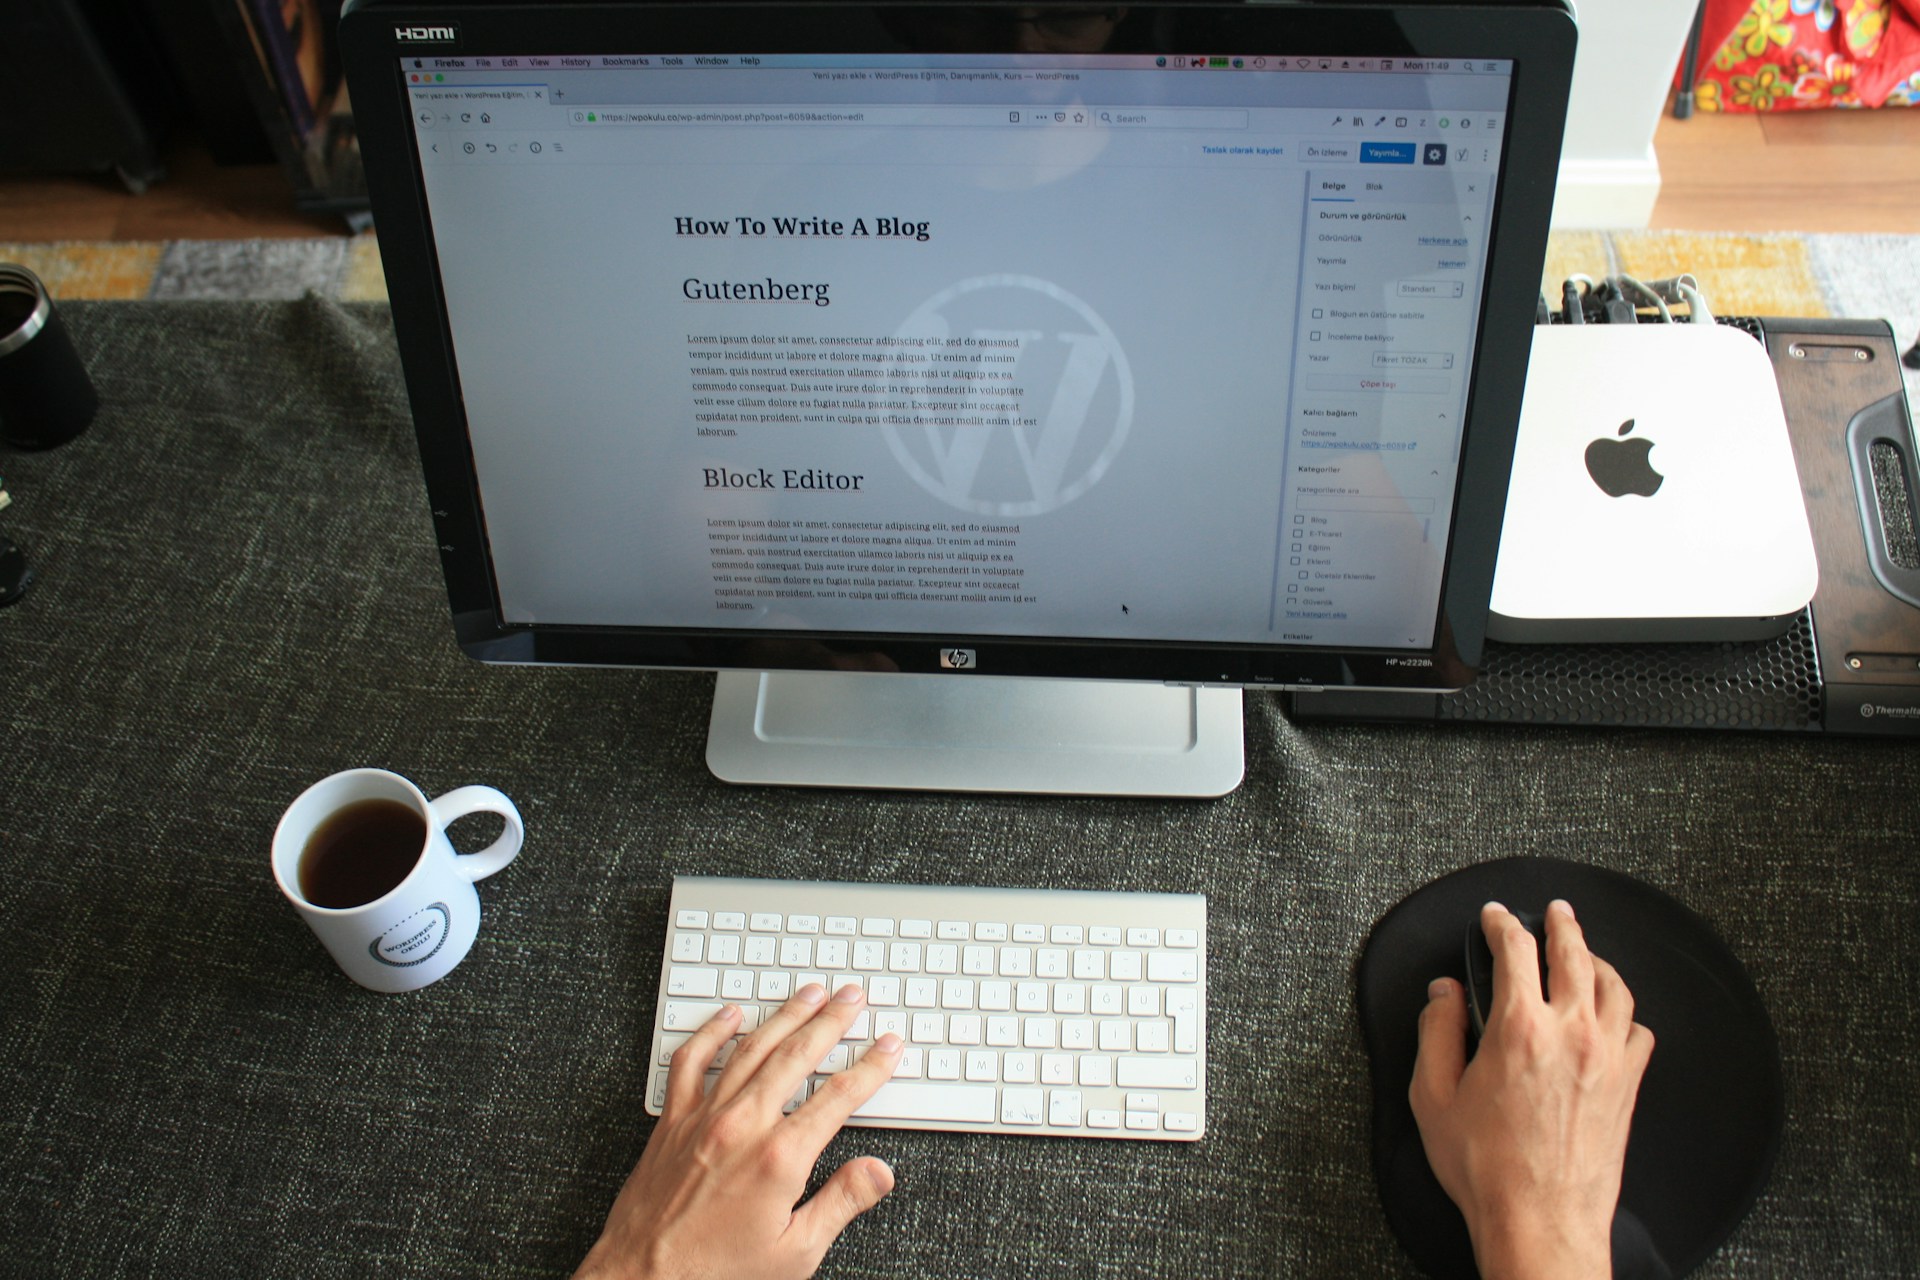
Editing Your Site Using Gutenberg
Gutenberg is the default editor in WordPress, and it's like playing with LEGO. You can add blocks to build your content exactly how you want it.
First, make sure you're in your WordPress dashboard. Then, navigate to the post or page where you want to add an image using Gutenberg.
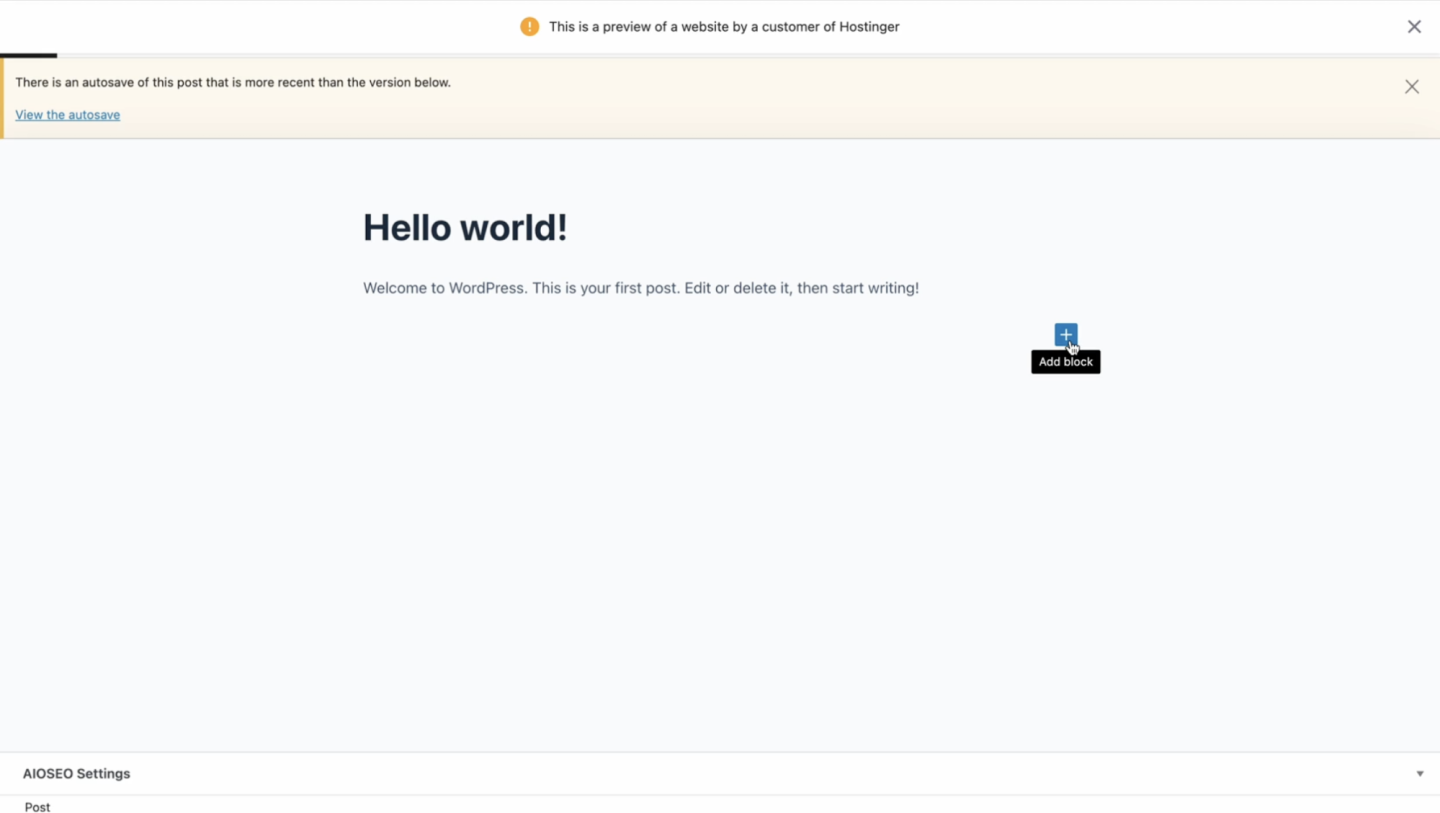
Adding an Image Directly:
- Go to Gutenberg: Open the post or page editor where you want to add your image.

- Use the + Button/Sign: Click the “+” button to bring up the block menu, then select “Image” to add an image block.
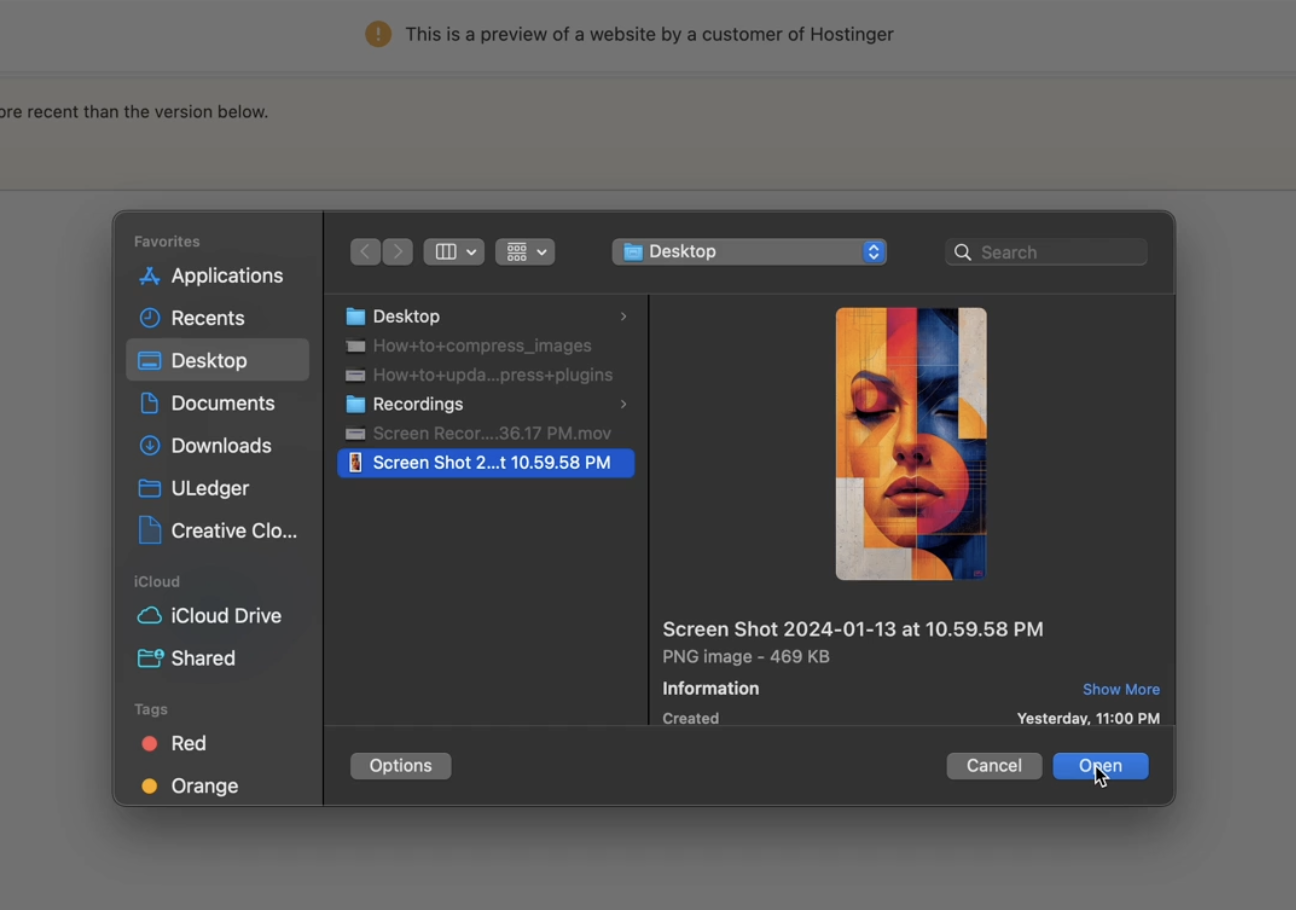
- Upload Your Image: You can upload an image directly by choosing the file from your device. Select “Upload” and pick the image you wish to add.
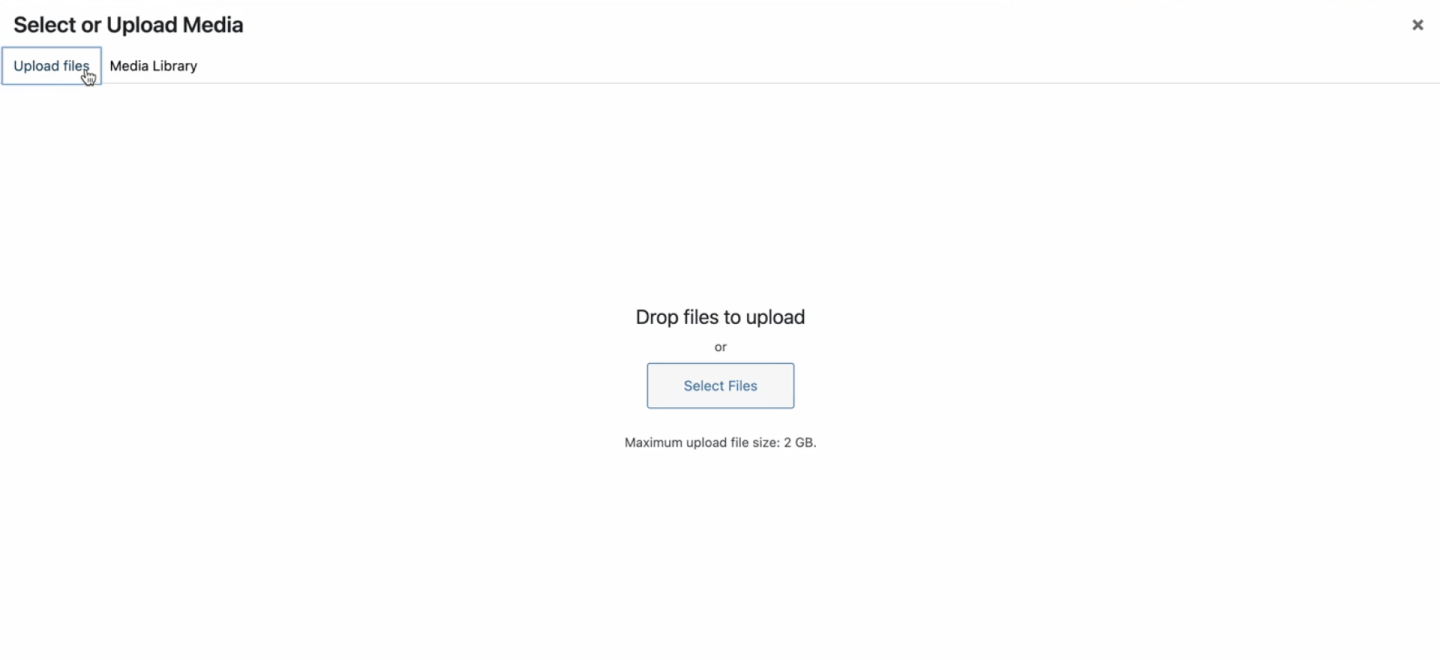
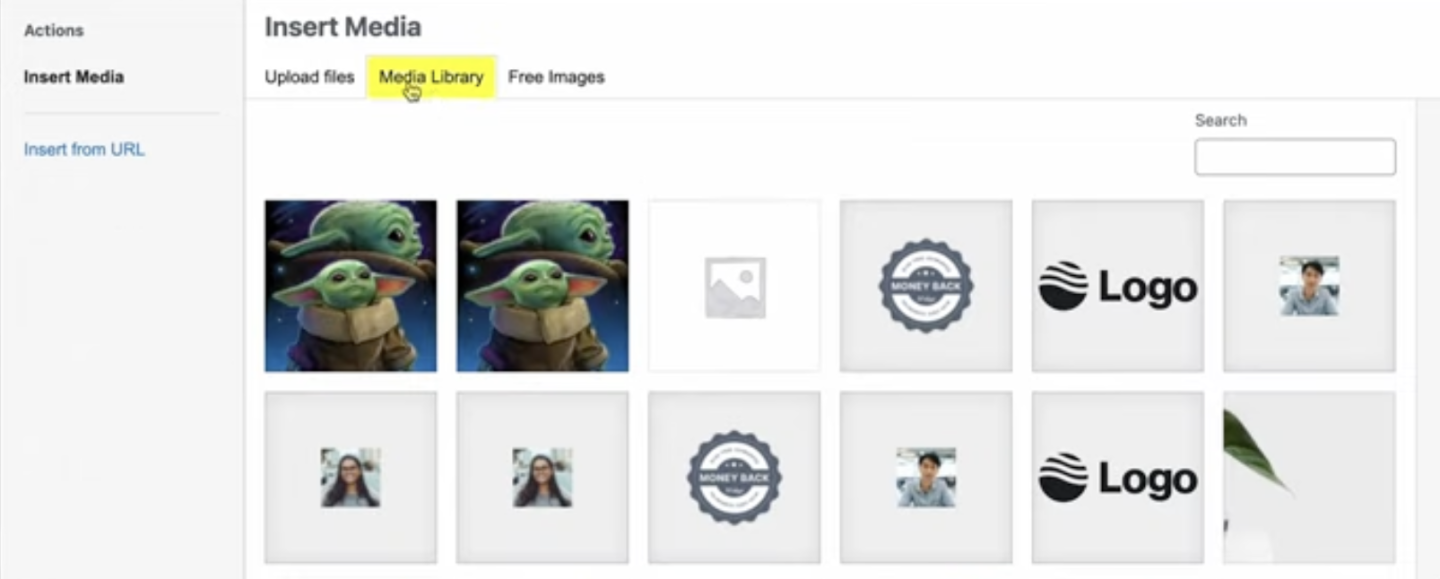
Using the Media Library:
Another method is to utilize the Media Library for images you've already uploaded or to upload new ones in a more organized manner.
- Click ‘Media Library': Instead of uploading directly, click “Media Library” in the block menu.
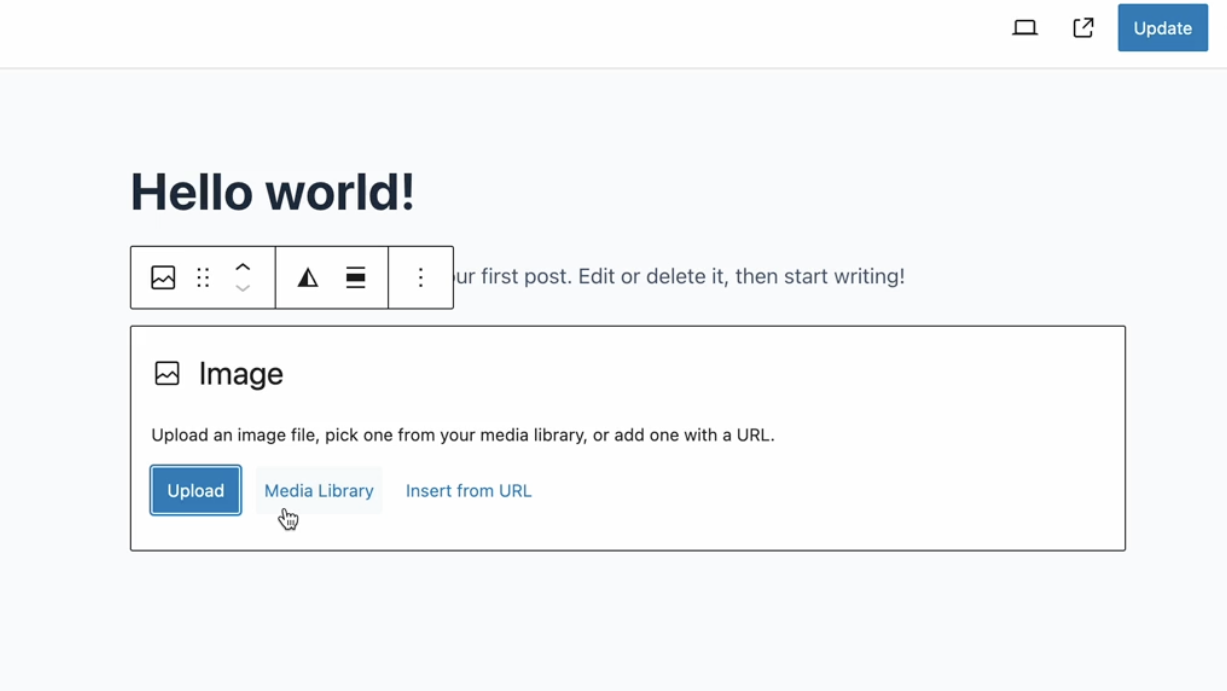
- Upload Files: You can drag and drop files into the uploader or select files from your device by clicking “Upload Files.”
Making Your Image SEO-Friendly
SEO (Search Engine Optimization) is about making your site easy to find on Google. Here's how to create your images SEO-friendly:
- Choose the Right File Name: Before you upload your image, name it something relevant to your content. Use simple words and dashes between them (like “my-awesome-picture.jpg”).
- Compress Your Images: Large images slow down your site. Use tools like TinyPNG to make your images smaller without losing quality.
- Use Responsive Images: Make sure your pictures look good on all devices. WordPress automatically creates multiple sizes of each image, so you're covered.
What Is Alt Text, Title, Caption, and Description When Uploading an Image?
When you add an image in WordPress, you'll see the Alt Text, Title, Caption, and Description fields. Here's what they mean:
- Alt Text (Alternative Text): Describes your image for people who can't see it and helps with SEO. Keep it short and sweet but descriptive.
- Title: The name of your image. It's suitable for organizations but only impacts SEO a little.
- Caption: Text that appears below your image on your site. It's optional and can be used to explain the image.
- Description: More detailed info about your image. It's seen less often but can be helpful for behind-the-scenes details.
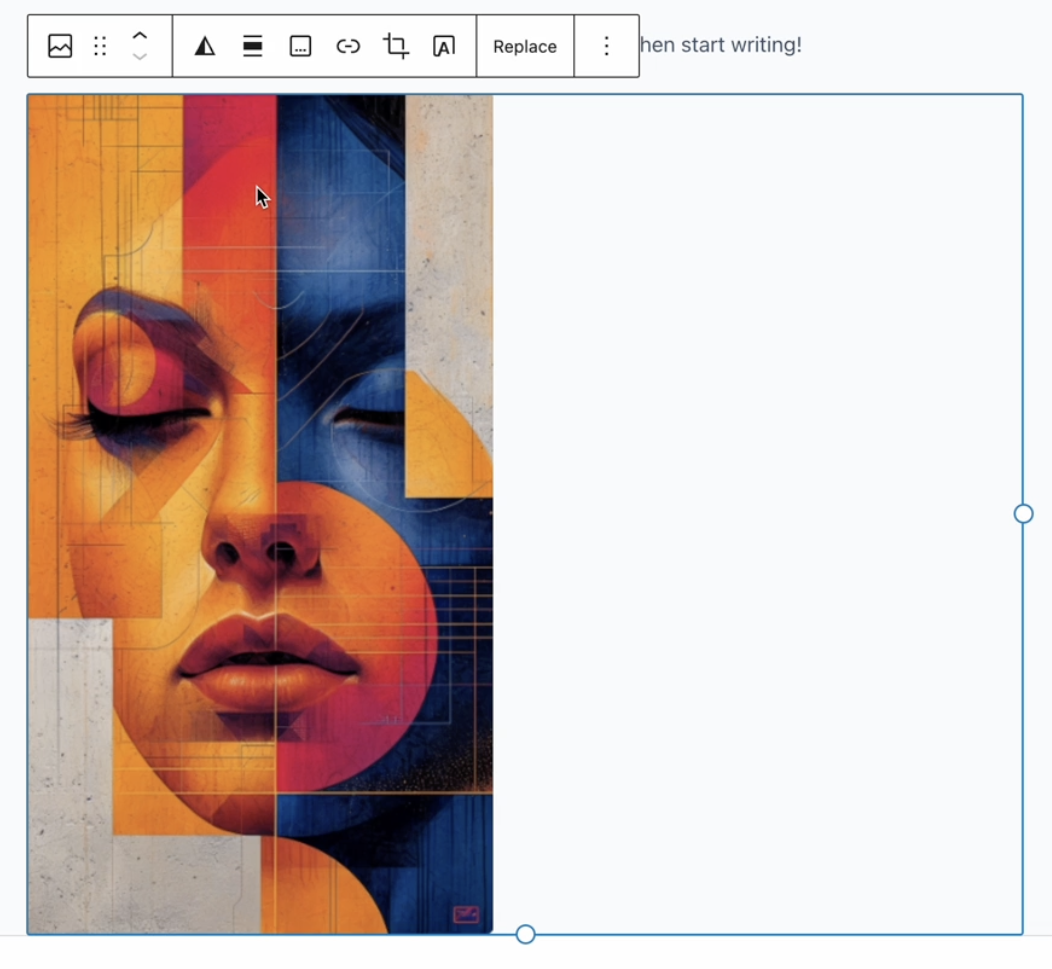
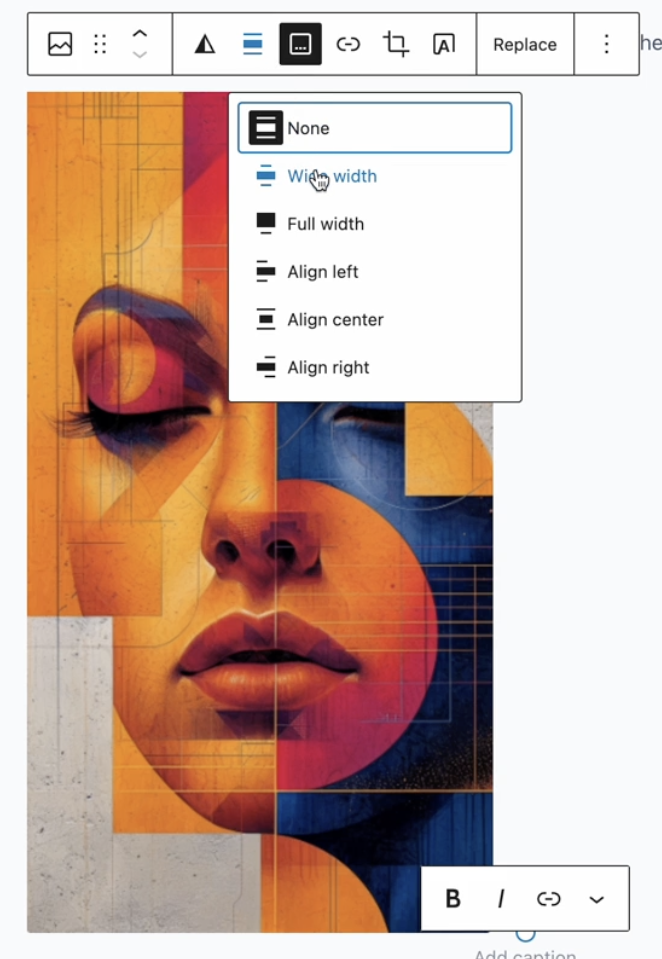
Editing Your Image Size with Gutenberg
Sometimes, your image might need to be more significant for your content. Here's how to adjust the size in Gutenberg:
- Click on Your Image: Select the image in your post or page.
- Adjust the Size: Use the block settings on the right side to pick a preset size or set custom dimensions.
Editing Your Site Using Elementor
Elementor is a plugin that gives you more control over your site's design. Adding an image with Elementor is just as easy:
- Drag and Drop the Image Widget: In the Elementor editor, find the “Image” widget and drag it to where you want your image.
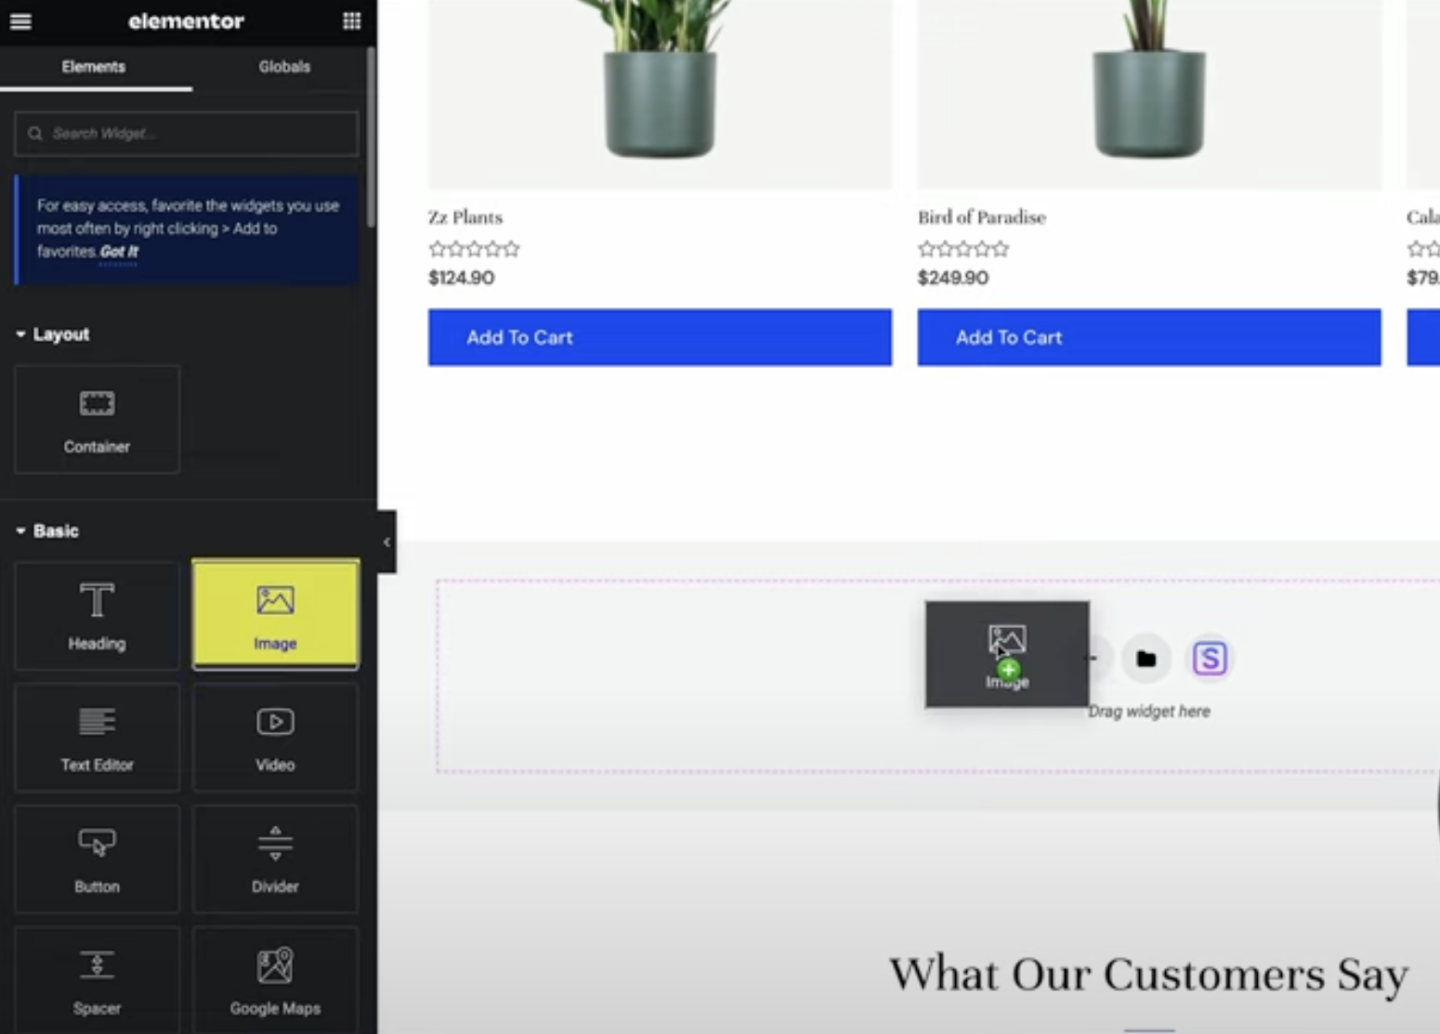
- Choose Your Image: Upload a new one or select from the media library.
- Customize: Elementor lets you use sizes, borders, and positions to get your image right.
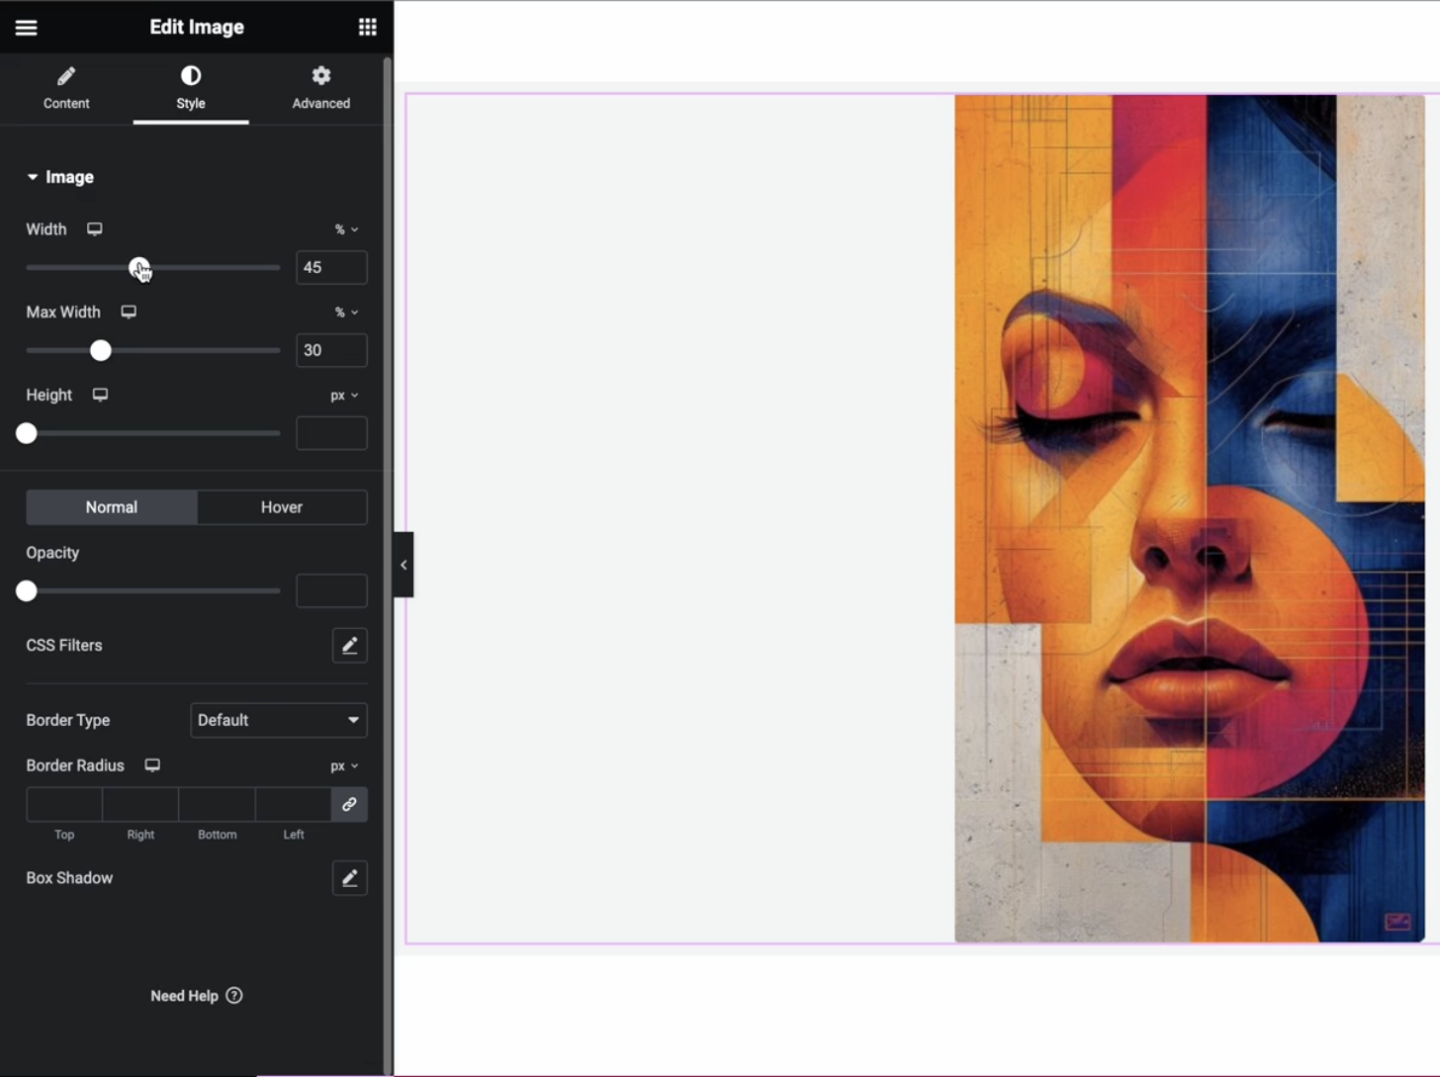
Editing Your Image Size with Elementor
Elementor also allows you to fine-tune your image size:
- Select Your Image Widget: Click on the image in your Elementor layout.
- Adjust the Size: In the “Style” tab, you can change the width, height, and other settings to make your image fit perfectly
Adding and optimizing images in WordPress doesn't have to be complicated. Whether you're using Gutenberg or Elementor, the key is ensuring your photos look good and are SEO-friendly. This means choosing the proper file names, compressing your images, and filling out the Alt Text and other fields.
Remember, a picture is worth a thousand words, but a well-optimized picture? That can be worth thousands of visits to your website. So, get your images right, and watch your site climb the search engine rankings. And if you're starting your site, take advantage of our free setup offer at My First Website. We'll help you get up and running, ensuring your site is ready to impress visitors and search engines alike.