Starting an online e-commerce store might seem daunting, especially if you're not a tech person. But guess what? It's much simpler than you think! Follow the instructions, piece by piece, and you've created an official website for your business. That's how we will develop an online store with WordPress in 2024. We will be using Hostinger as our web host for this blog. Let’s get started!
Step 1: Choose a Web Hosting Platform
First, your online store needs a home, a place on the internet where it can live. This is where web hosting comes into play. Think of it like renting a space for your store in a big shopping mall, except this mall is online. While there are many options, we recommend Hostinger for its affordability and reliability.
Why Hostinger?
Hostinger is an excellent option for those just starting, offering web hosting at $2.49 per month exclusively for my first website audience. Remember, this special price comes with a disclaimer: only available through the My First Website link.
Hostinger: Pros and Cons
Pros:
- Affordable pricing, especially for beginners.
- User-friendly control panel, making website management straightforward.
- Good performance and reliability, ensuring your website loads quickly and is accessible around the clock.
Cons:
- Limited resources on the entry-level plan need to be increased for websites with high traffic.
- Upselling additional services during the signup process can be aggressive for some users.
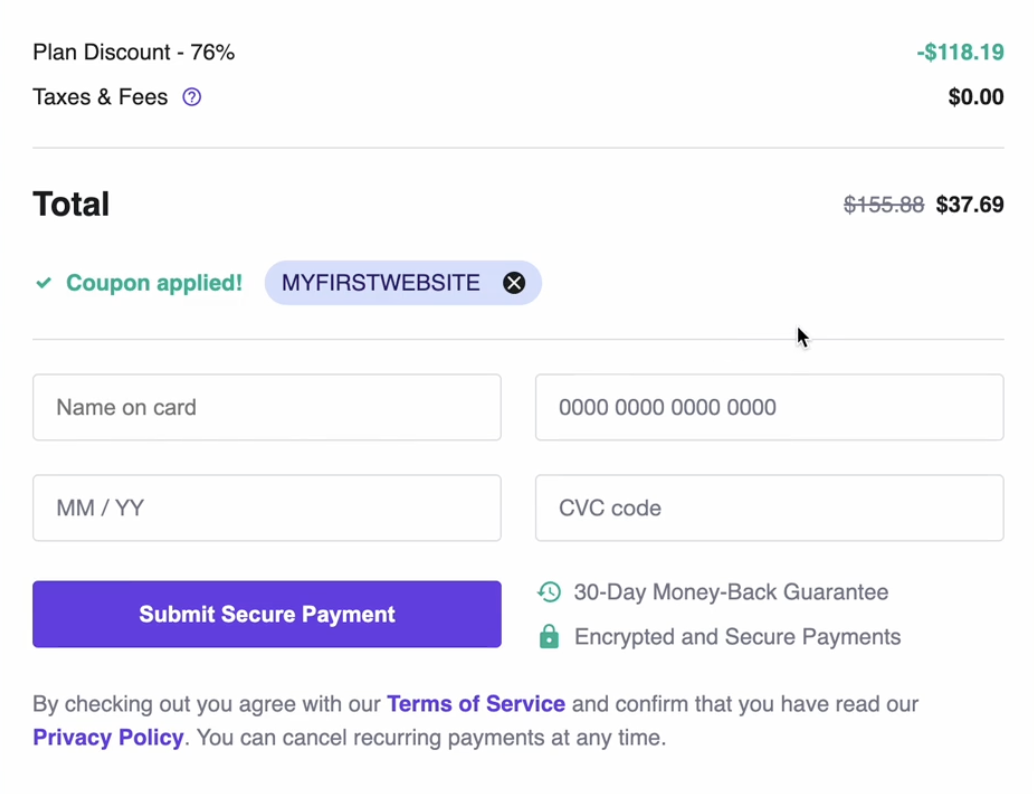
Get a HUGE Deal using our coupon code ”MYFIRSTWEBSITE'‘ for a 12-month Premium Web Hosting Plan with Hostinger. This deal makes starting your website more affordable and ensures you have the reliable, fast hosting needed to keep your site running smoothly.
There are many other options besides Hostinger, so feel free to shop and pick one that fits your needs and budget.
Check out our latest blog post: ”Cost of Starting a Website in 2024: Budget-Friendly Guide”. This guide offers tips on building a budget-friendly website.
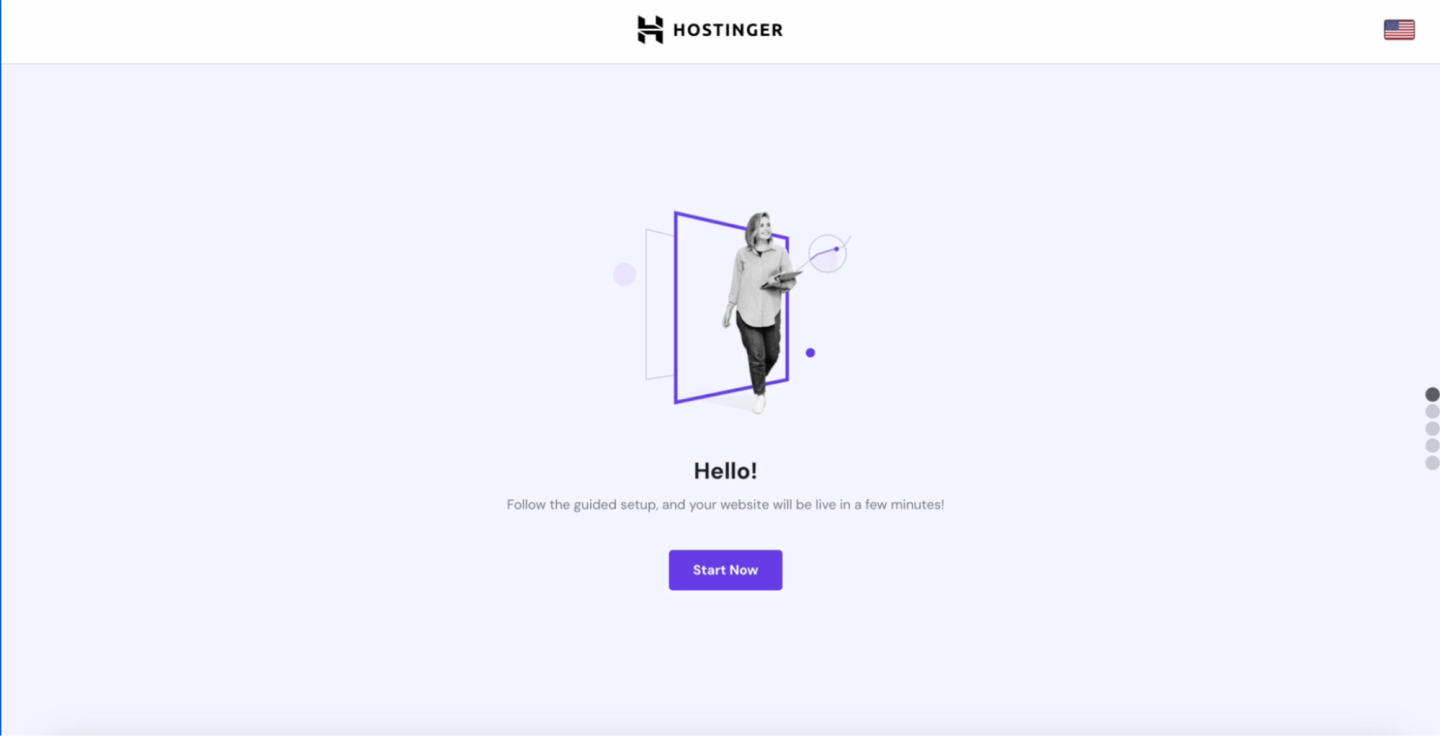
Step 2: Set Up Your Web Hosting
Once you've picked your hosting platform, it's time to set up the shop officially. This involves choosing your hosting plan, creating a new website, choosing a WordPress website, creating your WordPress account, adding your brand description, and creating your domain name.
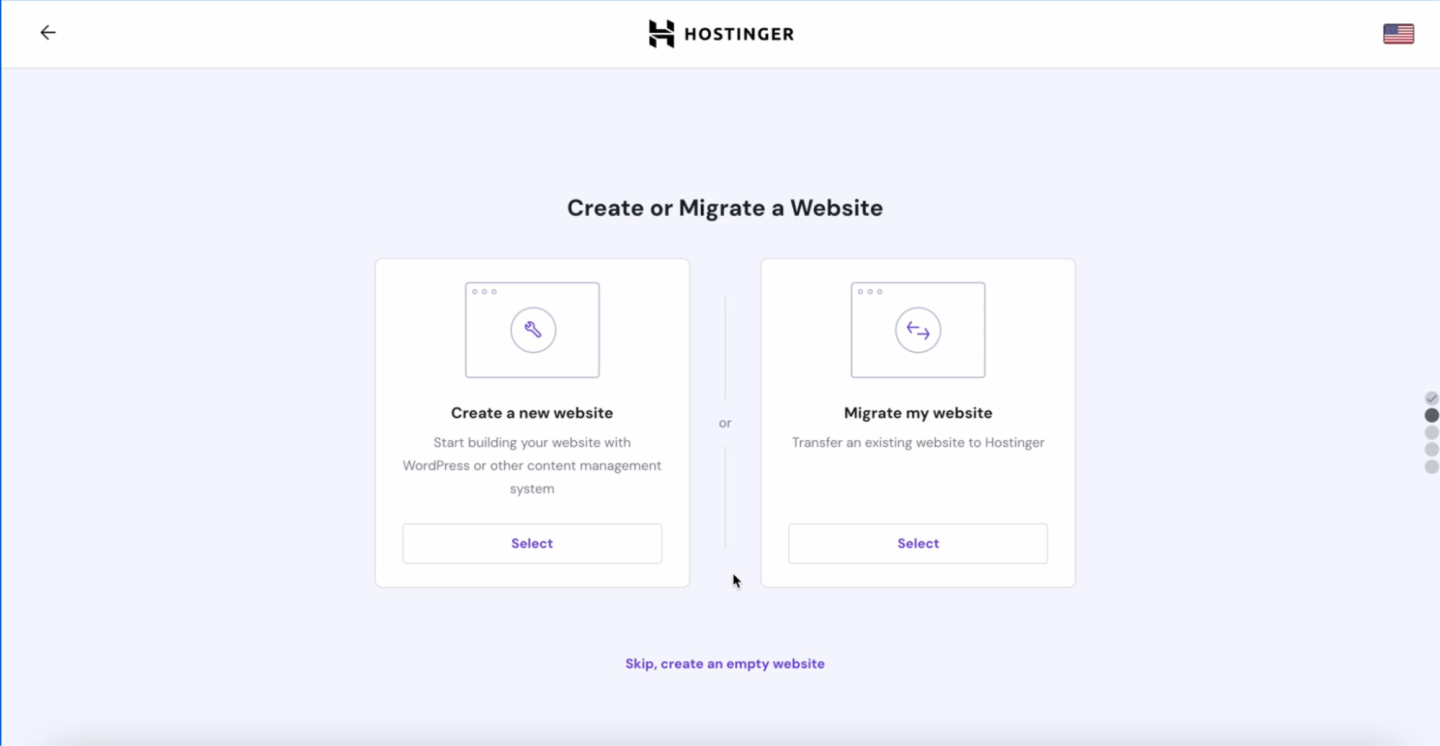
With Hostinger AI Builder, you can create a new website or migrate an existing one. Select' Create a new website if you still need a website.'
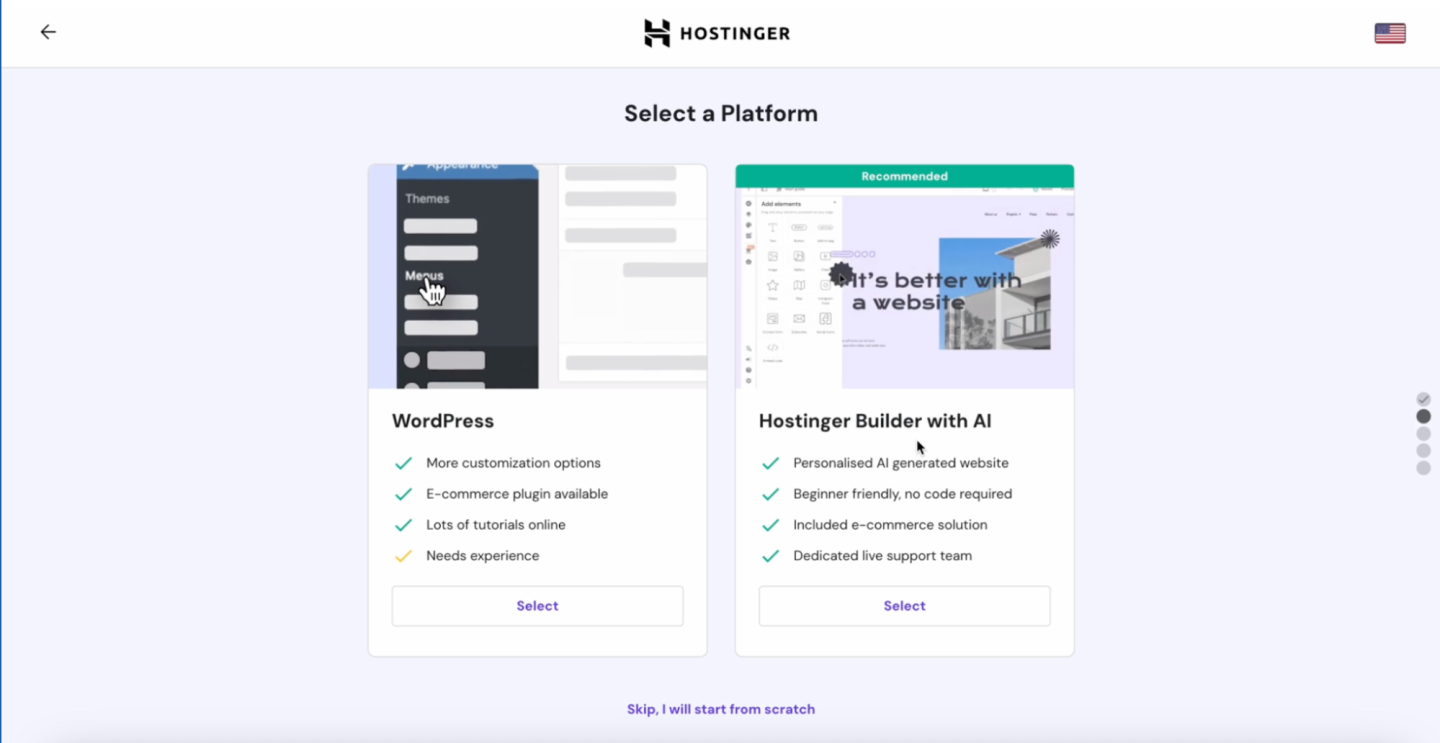
You may choose your preferred website platform, WordPress or Hostinger Builder with AI. Don't worry; if you change your mind, you can start with WordPress and switch to a drag-and-drop site anytime. However, today, we will continue with the WordPress website.
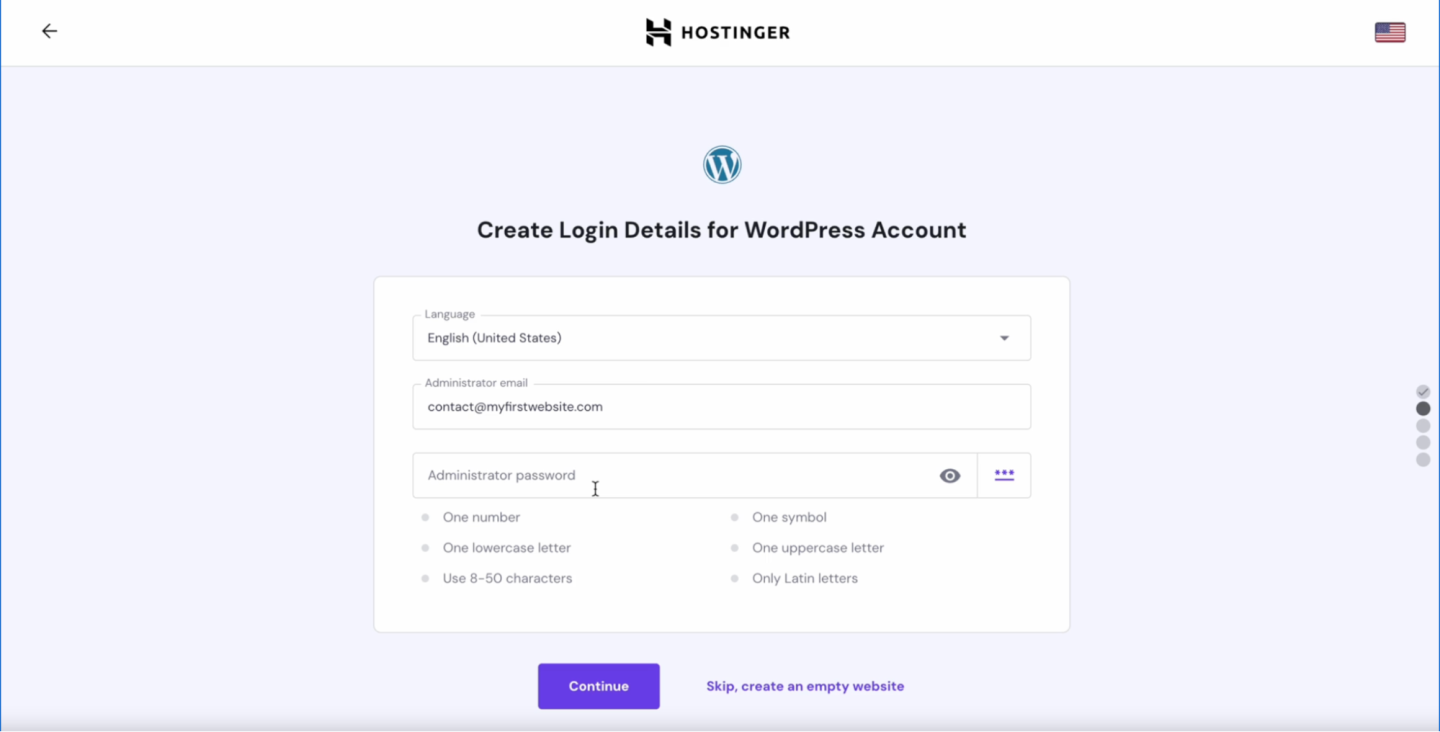
If you still need to set up a WordPress account, the next step would be to create one. This will allow you to access WordPress's full range of features and functionalities, including developing and managing your website or blog, customizing your site's design, and more.
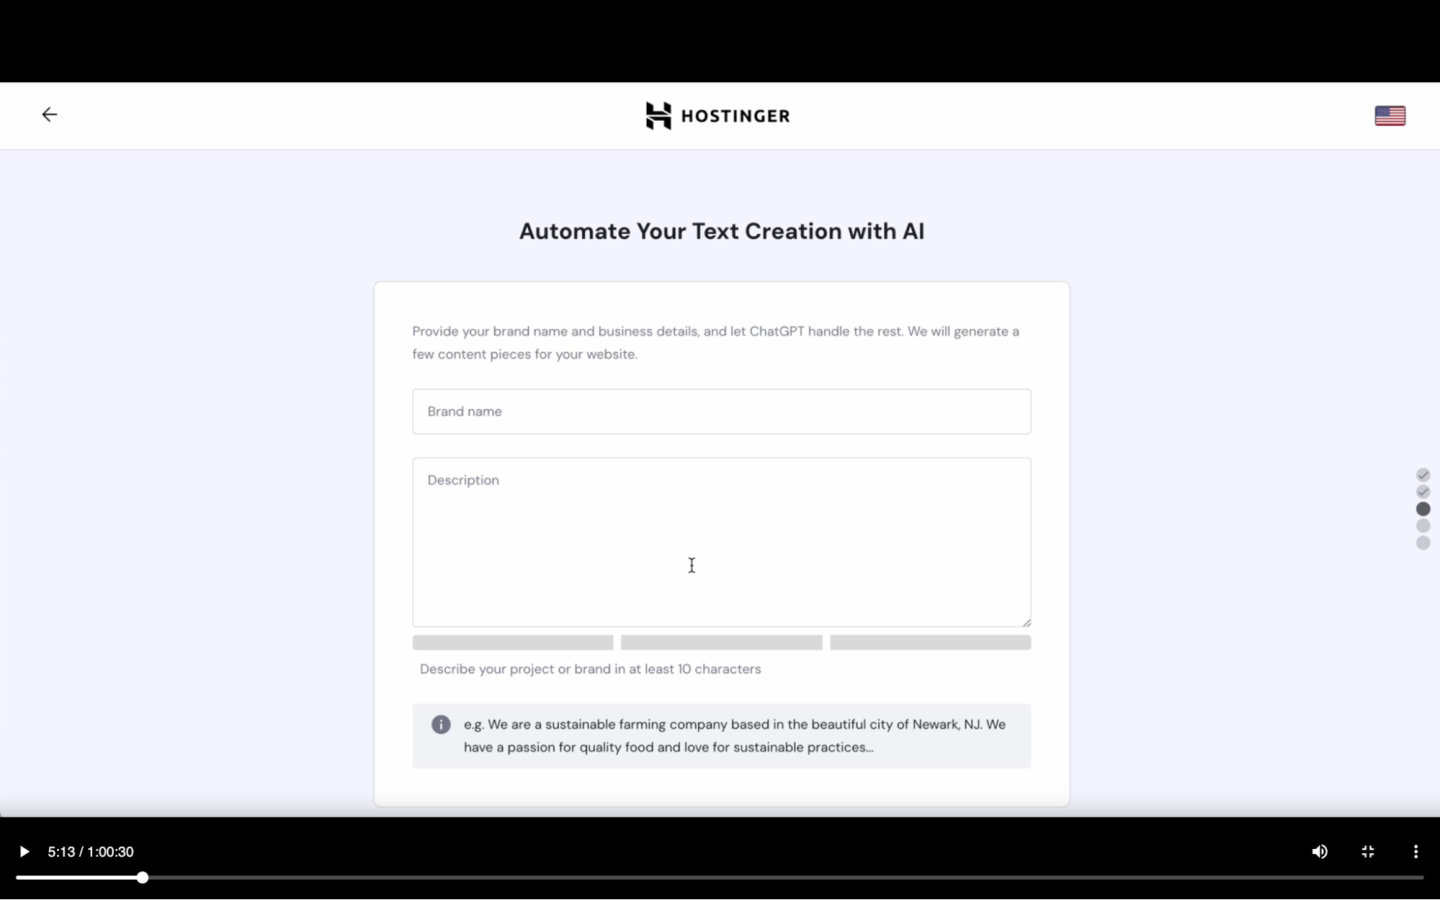
Hostinger now offers a brand description feature that allows you to tailor your WordPress account to match your brand's unique style and messaging. Using ChatGPT, you can automate your WordPress account to align with your brand name, description, and overall aesthetic. This will help ensure that your online presence accurately reflects your brand and enables your brand to stand out.
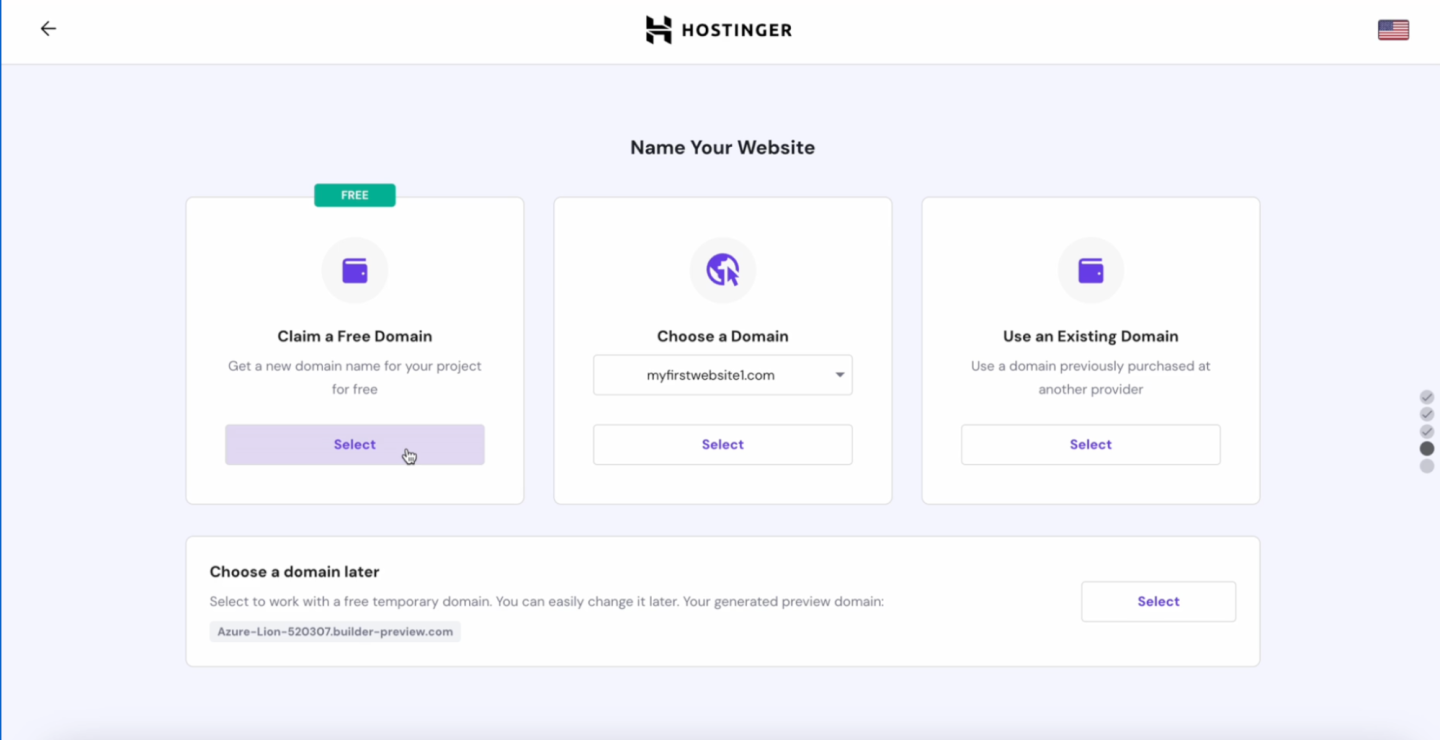
Your domain name is essential as it reflects your brand searchability. It's how people find your brand. So, take your time to pick something unique and represent your brand. If you have a name in mind and choose to claim your free domain immediately, you must check its availability. You can click continue and confirm your domain details if they're available.
Luckily, with Hostinger, You can claim a free domain name, buy a domain on the web hosting platform, or use an existing domain. If you still need to figure out the domain name, skip the steps.
Step 3: Setting Permalinks
To optimize your website for search engines, one important step is to set up permalinks.
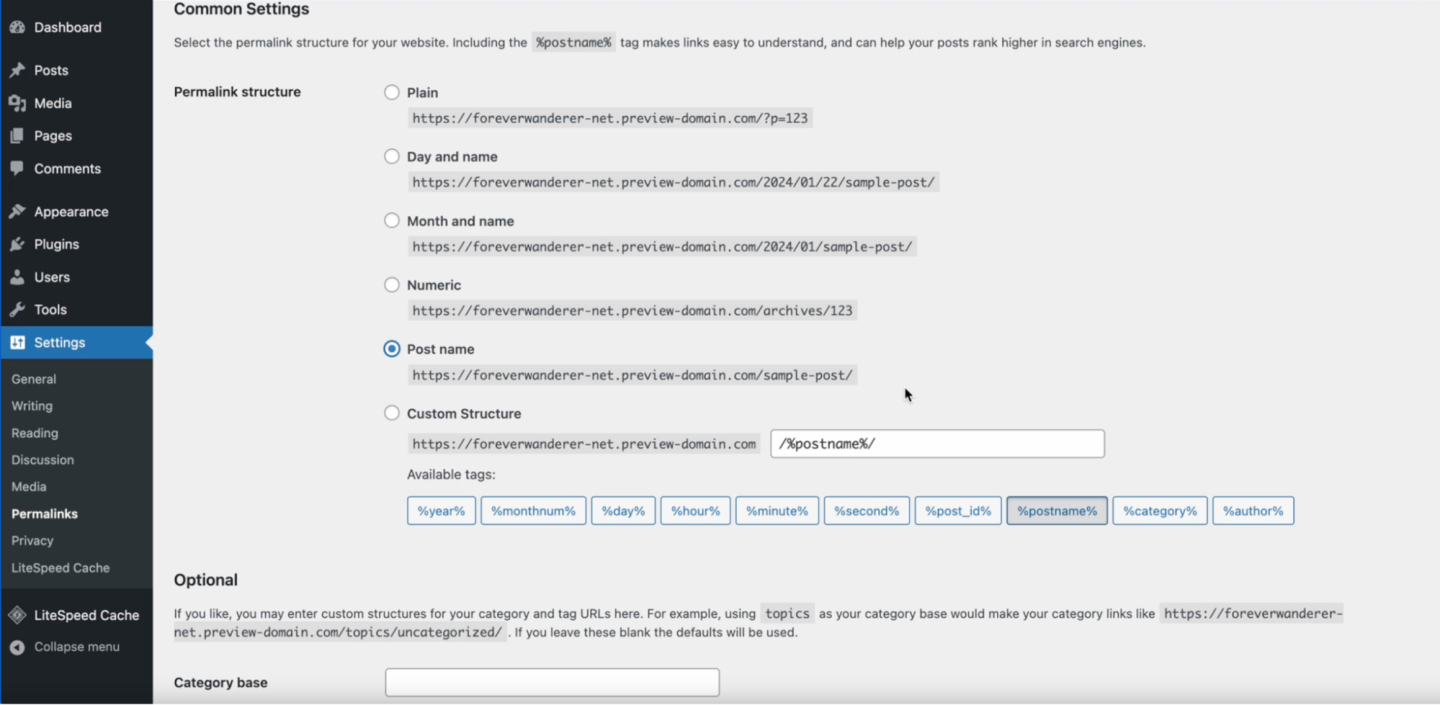
To do so, go to the “Settings” section of your website's dashboard and select the “Permalinks” option. From there, you can choose your preferred “Permalink structure” – for best results, we recommend selecting “Post Name.” This will improve your website's search engine optimization and help it rank higher in search results.
Step 4: Choose a Theme
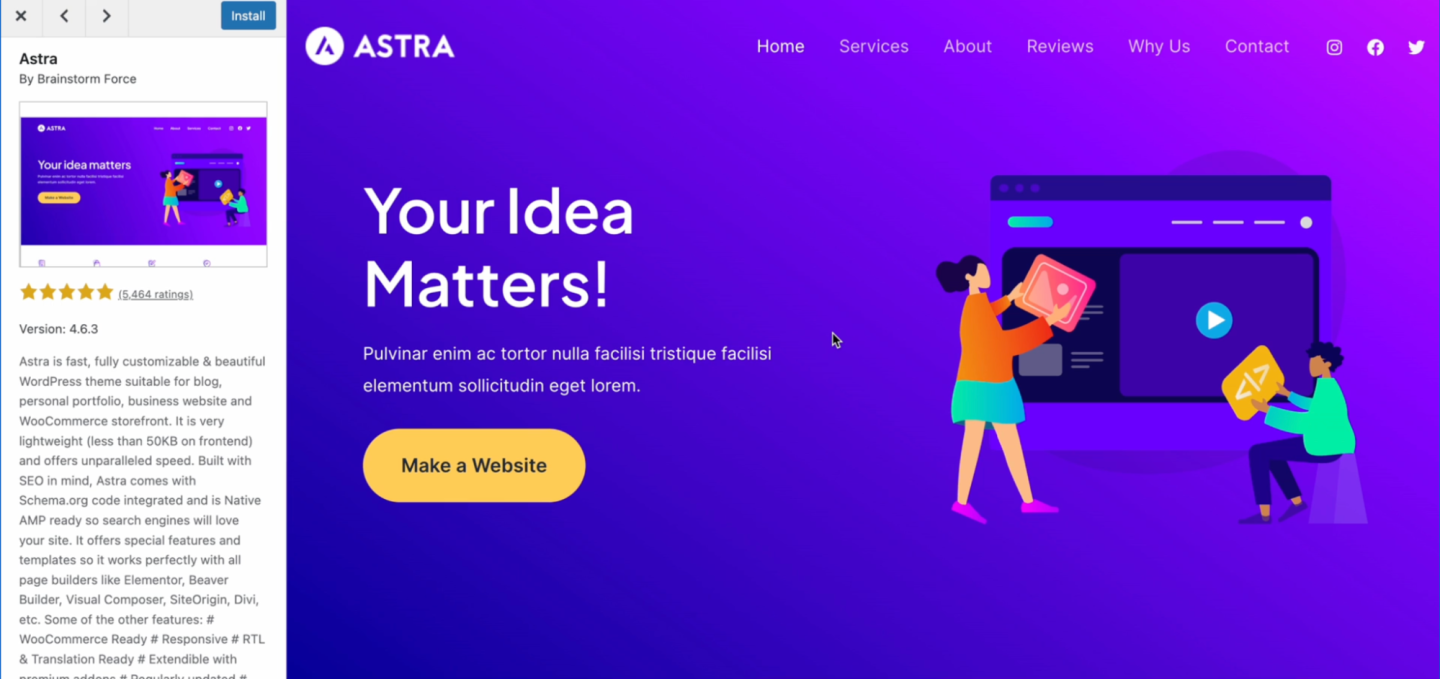
The theme of your WordPress site determines how your store looks and feels to customers. For an e-commerce store, you want a theme that's not just pretty but also functional. Astra is an excellent choice for e-commerce sites because it's designed to work seamlessly with WooCommerce and is super customizable. This means you can make your store look exactly how you want without hiring a designer.
Step 5: Install a Starter Template
A starter template is like the initial setup of shelves and racks in your store. It gives you a basic layout, so you don't have to build everything from scratch. This can save you time and effort, especially when you're eager to add products to your store. Look for a template that matches the vibe you want for your store, and tweak it from there.
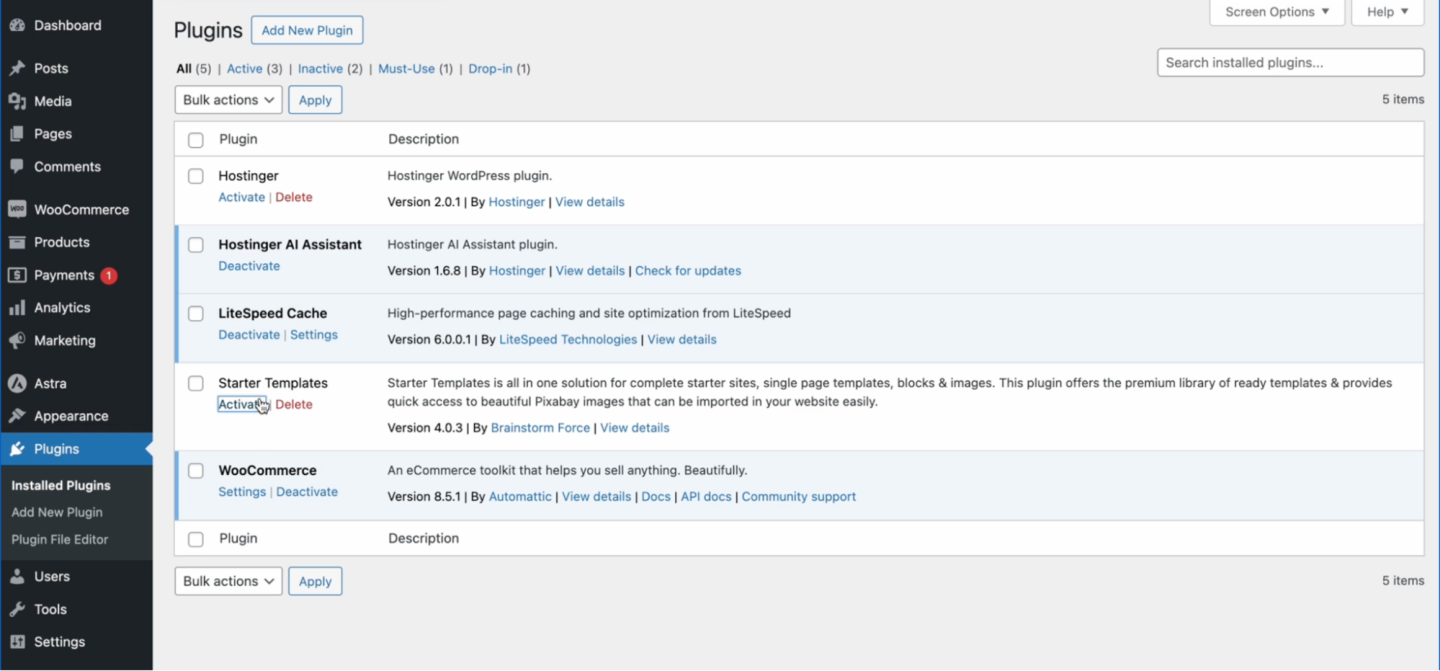
In order to install your starter template that matches the Astra Template, go to the ‘plugin’ > Add New Plugin > Search on ‘Starter Templates.’
Step 6: Create Your Pages
Every store needs a few key areas:
- The main shopping area (home page).
- The product display area (product page).
- The story about your brand (about page).
- A way for customers to contact you (contact page).
Creating these pages in WordPress is pretty straightforward. Just navigate to the Pages section and start adding new ones for each area of your store. Think about what you want each page to say and how it should look to make the best impression on your visitors.
Step 7: Add Products
Now, it's it's time to stock your store with products! The WooCommerce plugin for WordPress is like your inventory management system. It lets you add products, set prices, upload images, and manage inventory. Installing WooCommerce is simple, and once it's set up, adding your products is as easy as filling out a form for each one.
WooCommerce for WordPress and Plans
WooCommerce is designed explicitly for WordPress and is the most popular e-commerce plugin for a reason. It's mighty and flexible, allowing you to sell anything from physical products to digital downloads. WooCommerce is free, but depending on your needs, consider some of their paid plans or extensions to add extra features to your store, like advanced shipping options or booking systems.
If you want to improve your e-commerce website's functionality, be sure to check out our latest blog post titled “Top 10 WordPress Plugins for E-Commerce Websites in 2024“. In this post, we've compiled a list of the most useful plugins you can add to your website to improve its performance and boost your online sales. Take advantage of this valuable resource to improve your online business!
Step 9: Set Up Payments
Before you can start selling, you need a way to accept money from your customers. Setting up a payment gateway with WooCommerce lets you accept credit cards, PayPal, and other payment methods. Many options are available, and WooCommerce guides you through setting up the most popular ones like Paypal, Affirm, AliPay, etc. Choose the best fit for your and your customer's needs to make transactions smooth and secure.
Final Step: Go Live and Test on Mobile
Before you make your website live, take a moment to view your website on mobile devices. In 2024, more people than ever are shopping on their phones, so you want to make sure your store looks good and works well on all screen sizes. Once everything looks great, set up your payment gateway.
Watch our video for step-by-step instructions on starting an online eCommerce store with WordPress in 2024.
FAQ:
What are some of the paid plans or extensions that can be added to the WooCommerce plugin?
WooCommerce offers a variety of paid plans and extensions to improve your online store's functionality. Here are a few popular ones:
- WooCommerce Subscriptions: Allows you to offer products or services with recurring payments.
- WooCommerce Bookings: Perfect for allowing customers to book appointments or reserve spots without leaving your site.
- WooCommerce Memberships: Create a membership-based site to offer exclusive products or content.
- WooCommerce Shipping: Offers integrated shipping services that simplify managing and dispatching orders.
- Product Add-Ons: Lets customers personalize products by adding options via dropdowns, text messages, or other elements.
Each extension adds specific functionality to your store, so consider what might improve your customer's experience and streamline your operations before selecting.
How do I choose the best payment gateway for my online store?
Choosing the best payment gateway for your online store involves considering several factors:
- Transaction Fees: Compare the transaction fees charged by different gateways, as these can affect your margins.
- Payment Methods: Ensure the gateway supports various payment methods your target audience prefers.
- Security: Look for gateways that offer robust security measures to protect your and your customers' data.
- Integration: Check how easily the gateway integrates with WooCommerce. A seamless integration means less hassle for you and a smoother checkout process for your customers.
- Customer Support: Reliable customer support from the payment gateway provider is crucial, especially if you encounter issues during transactions.
Consider your business needs, customer preferences, and budget when choosing a payment gateway to ensure a balance between costs and functionality.
How do I ensure my website looks good and works well on all screen sizes?
Ensuring your website is responsive, meaning it looks good and functions well on all screen sizes, is crucial in today's mobile-first world. Here's how you can achieve this:
- Choose a Responsive Theme: Start with a theme that's designed to be responsive. Themes like Astra are built to adjust to any screen size automatically.
- Use a Responsive Design Plugin: Plugins like Elementor can help create a responsive design without coding if your theme needs more flexibility.
- Test on Multiple Devices: Regularly test your website on various devices (smartphones, tablets, laptops) to ensure compatibility and a smooth user experience.
- Optimize Images: Use optimized images for the web to ensure they load quickly and look sharp on all devices.
- Employ Media Queries: For those who are comfortable with a bit of coding, media queries in CSS allow you to apply different styles based on the screen size.
Ready to Create Your Website?
If you’re inspired to start or upgrade your website, we’re here to help. Check out our website for more deals and a Free Website Setup to get you rolling. Plus, if you’re considering premium web hosting, we’ve got an incredible offer for you.
Get a HUGE Deal using our coupon code ‘MYFIRSTWEBSITE’ for a 12-month Premium Web Hosting Plan with Hostinger. This deal makes starting your website more affordable and ensures you have the reliable, fast hosting needed to keep your site running smoothly.