If you're serious about growing your website traffic, SEO isn’t optional. It’s essential. But let’s face it, most SEO plugins either overwhelm you with settings or try to upsell you every five clicks. That’s where SEOPress stands out. It’s lightweight, clean, and gives you full control over how your WordPress site appears in search results without making you feel like you need a degree in SEO.
In this guide, I’ll walk you through how to use SEOPress to optimize your WordPress site step-by-step, from installation to setting up sitemaps, adding schema, and using the built-in AI tools. If you’re just getting started with SEO or if you’re switching over from something like Yoast or RankMath, this is for you.
What Is SEOPress?
SEOPress is a WordPress plugin designed to improve your website’s rankings on Google by managing technical SEO settings like meta titles, descriptions, sitemaps, structured data, and indexing. It doesn’t add bloat to your site and works well with any WordPress theme or page builder.
If you want fast load times, flexible control, and a simple interface that actually makes sense, SEOPress is a solid pick.
Why SEOPress Over Other SEO Plugins?
Here’s why SEOPress stands out:
- It’s lightweight and doesn’t slow down your dashboard.
- No constant upsell every time you open a menu.
- It works with all major themes, including Elementor, Astra, and Kadence.
- It gives you real control over indexing, schema, and metadata.
- You get built-in AI tools (with the Pro version) for meta descriptions and titles.
And if you host your site on a fast provider like Hostinger, SEOPress helps you get the most out of that speed for better rankings.
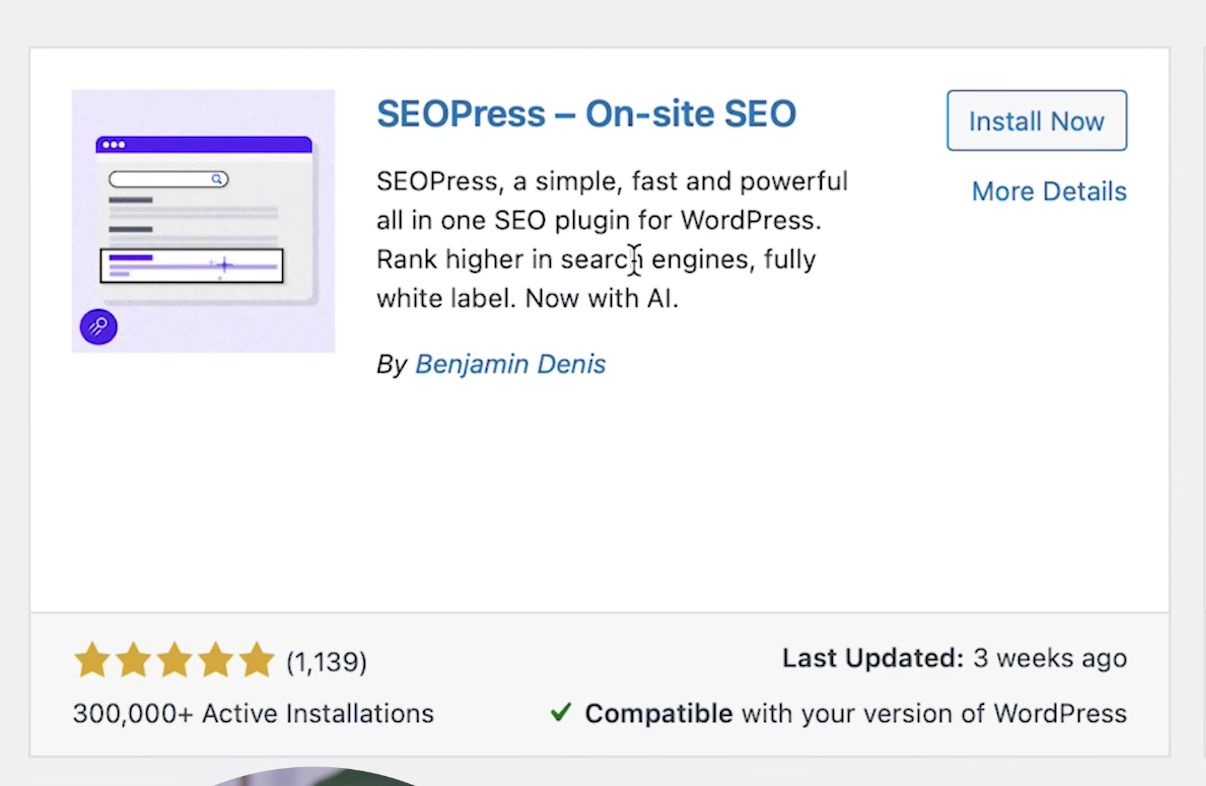
Step 1: Install SEOPress
In your WordPress dashboard, go to Plugins > Add New, search for “SEOPress,” and install the free version. Once it’s activated, you’ll see a new SEO section in your dashboard sidebar.
If you’re using the Pro version, upload the zip file under Plugins > Add New > Upload Plugin, then activate it.
Step 2: Clean Up What You Don’t Want Indexed
Now, it’s time to tell Google what to ignore.
- Go to SEO > Titles & Metas
- Keep Posts and Pages indexed (you want these to show up in Google)
- Set “no index” for Author Archives, Date Archives, and usually Category/Tag pages—unless you’ve turned them into valuable content hubs
This step alone can improve crawl efficiency and help your main pages rank faster.
Step 3: Set Up XML & HTML Sitemaps
Sitemaps help Google crawl your site the right way.
- Go to SEO > XML / HTML Sitemap
- Turn on XML Sitemap
- Include: Posts, Pages, and Products (if using WooCommerce)
- Exclude: Tags, Categories, Media pages (unless used intentionally)
- You can also generate an HTML Sitemap for users and drop it into a page using the shortcode provided
Submit your sitemap to Google Search Console to get indexed faster.
Step 4: Use the Universal SEO Metabox
When you edit a post or page, look for the floating SEOPress icon. This gives you:
- SEO Title and Meta Description fields
- Social sharing previews
- Canonical URL settings
This box helps you write SEO-optimized titles and descriptions that can boost your click-through rate in search results.
Step 5: Use Built-In AI Tools (Pro Version)
Go to SEO > Pro > AI and connect your OpenAI API key.
Now you can:
- Auto-generate page titles and meta descriptions with AI
- Use the Bulk AI tool to optimize multiple pages fast
It’s a great way to speed things up without sacrificing quality.
Step 6: Add Schema Markup
Schema helps Google understand what your content is about.
- Go to SEO > Schemas
- Add structured data types like “Article,” “Product,” or “Local Business”
- Set it to apply automatically to relevant post types
Schema can help you get rich snippets in search results like star ratings, product prices, or business hours.
Step 7: Connect to Google Search Console (Pro)
If you’re using the Pro version, you can link your Google Search Console directly to SEOPress.
- Go to SEO > Pro > Google Search Console
- Authenticate your account and pull in data like clicks, impressions, and rankings
This helps you track what’s working without leaving your dashboard.
Step 8: Tweak Advanced Settings
- Go to SEO > Advanced > Advanced Settings
- Remove junk meta tags (WordPress version, short links)
- Automate Image SEO: auto-fill alt tags, title text, and captions based on file name
- Edit robots.txt and .htaccess files (Pro feature) for finer control
Also, make sure “Discourage search engines from indexing this site” is NOT checked under Settings > Reading, this is a common mistake on new sites.
Step 9: Export/Import or Migrate from Other Plugins
If you’re switching from Yoast or RankMath:
- Go to SEO > Tools > Import/Export
- Follow the prompts to migrate your settings
This saves time and keeps your site consistent if you manage multiple installs.
Final Thoughts
SEOPress is hands down one of the easiest ways to clean up your site’s SEO and get better rankings without dealing with bloated plugins or confusing dashboards. You don’t need to be an expert. Just follow the basics: index your valuable content, skip the fluff, set up schema, and use AI tools to save time. And if you haven’t picked a hosting platform yet, I recommend starting with Hostinger here, it’s fast, reliable, and works great with SEOPress out of the box. Simple SEO done right. That’s the whole point.