Your website is your digital storefront, and keeping it secure should be a top priority. Cyberattacks, spam, and downtime can damage your credibility and cost you money. Jetpack, a powerful WordPress plugin, offers an all-in-one security and performance suite to help protect your website. In this guide, we’ll walk you through how to install, set up, and configure Jetpack to safeguard your site and improve its performance.
What is Jetpack?
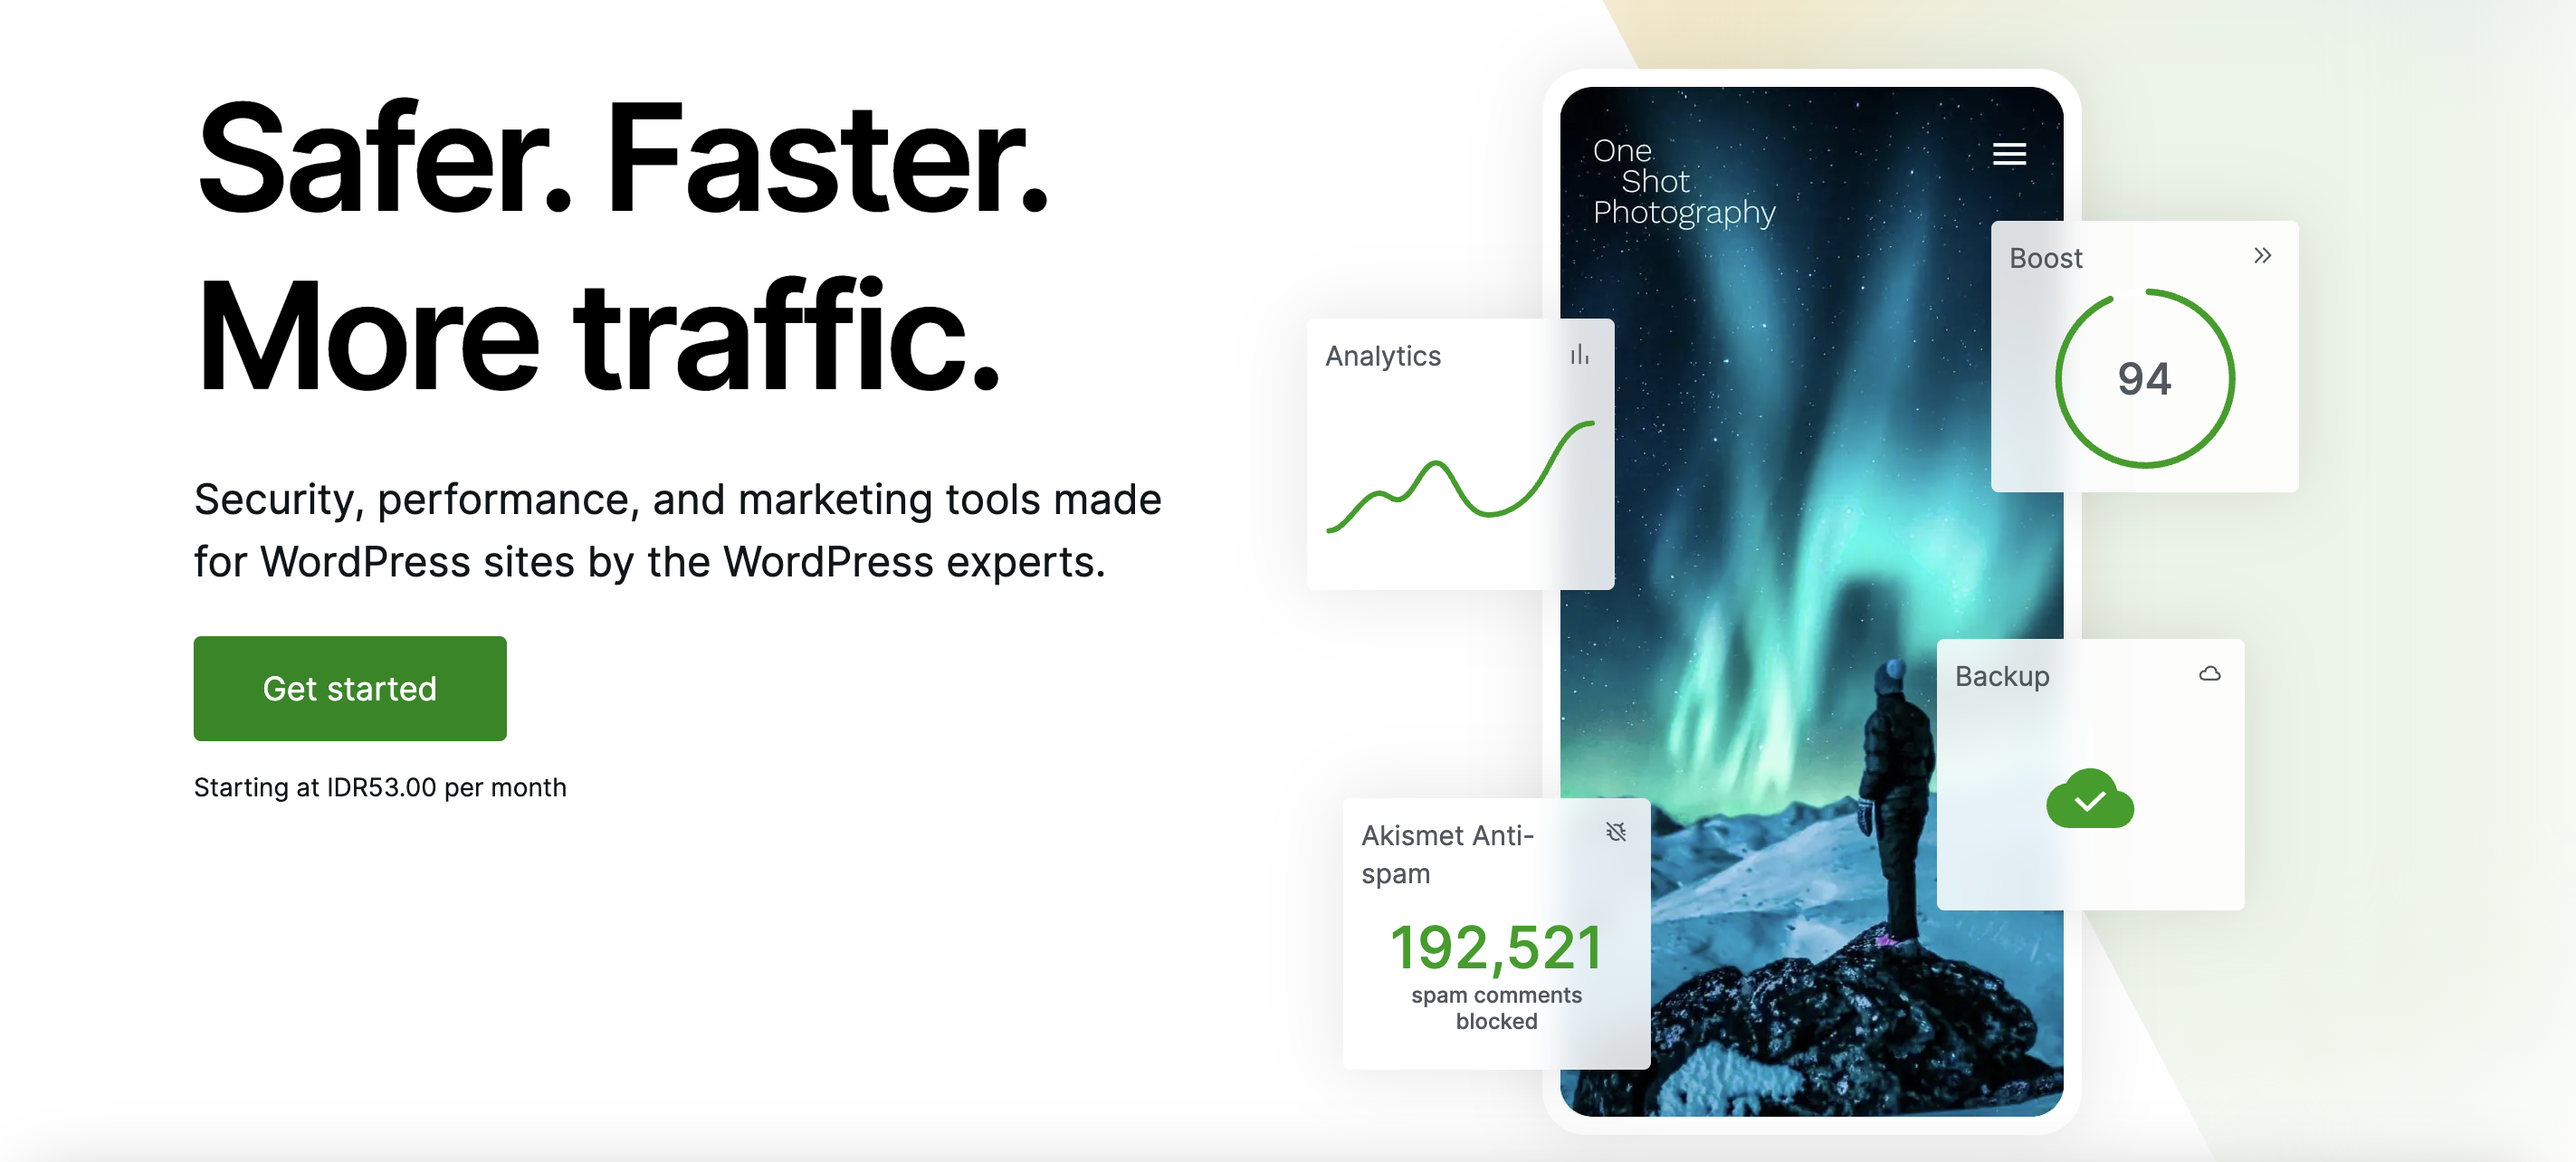
Jetpack is a security and performance plugin for WordPress websites. It offers real-time protection against cyber threats, automated backups, and performance enhancements like image optimization. Whether you're running a blog, an e-commerce store, or a business website, Jetpack ensures your site stays fast and secure.
Why Use Jetpack?
- Prevents brute force attacks and unauthorized logins.
- Scans for malware and automatically repairs vulnerabilities.
- Blocks spam comments and form submissions.
- Monitors website uptime and alerts you of any downtime.
- Optimizes images and site speed for better performance.
For a full visual walkthrough, check out our YouTube tutorial on setting up Jetpack for WordPress security.
How to Install and Set Up Jetpack
Step 1: Install Jetpack
- Log into your WordPress dashboard and go to the Plugins section.
- Click Add New, then search for Jetpack in the search bar.
- Click Install Now, then Activate the plugin.
If you don’t have a WordPress site yet, we recommend getting a Hostinger plan to host your WordPress site for only $2.99 per month.
Step 2: Connect Jetpack to WordPress.com
- After activation, Jetpack will prompt you to connect to a WordPress.com account.
- If you don’t have an account, create one for free.
- Click Approve to allow Jetpack to manage your site security.
Key Security Features of Jetpack
1. Brute Force Attack Protection
Hackers use automated bots to guess your login details. Jetpack blocks suspicious login attempts and keeps unauthorized users out.
How to Enable:
- Go to Jetpack > Settings > Security in your WordPress dashboard.
- Toggle on Brute Force Attack Protection.
2. Secure Sign-in (Two-Factor Authentication)
Strengthening your login process reduces the risk of account hijacking.
How to Enable:
- Under Jetpack > Security, enable Secure Sign-in.
- Activate Two-Factor Authentication for added security.
3. Malware Scanning and File Repair
Jetpack scans your site for viruses, malware, and security vulnerabilities. If an issue is found, you’ll get an alert with a one-click fix option.
How to Enable:
- Navigate to Jetpack > Security and enable Malware Scanning.
- If using a premium plan, Jetpack will automatically repair affected files.
4. Spam Filtering (Powered by Akismet)
Spam can clutter your comments section and contact forms, making your site look unprofessional.
How to Enable:
- Under Jetpack > Discussion, enable Spam Filtering.
- Activate Akismet Anti-Spam, which is built into Jetpack.
5. Downtime Monitoring
If your site goes offline, Jetpack will send you an email alert, so you can fix the issue before losing visitors.
How to Enable:
- Go to Jetpack > Settings > Security.
- Enable Downtime Monitoring.
- Customize your notification settings to receive alerts via email or mobile.
6. Backup and Restore (Premium Feature)
If your site is hacked or crashes, Jetpack’s backup system lets you restore it in one click.
How to Enable:
- In Jetpack > Backup, choose daily or real-time backups (premium plans).
- Set up automated backups to protect your data.
Performance Enhancements in Jetpack
1. Image Optimization
Large images slow down your website. Jetpack automatically compresses and optimizes images for faster loading speeds.
How to Enable:
- Go to Jetpack > Performance.
- Turn on Site Accelerator for image and file optimization.
2. Website Analytics (Site Stats)
Knowing how visitors interact with your site helps you improve engagement.
How to Enable:
- Navigate to Jetpack > Site Stats.
- View real-time data on traffic, referrers, and popular posts.
Jetpack Pricing: Is It Worth It?
Jetpack offers a free plan with basic security features, but premium plans unlock real-time backups, malware scanning, and advanced spam protection.
Jetpack Plans:
- Free Plan: Basic security, brute force protection, and downtime monitoring.
- Security Plan ($9.95/month): Daily backups, malware scans, spam filtering.
- Growth Plan ($24.95/month): Real-time backups, advanced analytics, and speed optimizations.
- Complete Plan ($49.95/month): All features, including priority support and premium themes.
14-day money-back guarantee included.
Final Thoughts: Should You Use Jetpack for Website Security?
If you run a WordPress website, Jetpack is one of the best security solutions available. It’s easy to install, protects against cyber threats, and offers performance-enhancing tools to keep your site running smoothly.
Who Should Use Jetpack?
- Bloggers and small businesses looking for an all-in-one security and performance solution.
- Website owners who want automated backups and malware protection.
- Anyone using WordPress who wants a simple, effective way to boost security.