If you're selling a course, digital product, or coaching offer online, you need a clean and high-converting sales page. But the idea of building one from scratch can feel overwhelming, especially if you’re not a designer or developer.
That’s where Kajabi comes in. Kajabi is an all-in-one platform built for creators, and it gives you everything you need to design beautiful, mobile-optimized sales pages without touching a single line of code.
In this step-by-step guide, I’ll show you how to create a full sales page using Kajabi’s built-in tools. Whether you're launching your first offer or revamping an old one, this tutorial will help you build fast and convert more visitors into customers.
Why Kajabi Matters
If you're serious about monetizing your knowledge, Kajabi is the tool that simplifies everything. Instead of stitching together five different platforms for websites, emails, funnels, payments, and course hosting, Kajabi puts it all in one place.

This saves you time, cuts your tech costs, and helps you focus on what actually matters, serving your audience and making sales.
Step 1: Log into Kajabi and Start a New Page
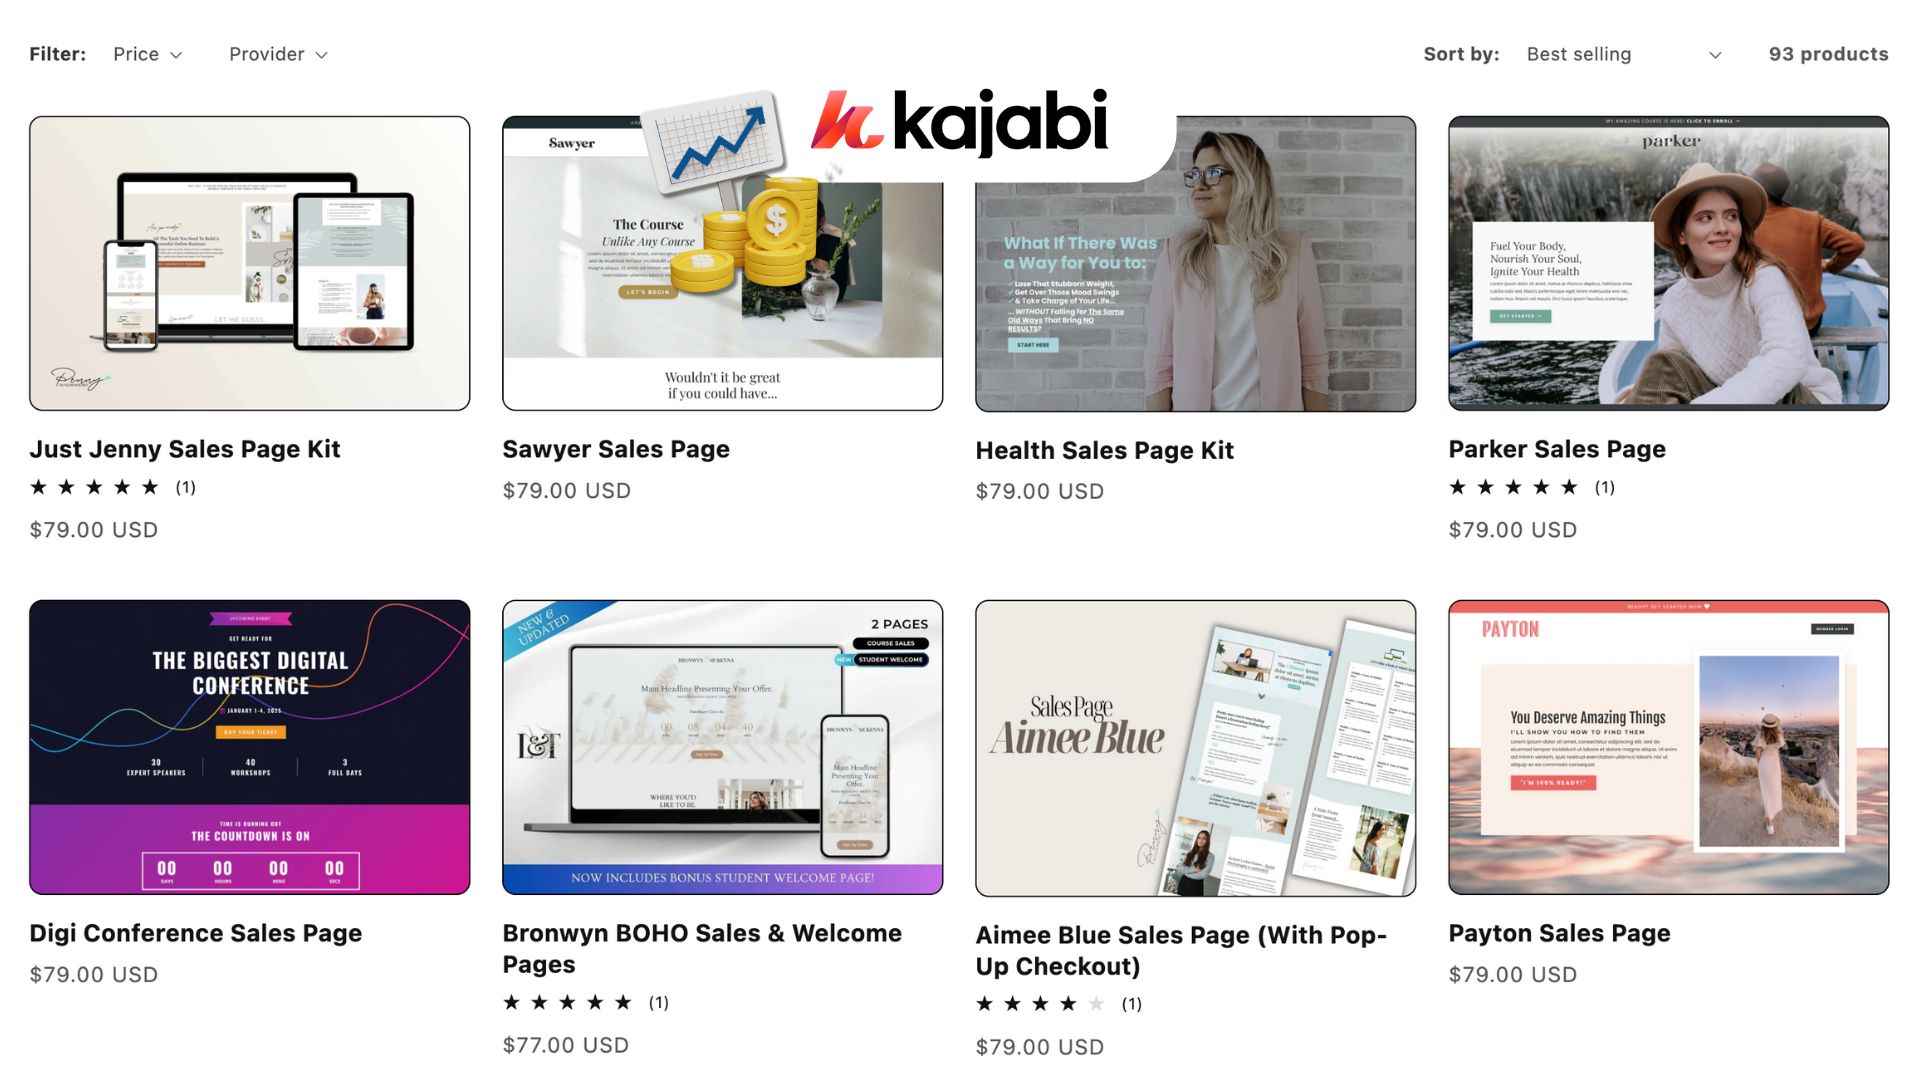
After logging into your Kajabi account, go to the “Website” tab on the left sidebar and select “Pages.” Click “+ New Page.”
Kajabi will give you a list of templates. For a sales page, choose “Sales Page” or “Landing Page” from the list. These templates are already structured for conversions and include spots for headlines, testimonials, and calls to action. Click “Get Started,” name your page, and hit “Create.”
Step 2: Customize the Header and Hero Section
Your hero section is the first thing people see. This is where you capture attention and quickly explain what your offer is about.
- Update the headline to something bold and direct. Make it benefit-focused.
Example: “Launch Your First Digital Product in 30 Days.” - Add a subheading that explains who it’s for and what result they’ll get.
- Upload a high-quality image or video that matches your offer. You can also use a thumbnail of your course or product mockup.
Kajabi lets you click into each section and edit directly. No coding needed. Just swap in your own text, images, and buttons.
Step 3: Add a Call to Action (CTA)
Right below your hero, place a CTA button. Make sure it stands out with a strong, clear message like “Join the Program” or “Start Your Free Trial.”
You can link this button to your checkout page, a lead capture form, or your offer inside Kajabi.
Tip: Use contrast colors for your buttons so they stand out from the background.
Step 4: Add a Features or Benefits Section
Use a simple three-column layout to highlight key benefits. These could be outcomes your customer will experience, core features of your program, or bonuses they’ll receive.
- Use icons or images to break up the text.
- Keep your descriptions short and punchy.
- Always focus on how it helps the customer, not just what the feature is.
Kajabi has built-in section blocks for this, so you can drag and drop new content without messing with the layout.
Step 5: Add Social Proof (Testimonials and Results)
This is where you build trust.
Use a “Testimonials” section to feature short quotes from your customers. You can add photos, names, and even star ratings.
If you have screenshots of results, like income stats or before-and-after photos, use a “Media + Text” block to showcase them. Try offering your course to a few beta users in exchange for feedback and permission to use their quote on your site, if you have no testimonials yet.
Step 6: Include a Section About You
People want to know who they’re buying from. Add a short section with your photo and a few lines about your background and why you created the offer. Keep it relevant. Focus less on your bio and more on why you’re qualified to help them get results. This section is optional, but it helps build connection and authority.
Step 7: Add a Pricing or Offer Breakdown
Kajabi makes it easy to add pricing tables or stacked offer boxes. Show exactly what’s included in your product or service and what the customer gets.
You can list:
- Course modules
- Bonus content
- Access length
- Any community or coaching support
Use a pricing table if you have multiple options (like monthly vs yearly). Add another CTA button underneath.
Step 8: Optimize the Footer and Navigation
Most high-converting sales pages are distraction-free. Turn off your navigation bar and footer if you don’t want people to click away. In the page editor, go to settings and toggle off “Show Navigation.” If you want a simple footer, just include your contact info, privacy policy, and terms of service.
Step 9: Preview and Test on Mobile
Kajabi automatically makes your sales page mobile-responsive, but you should still test it.
Click the “Preview” button in the top right and switch between desktop and mobile views. Make sure all text is readable, images look clean, and buttons are easy to click. If anything looks off, go back and adjust the padding or font size.
Step 10: Publish and Share
Once you’re happy with the layout, click “Publish” in the top right. Kajabi will give you a direct link to your live sales page. You can now promote this link on social media, in your email list, or through paid ads. Go to your Kajabi settings and link a custom domain so your URL looks more professional.
Final Thoughts
You don’t need a fancy agency or months of design work to build a great sales page. Kajabi gives you everything you need to launch fast, test your offer, and start getting sales, even if it’s your first time. The layout templates are clean. The drag-and-drop editor is smooth. And every block is optimized to help you convert. So if you’ve been stuck waiting for the “perfect” website or sales page, stop waiting. You’ve got the tools. Now it’s just about putting them to use.