If you want a faster, more powerful website, setting up a Hostinger VPS (Virtual Private Server) for WordPress is a great choice. Unlike shared hosting, VPS gives you more control, better performance, and room to scale. The best part? You don’t need to be super technical to set it up. Hostinger makes the process simple, even for beginners.
In this tutorial, I’ll walk you through step by step how to set up your VPS, install WordPress, secure your server, and connect your domain.
Step 1: Choosing the Right Hostinger VPS Plan
When starting out, it’s easy to overspend on a hosting plan you don’t need yet. For most beginners, the KVM2 plan is the sweet spot. It gives you enough resources for your WordPress site and even extra room if you plan to run automations or small apps in the future.
The higher-tier plans are best if you’re running multiple heavy websites or resource-intensive projects. But if you’re just launching one WordPress site, KVM2 has everything you need without overpaying.
Step 2: Saving Money at Checkout
When signing up, make sure to take advantage of discounts. Use the coupon code myfirstwebsite at checkout for an extra discount. Also, selecting a longer plan (like 24 or 48 months) can lower the monthly cost compared to paying month-to-month.
Step 3: Initial VPS Setup
After you purchase your VPS, Hostinger will guide you through the setup:
- Select your server location – Choose the region closest to your main audience for faster speeds.
- Choose your operating system – Ubuntu is recommended for beginners.
- Install WordPress – Hostinger gives you a one-click WordPress installation option directly on Ubuntu.
This gets your VPS up and running with WordPress pre-installed.
Step 4: Setting a Secure Password and Enabling Security
Security is critical when managing your own VPS. During setup:
- Create a strong password (mix of letters, numbers, and symbols).
- Add an SSH key if you want extra security for logging into your server.
- Turn on the malware scanner in Hostinger’s dashboard to automatically scan for threats.
These steps help keep your site safe from the start.
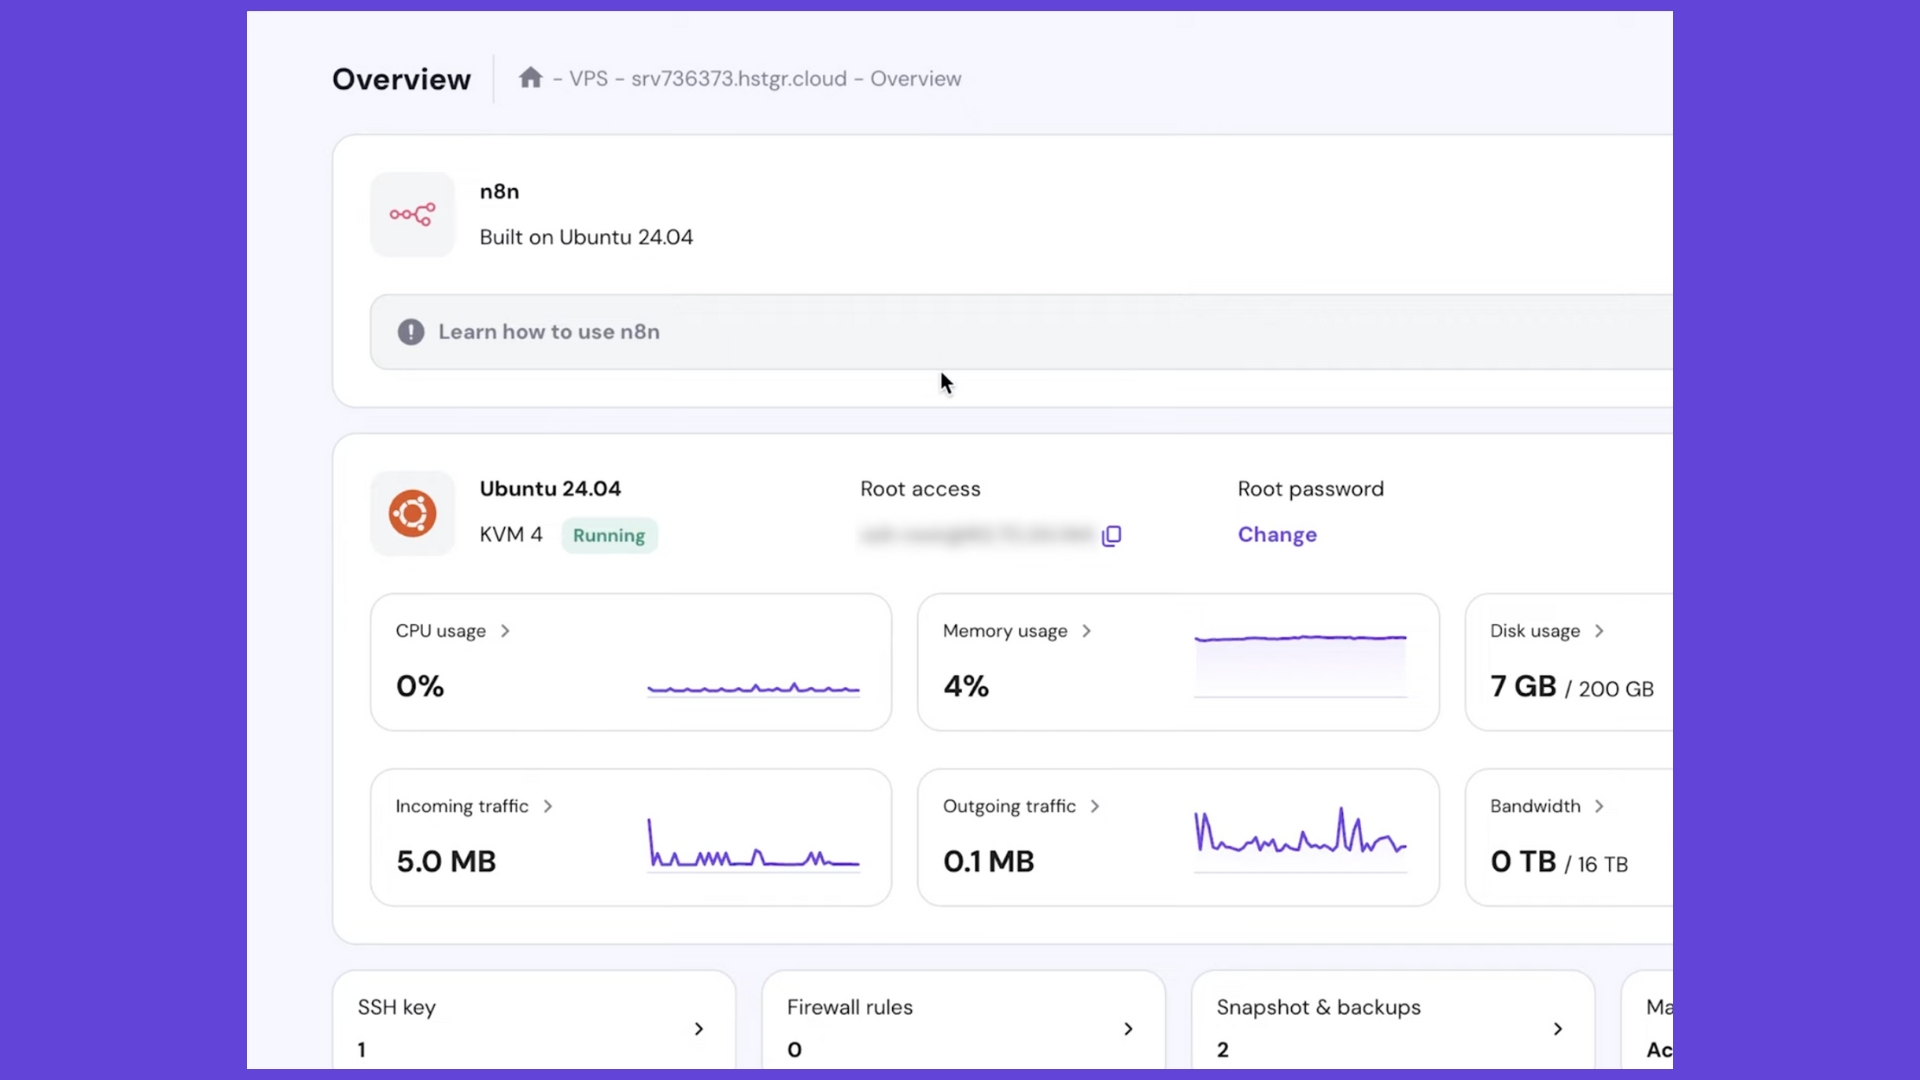
Step 5: Managing Your VPS from the Dashboard
Once everything is set up, you’ll land in the Hostinger VPS dashboard. Here you can:
- Monitor your server’s performance.
- Restart or reboot your VPS if needed.
- Access the browser-based terminal to run commands.
It’s beginner-friendly, but still gives you full control if you want to dive deeper.
Step 6: Using the Browser Terminal
From the terminal, you can run commands to update and maintain your VPS. A few key commands to know are:
- sudo apt update – Updates your server’s package list.
- sudo apt upgrade – Installs the latest versions of packages.
- adduser username – Creates a new user.
Running these commands regularly keeps your server updated and secure.
Step 7: Pointing Your Domain to the VPS
To make your site live, you’ll need to connect your domain to your VPS.
- Log in to your domain registrar’s account (where you bought your domain).
- Go to the DNS settings.
- Add an A record pointing to your VPS IP address.
Once the changes are saved, it may take a few hours for your domain to fully connect.
Step 8: Using Hostinger’s AI Assistant (Kodi)
One of the best features Hostinger offers is Kodi, their AI-powered assistant. If you get stuck, Kodi can answer questions about managing your VPS, troubleshooting errors, and even suggesting commands. It’s like having a built-in support team available 24/7.
Final Thoughts
Setting up a Hostinger VPS for WordPress gives you speed, control, and scalability that shared hosting can’t match. With the step-by-step setup, built-in security, and Hostinger’s AI assistant, even beginners can manage their own server confidently.
If you’ve been thinking about upgrading from shared hosting, now’s the time to start. Choose your VPS plan, set it up with WordPress, and take your website to the next level.