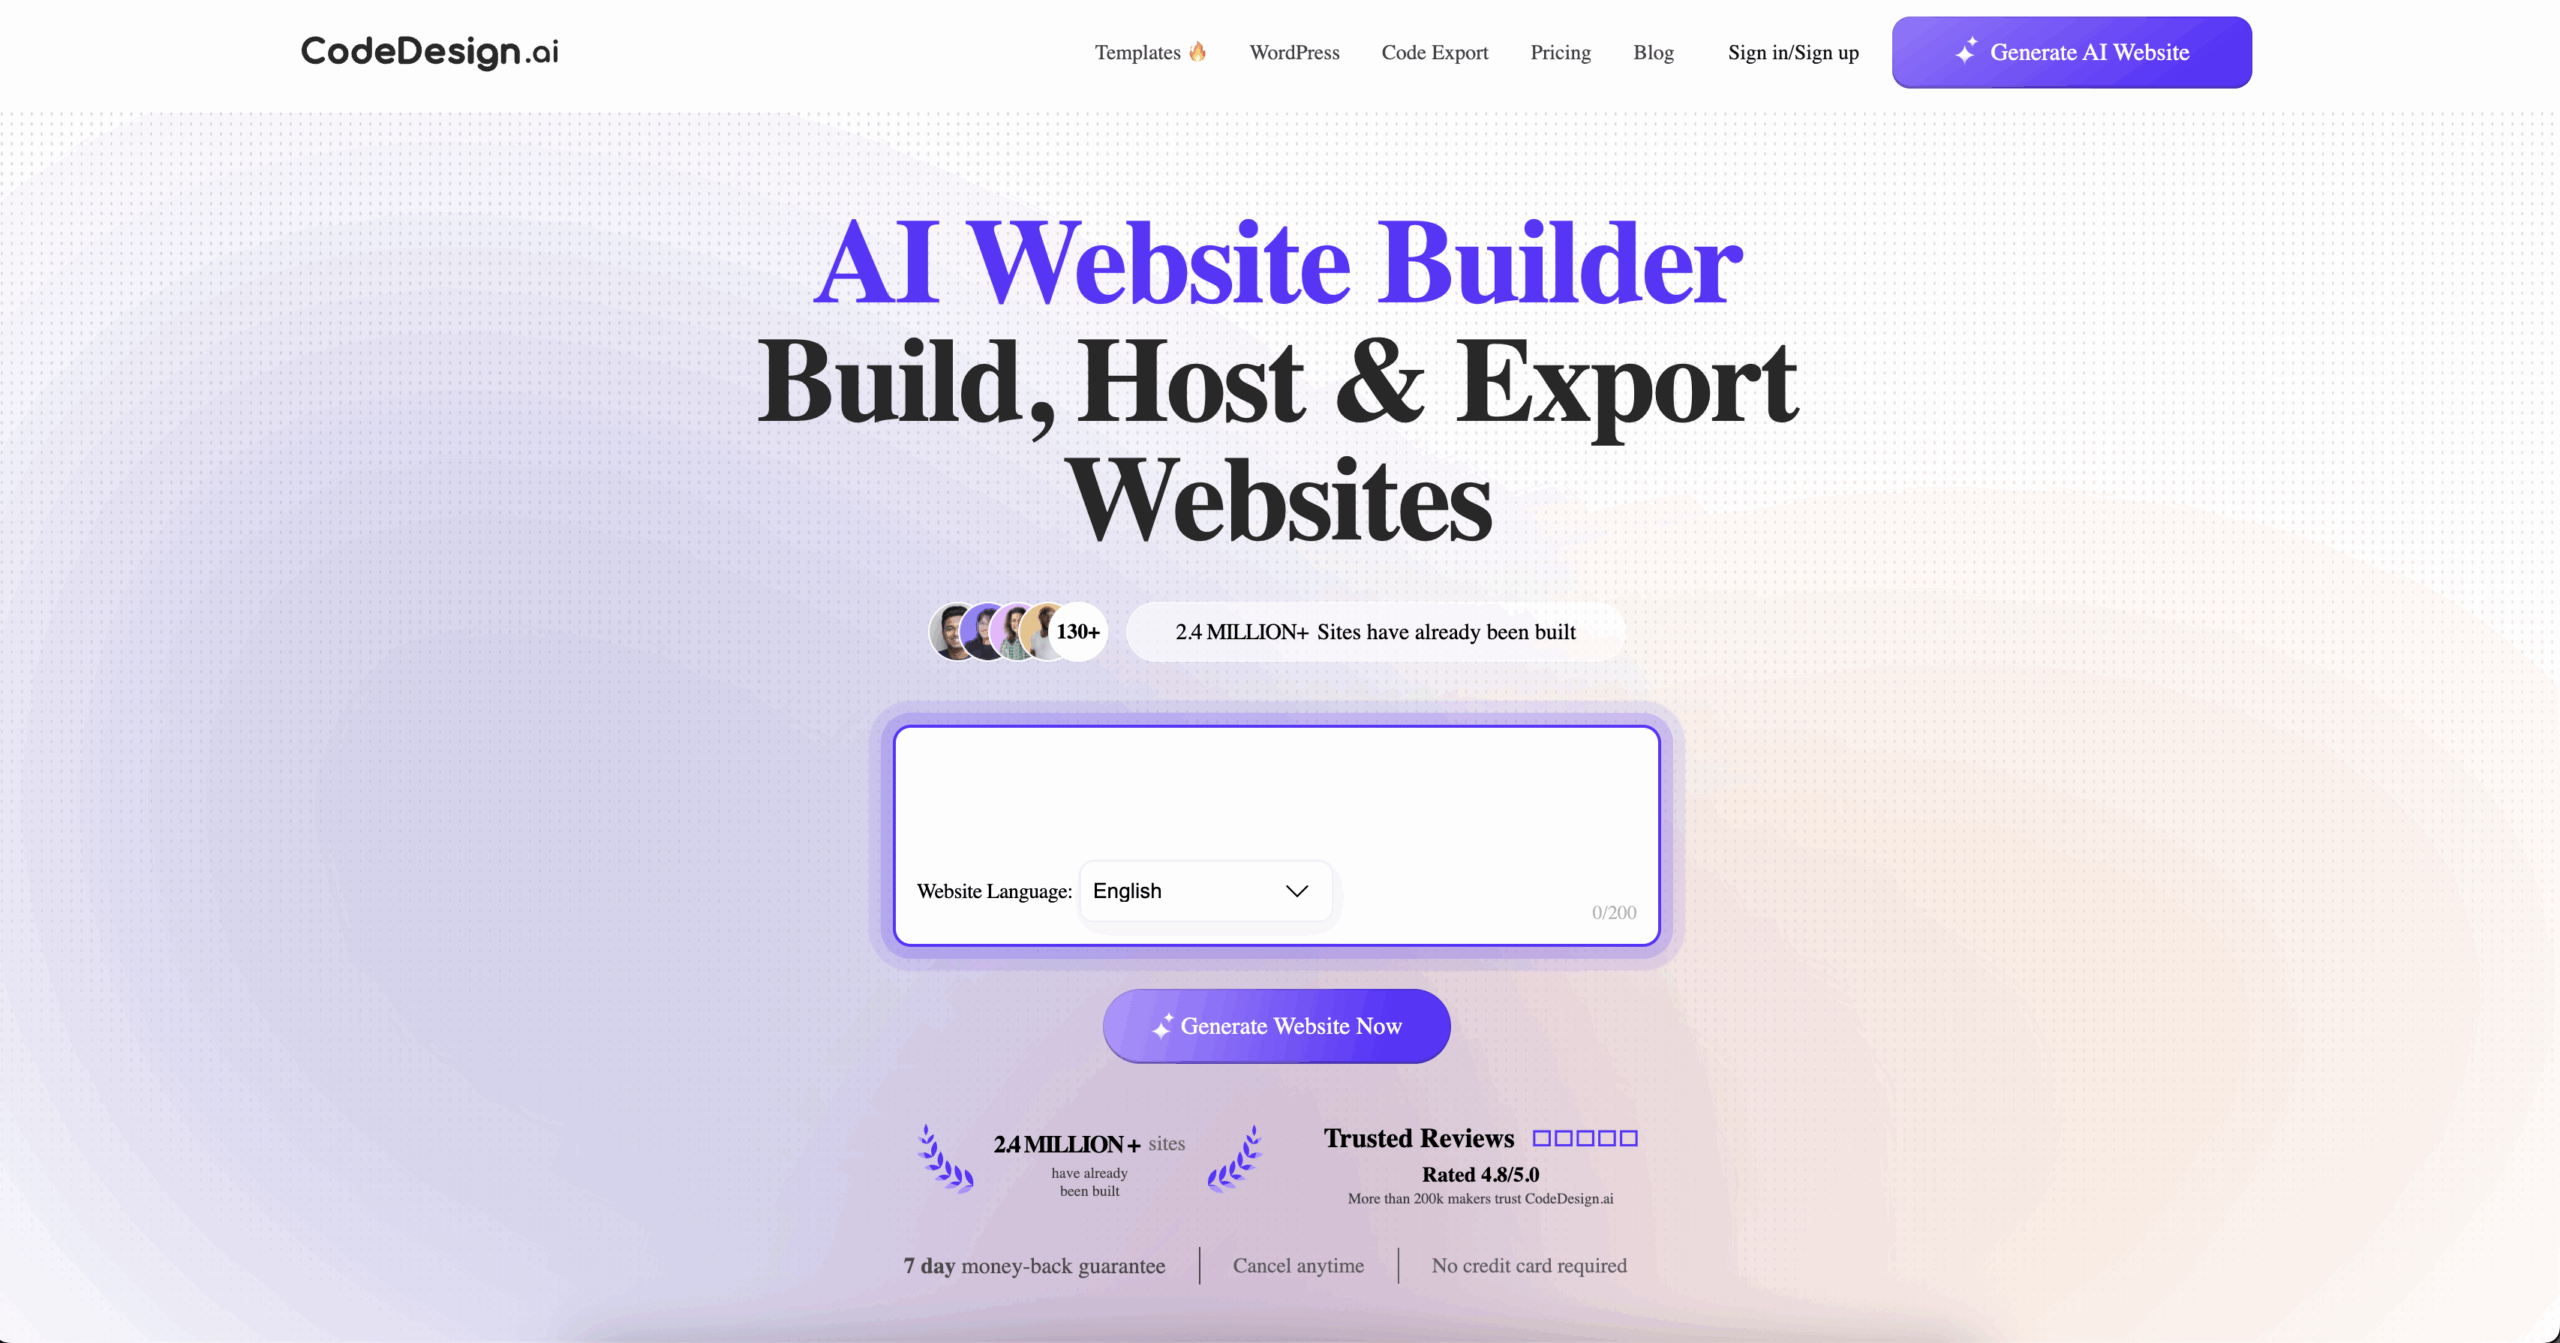
If you’ve been using CodeDesign AI to create websites, you already know how fast it makes the design process. But what if you want more control? That’s where exporting and editing your code comes in. CodeDesign AI lets you build your site with AI, then export the HTML, CSS, and JavaScript so you can fully customize it.
In this guide, I’ll show you step by step how to export code from CodeDesign AI, edit it, and make your site your own.
Step 1: Build Your Design in CodeDesign AI
Start by creating your site inside CodeDesign AI. Use the drag-and-drop editor, AI prompts, or templates to get your layout right. Don’t worry about making everything perfect now; you’ll refine the details later once you export the code.
Step 2: Export Your Code
Once you’re happy with your design:
- Go to your dashboard.
- Open the project you want to export.
- Click the Export Code option.
- Choose whether you want the files in HTML, CSS, or JavaScript, or download everything together in a zip file.
This gives you all the code you need to edit your site outside of CodeDesign AI.
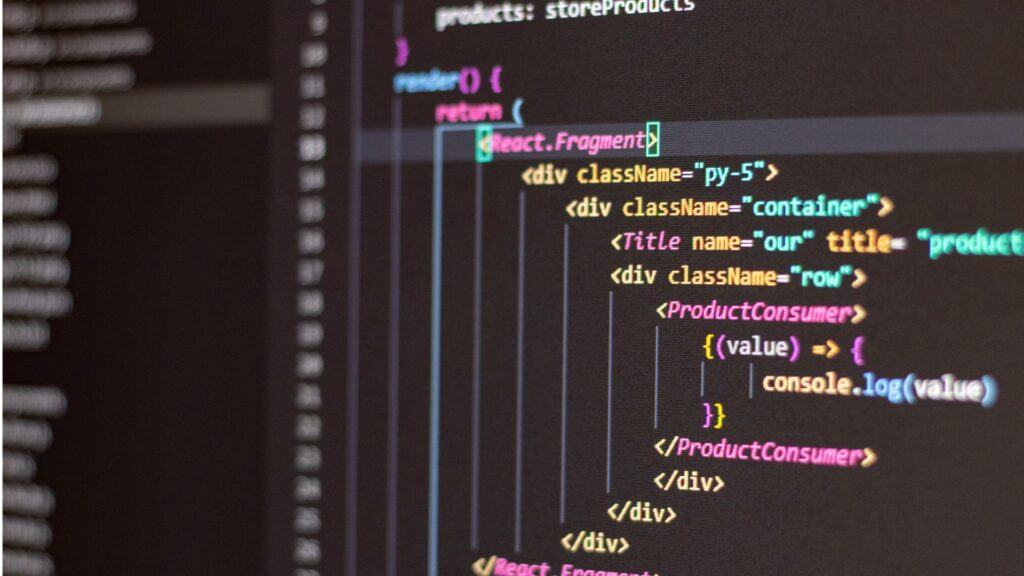
Step 3: Open the Code in a Code Editor
After downloading the files, open them in a code editor like:
- Visual Studio Code (free and popular).
- Sublime Text.
- Atom.
These editors make it easy to view and edit code with syntax highlighting and search functions.
Step 4: Edit Your HTML and CSS
Now you can fully customize:
- HTML: Change text, structure, and elements. Add sections like testimonials or extra buttons.
- CSS: Adjust fonts, colors, spacing, and layouts. You can match your brand exactly.
- JavaScript: Add animations, form validations, or interactive elements.
Tip: If you’re new to coding, start small. Change text, swap colors, or adjust spacing before moving to advanced edits.
Step 5: Test Your Changes
Always test your code after editing:
- Open the index.html file in your browser to see updates.
- Check different devices and screen sizes to make sure your site is responsive.
- Fix broken links or layout issues before publishing.
This helps you avoid pushing errors to your live site.
Step 6: Deploy Your Customized Site
Once everything looks good, upload your files to your hosting provider. You can use:
- Hostinger or Bluehost for simple and affordable hosting.
- Netlify or Vercel, if you want a free option for static sites.
Now your customized CodeDesign AI site is live on your domain.
Step 7: Keep Iterating
The best part of exporting code is freedom. You can keep tweaking your site as your business grows, add new pages, connect APIs, or integrate tools. Once you learn the basics, you can transform a simple AI-generated design into a polished, professional website.
Final Thoughts
Exporting and editing code from CodeDesign AI gives you full creative control. You start with AI speed, then use coding flexibility to refine every detail. Built in CodeDesign AI, export your files, edit in a code editor, and host your site anywhere you like.
If you haven’t tried CodeDesign AI yet, now’s the time. It’s one of the easiest ways to launch a website fast, with the freedom to customize every line of code afterward.