If you’re building a design-focused site like a portfolio, agency site, or digital product brand, your domain needs to do more than just point to a page. It has to load fast, stay reliable, and connect to tools like Notion, Webflow, Carrd, Framer, or even custom email providers. How do you do that? The answer is custom DNS records.
In this tutorial, we’ll break down exactly how to set up custom DNS records inside Hostinger. Whether you're trying to link a third-party builder or connect email, this guide keeps it simple.
And if you haven’t picked a domain or hosting provider yet, Hostinger is one of the easiest and most affordable places to start. You can grab a domain for cheap, host your site, and manage DNS all in one place. Start here if you need a domain or hosting.
Let’s get into it.
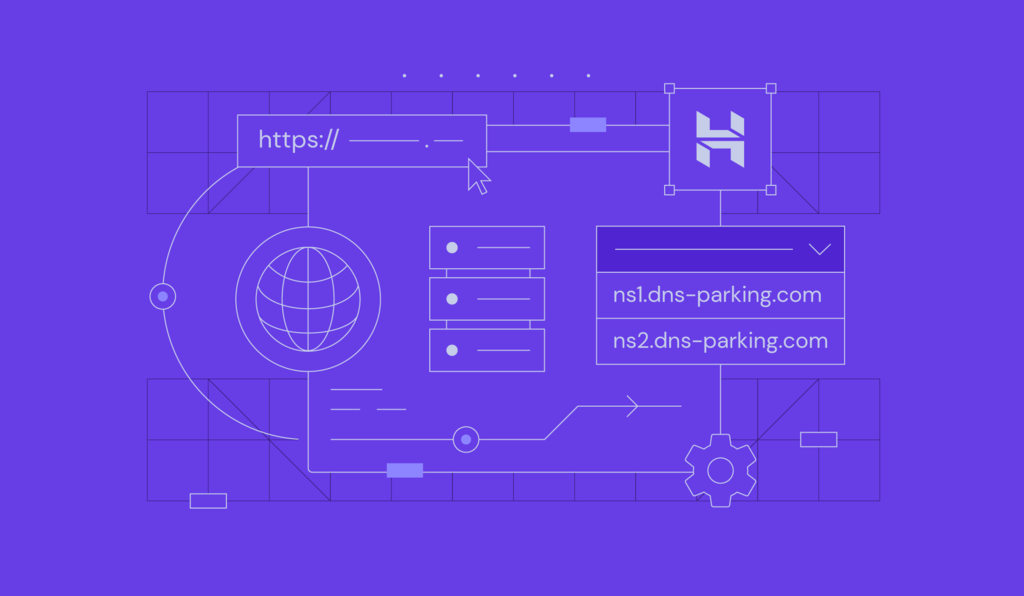
Step 1: Log In and Open DNS Zone Editor
Once you're inside Hostinger:
- Go to your Hosting Dashboard
- Select your domain
- Scroll down to Advanced and click DNS Zone Editor
This is where you can see all your existing DNS records, A records, CNAMEs, MX for email, TXT records, and more.
Step 2: Understand the DNS Records You’ll Be Adding
Here are the most common types of records you’ll need:
- A Record – Points your domain to a server IP (usually for hosting or platforms like Framer, Webflow, or custom VPS).
- CNAME Record – Points subdomains like www.yourdomain.com or blog.yourdomain.com to a platform like Notion or Teachable.
- MX Record – Required for email (Google Workspace, Zoho, Titan).
- TXT Record – Often used to verify your domain ownership or set up SPF/DKIM for email security.
If you’re connecting your domain to a third-party tool, they’ll usually give you step-by-step instructions with these records. All you have to do is copy and paste it into Hostinger’s DNS Zone Editor.
Step 3: Add or Modify DNS Records
Click “Add Record” in Hostinger, then select the type of record:
- For A Records, paste the platform’s IP address and leave TTL as the default.
- For CNAME, you’ll usually set “Name” to www or whatever subdomain you’re using, and the “Target” is the URL provided (like proxy.webflow.com).
- For MX, select “MX” as type, input the hostname (@ for root domain), mail server value (like smtp.gmail.com), and priority (e.g., 10).
- For TXT, paste in what’s needed for verification. This might look like a long string of characters from Google, Facebook, etc.
Pro Tip: Changes can take up to 24 hours to propagate, but usually, it’s much faster with Hostinger.
Step 4: Test That It’s Working
After adding your records:
- Visit your domain or subdomain in a browser
- Use free tools like whatsmydns.net to check propagation
- For email setup, test by sending and receiving from your domain email
If nothing loads or your connection fails, double-check for typos in your entries. A single period or wrong IP will break everything.
Design-Specific Use Cases
If you’re a designer or creative, here’s where custom DNS really matters:
- Framer – Add A records and CNAMEs to point your domain to Framer’s platform.
- Webflow – Webflow requires 2 A records and 1 CNAME for www to work correctly.
- Carrd – Needs a CNAME or A record, depending on whether you use www or root domain.
- Notion with Super or Potion – You’ll use a CNAME or A record plus a TXT record to verify ownership.
- Email Branding – Use MX, SPF, DKIM, and TXT records to run branded email through Google Workspace or Zoho.
In all these setups, having control of your DNS records means freedom. You can route traffic anywhere you want, test new tools, and even switch platforms without changing your domain.
What If You Break Something?
Don’t panic. Hostinger gives you the option to reset your DNS records to the default. This will undo all changes and restore your domain to a basic hosting setup. Just go back to the DNS Zone Editor and hit “Reset to default” at the top. You can always export a backup of your current DNS setup before making changes, just in case.
Why Hostinger Is Ideal for DNS Management
- Clean, easy interface
- Fast propagation times
- Affordable domains and hosting
- Built-in email options (Titan Mail or 3rd-party setup)
- Great support and tutorials
You don’t need to be a tech expert. As a designer, you just want your site to live, fast, and connected. Hostinger makes it doable without digging into the backend code or hiring a developer.
Final Thoughts
Custom DNS records are a must if you want full creative and technical control over your site. Whether you're linking your domain to Webflow, setting up email, or pointing to your new Framer portfolio, it all starts in your Hostinger dashboard. And if you haven’t gotten your domain and hosting yet, Hostinger gives you both in one spot at a great price. It’s simple, fast, and flexible enough for any design-forward brand.