Selling online courses has become one of the best ways to build income while sharing your expertise. The good news is, you don’t need to be a tech pro to set up your own course website. With WordPress and the Sensei LMS plugin, you can launch a course platform that looks professional, is easy to manage, and can grow with your business.
In this tutorial, I’ll walk you through exactly how to create your own online course website using WordPress and Sensei LMS.
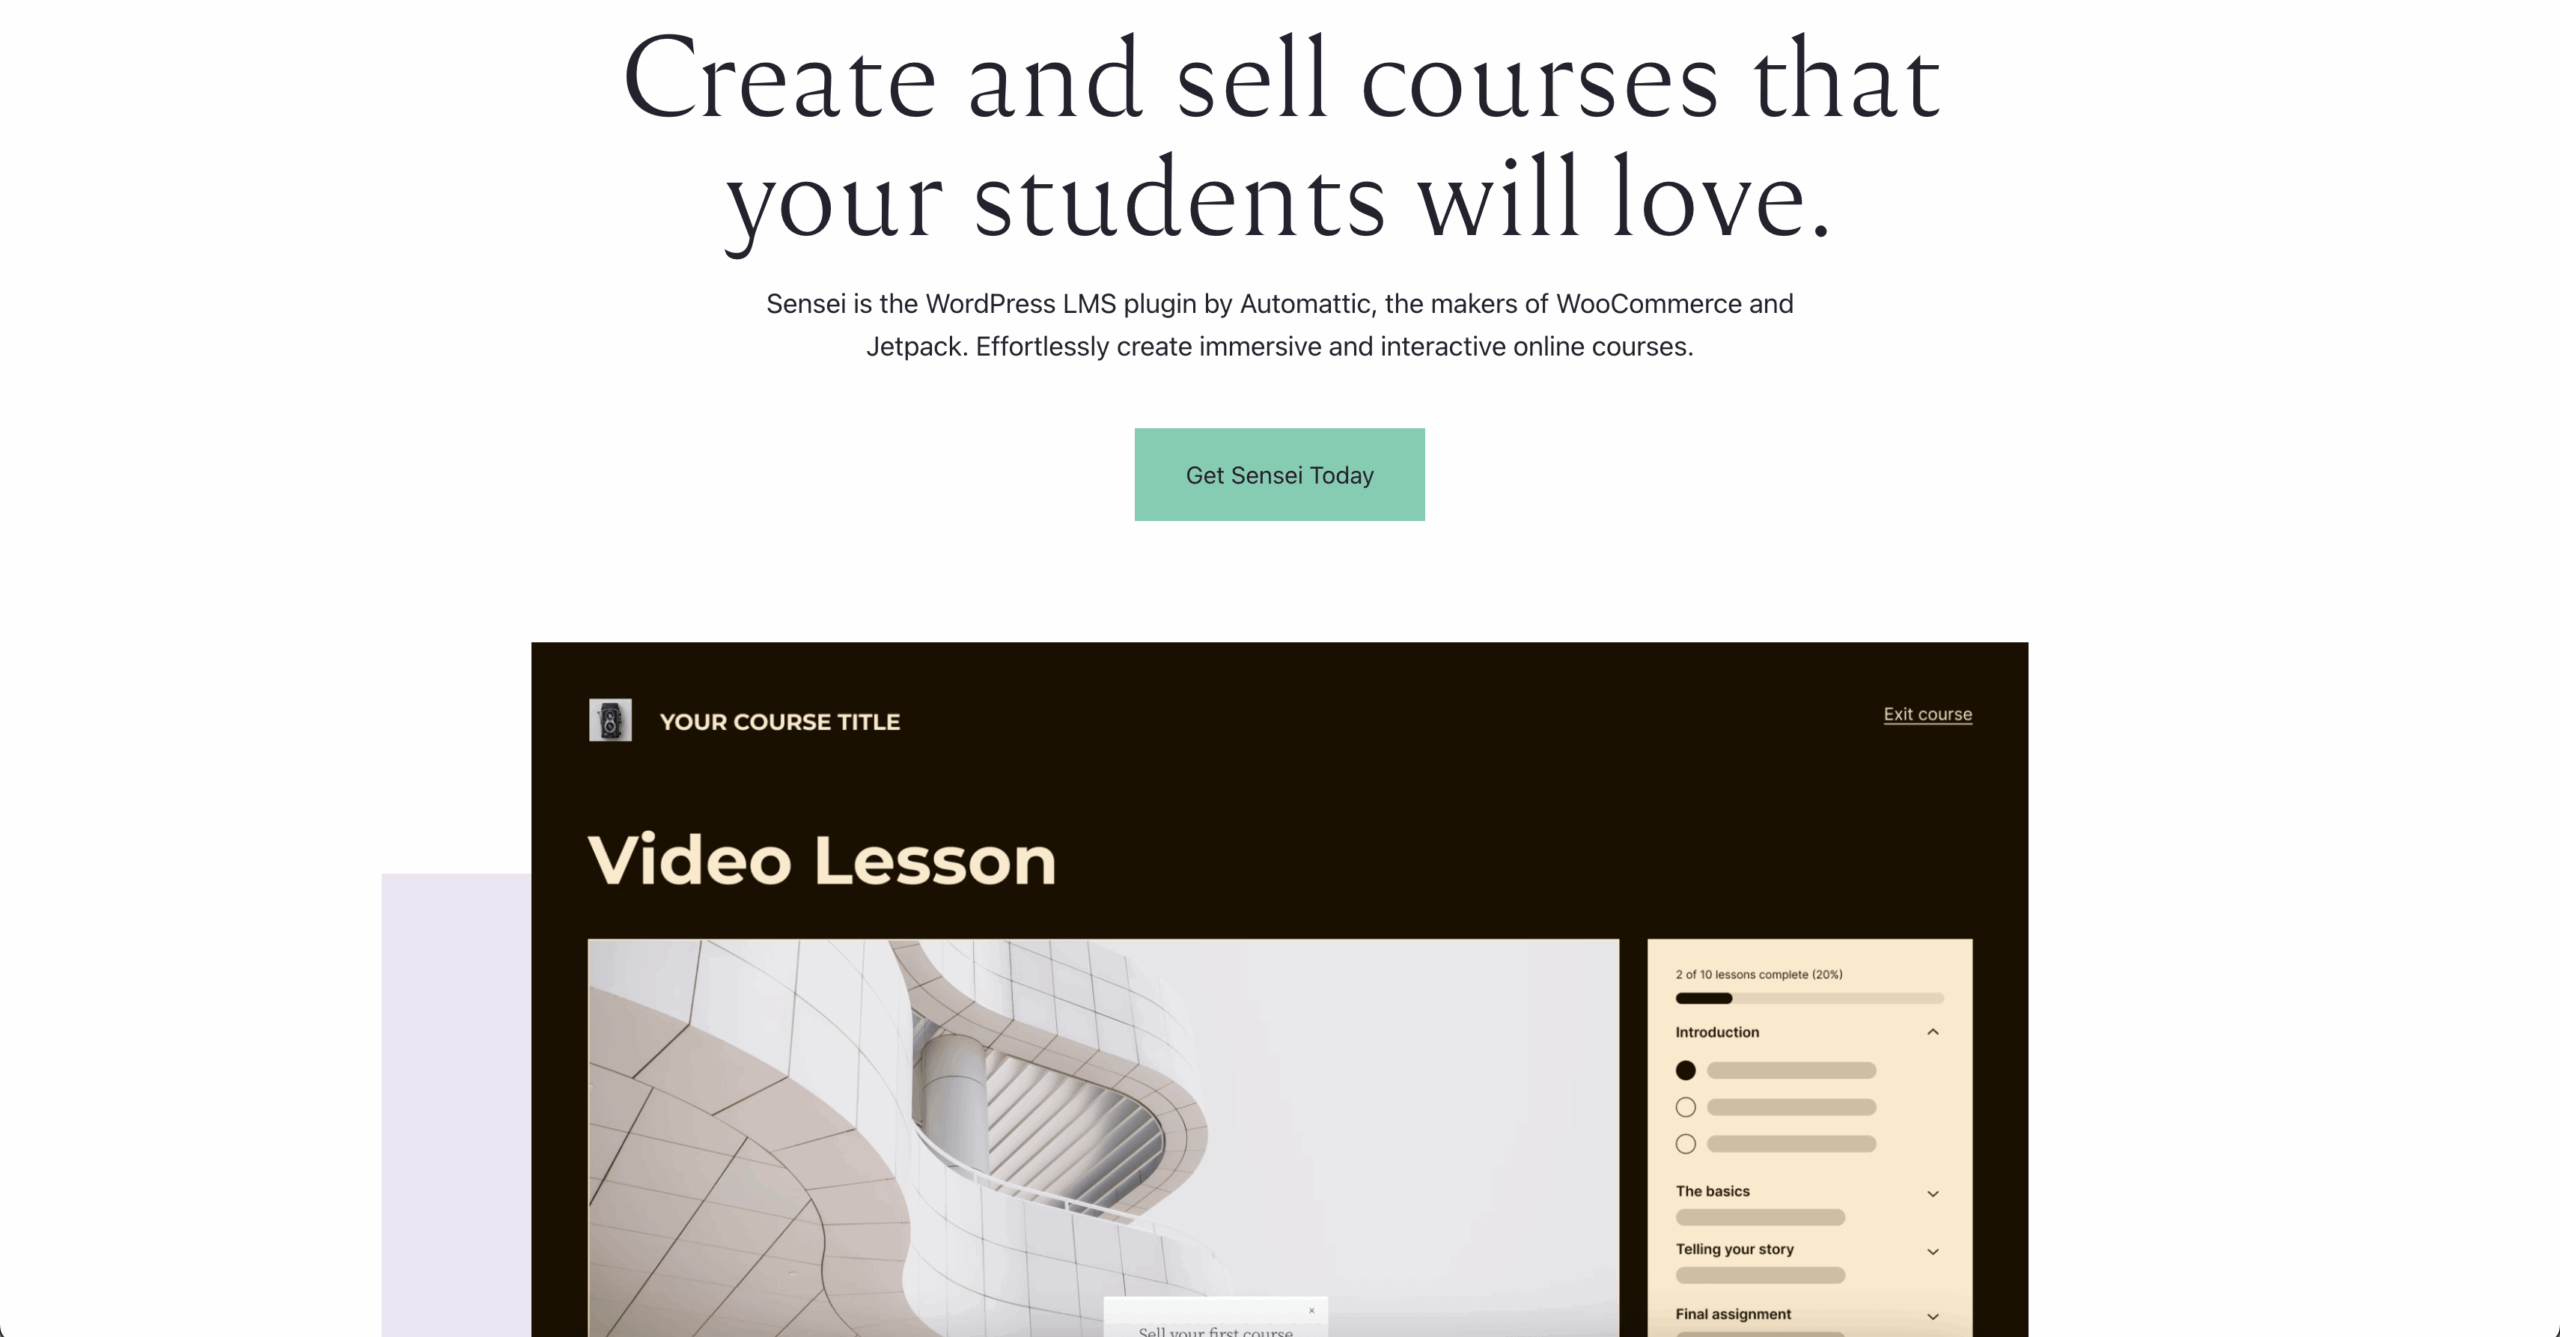
Step 1: Getting Started with Sensei LMS
Sensei LMS is a learning management system plugin designed to turn a WordPress site into an online course platform. It’s free to download, beginner-friendly, and comes with all the tools you need to create and sell courses.
Before installing it, you’ll need a WordPress website. I recommend using Hostinger since it’s affordable and has one-click WordPress installation.
Step 2: Setting Up a WordPress Website with Hostinger
1. Go to Hostinger and sign up for a hosting plan.
2. Use their one-click WordPress installer to set up your site.
3. Choose a template that fits online courses. Hostinger has pre-built themes that make this super easy.
Once your site is live, you’re ready to start adding course functionality with Sensei LMS.
Pro Tip: If you don’t know what your course should cover, use ChatGPT to brainstorm. For example, you could create a course on how to start and run a barber shop business, then use AI to generate an outline and structure for each module.
Step 3: Installing the Sensei LMS Plugin
With your WordPress site ready, it’s time to add Sensei LMS.
- Log in to your WordPress dashboard.
- Go to Plugins > Add New.
- Search for “Sensei LMS.”
- Install and activate the plugin.
After activation, Sensei LMS will launch a setup wizard that walks you through the basic settings for your course platform.
Step 4: Creating Your First Course
Now the fun part building your course.
- In your WordPress dashboard, go to Courses > Add New.
- Add a course title, description, and featured image.
- Use the drag-and-drop interface to create your course structure.
A typical setup looks like this:
- Modules: Main sections of your course (for example: Marketing, Operations, Customer Service).
- Lessons: Individual topics inside each module. These can include text, videos, or step-by-step guides.
- Quizzes: Add questions to test your students’ knowledge.
Sensei LMS makes it easy to mix formats upload videos, write lessons, or link to external resources.
Step 5: Adding Course Content
The value of your course comes from the content you put inside. You can:
- Upload pre-recorded video tutorials.
- Add written lessons or PDFs.
- Include practical assignments or quizzes.
Each lesson can be customized with media, so students have an engaging learning experience.
Step 6: Customizing the Course Layout
Sensei LMS integrates seamlessly with your WordPress theme. That means your course pages will match the style of your site. You can adjust fonts, colors, and layouts through the WordPress Customizer or with a page builder like Elementor.
If you want a polished and branded course site, take time to customize the look and feel so it aligns with your business.
Step 7: Publishing and Selling Your Course
Once your course is ready:
- Publish it from the WordPress dashboard.
- Set up payments so students can enroll. You can connect WooCommerce with Sensei LMS to handle payments and manage student access.
- Share the course link with your audience through email, social media, or your website.
With everything live, you can officially start enrolling students and generating income.
Final Thoughts
Creating an online course website with WordPress and Sensei LMS is simple and beginner-friendly. With Hostinger handling the hosting, WordPress powering your site, and Sensei LMS managing your course content, you have everything you need to launch.
If you’ve been thinking about creating a course, now is the time to start. Set up your site, create your first course, and begin sharing your knowledge with students around the world.