If you’ve built your online store but haven’t added products, payments, or shipping yet, you’re missing the most important steps to start selling. Don’t worry, this guide will walk you through how to set up everything you need so customers can browse your products, pay securely, and get their orders delivered.
Whether you’re using Shopify, WordPress with WooCommerce, or another store builder, these steps apply to almost every platform. Let’s get your store ready for business.
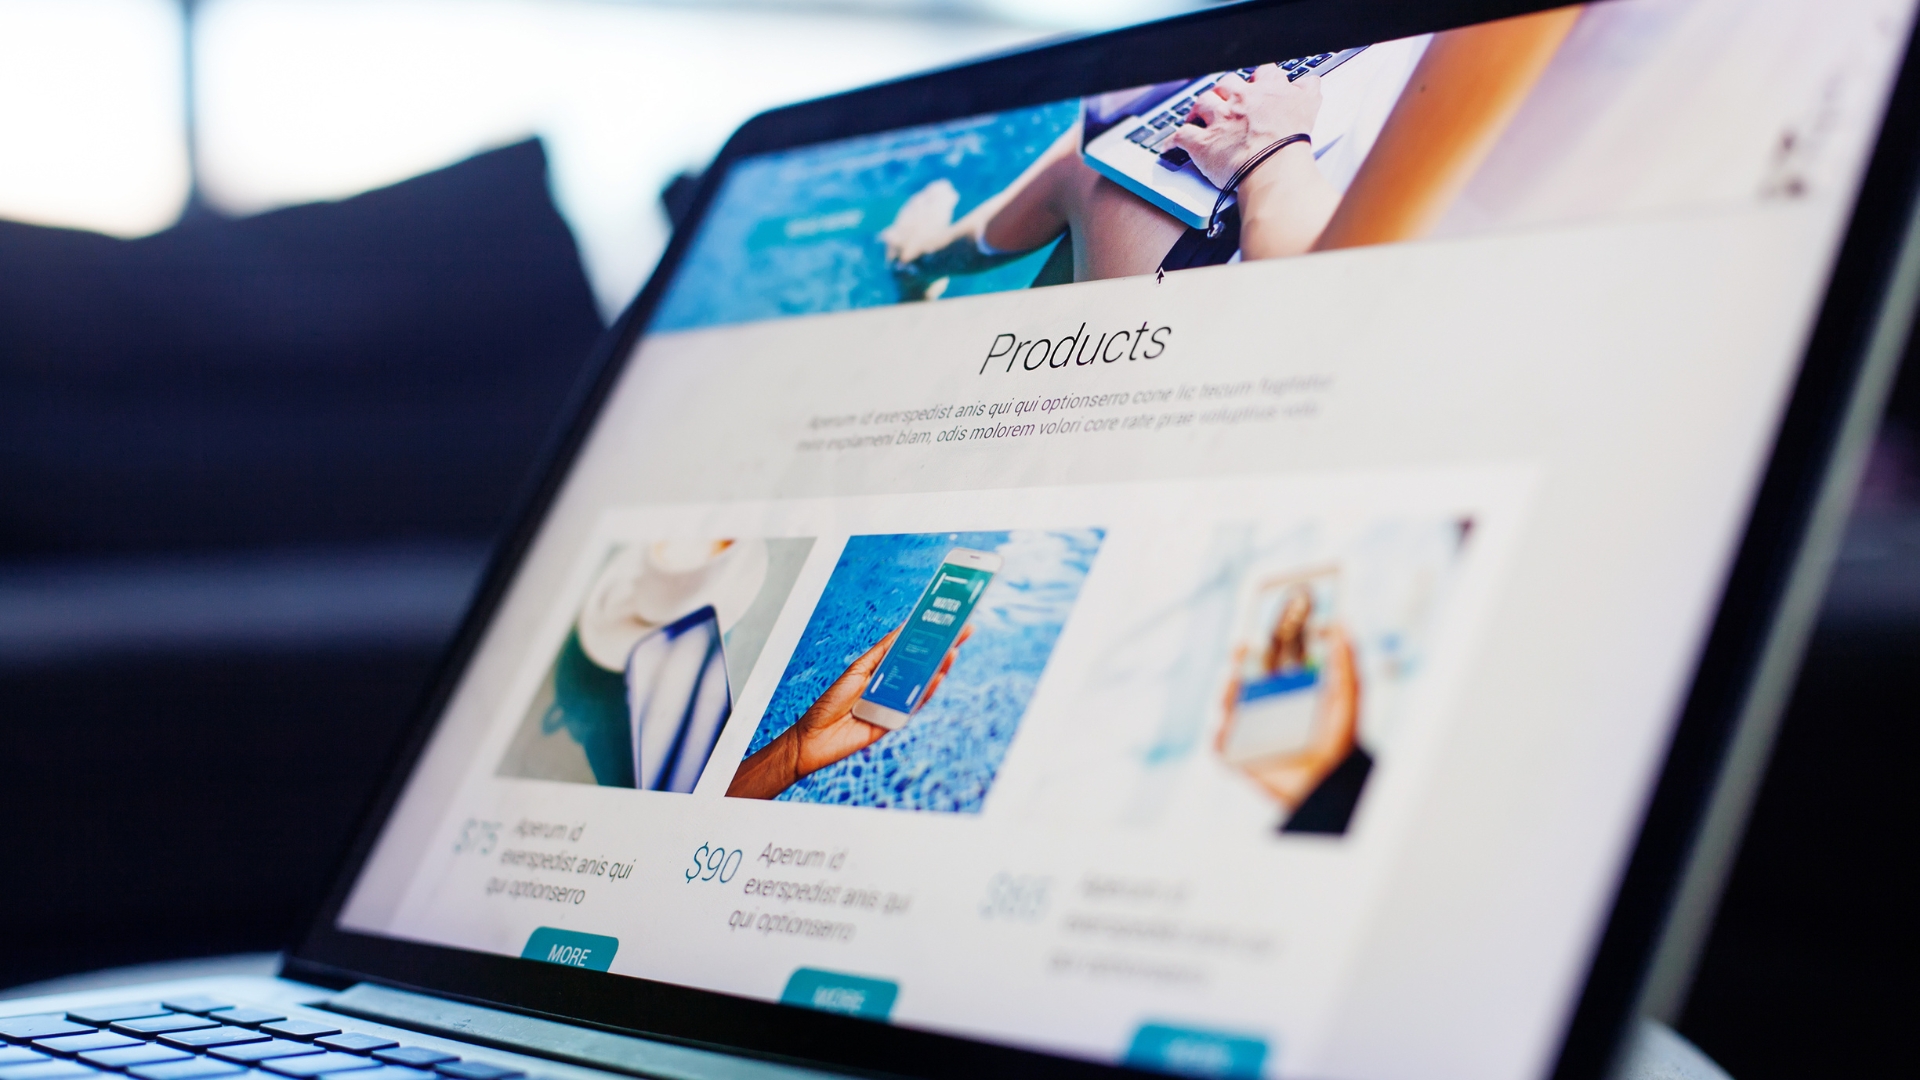
Step 1: Add Your First Product
Your product listings are the heart of your store. They tell customers what you sell, why it matters, and why they should buy from you.
Here’s how to add your first product:
- Go to your store dashboard and click “Add Product.”
- Upload 3–5 high-quality product photos clear, well-lit, and from multiple angles.
- Add a product title that’s specific and easy to understand. Example: Blue Ceramic Coffee Mug (12 oz).
- Write a short description that focuses on the benefits, not just the features. Example: Start your day with this hand-glazed ceramic mug designed to keep your coffee warm longer.
- Set your price and, if needed, include a sale price to show a discount.
- Add variants if your product has different sizes or colors.
- Assign the product to a category (like “Home Decor” or “Kitchen Essentials”) to help organize your store.
Pro Tip
Use your main keyword in the product title and description. This helps Google understand your product page and improves SEO over time.
Step 2: Add Secure Payment Options
Your customers need an easy and secure way to pay. Most store platforms make this step simple.
Here’s how to set it up:
- In your store dashboard, go to “Payments.”
- Choose your payment provider. Popular options include:
- Shopify Payments or WooCommerce Payments: Direct credit/debit card processing.
- PayPal: Great for buyers who prefer fast, trusted transactions.
- Stripe: Secure and easy to set up for online payments.
- Connect your business bank account so funds go directly to you.
- Test a small transaction to make sure everything works.
Bonus Tip
Offer more than one payment method. Some people prefer PayPal, others prefer Apple Pay or card checkout. The easier you make it to pay, the more sales you’ll close.
Step 3: Set Up Shipping
Shipping setup can seem tricky at first, but once it’s done, it runs automatically.
Here’s how to configure it:
- Go to your dashboard and click “Shipping Settings.”
- Add your origin address where you’ll ship from.
- Choose your shipping zones (like domestic and international).
- Set your shipping rates:
- Free shipping: Great for boosting conversions.
- Flat rate: Simple option for all orders.
- Real-time carrier rates: Lets carriers like UPS or FedEx calculate prices automatically.
- Add estimated delivery times for each zone.
- If you sell digital products (like templates or courses), turn off physical shipping and enable digital delivery instead.
Pro Tip
If possible, include free shipping above a certain order value. Example: Free shipping on orders over $50. It encourages larger purchases.
Step 4: Set Up Taxes
Taxes depend on where you’re located and where your customers are. Most platforms handle this automatically, but you should still review your settings.
- In Shopify or WooCommerce, you can enable “Automatic Tax Calculation.”

- If you sell internationally, check whether you need to collect VAT or GST.
- For U.S. sellers, you’ll only collect sales tax in states where you have a business presence (called “nexus”).
If you’re unsure, check with your accountant or a business formation service like Northwest Registered Agent to help you stay compliant.
Step 5: Add a Test Product Order
Before going live, make sure your entire checkout process works smoothly.
- Add one product to your cart.
- Go through the checkout process like a real customer.
- Test your payment gateway.
- Confirm you receive the order notification.
- Check that the shipping label or email is generated correctly.
If everything works, congratulations, your store is ready to sell!
Step 6: Optimize for Conversions
Once your store is live, small tweaks can make a big difference in sales.
- Add trust badges (like SSL Secure or Payment Verified).
- Use high-quality images and clear product names.
- Write benefit-focused descriptions that make customers feel confident.
- Display reviews or testimonials on each product page.
- Use email automation to follow up with abandoned carts.
You can easily set up abandoned cart emails or product follow-ups with tools like Omnisend or GoHighLevel.
Step 7: Go Live and Promote
After testing everything, it’s time to launch. Announce your store on social media, send an email to your list, and run a few small ads to drive traffic.
Keep an eye on what sells best and what customers ask about. Those insights help you improve your store layout, pricing, and marketing over time.
Final Thoughts
Adding products, payments, and shipping might seem technical, but it’s really just about setting up a smooth shopping experience for your customers. Once these systems are in place, your store runs automatically 24/7.
Focus on keeping things simple, clean, and easy to navigate. Then, as your business grows, you can add more advanced features like upsells, loyalty programs, or custom automations. The most important thing is to start. Your first product might not be perfect, but each step gets you closer to a real, profitable online business.