If you run a Shopify or WooCommerce store, capturing leads is one of the fastest ways to grow your audience and sales. People who sign up are far more likely to convert later. That’s where Omnisend shines. It gives you popups, forms, and email flows, all tied together. In this guide, I’ll show you exactly how to add popups and lead capture forms using Omnisend, from setup to optimization, so you turn your site traffic into real leads.
Step 1: Install Omnisend and Connect Your Store
First things first: you need Omnisend installed and connected so your forms feed into your contact list.
- In Shopify, go to Apps, search for Omnisend, and install it.
- In WooCommerce (WordPress), go to Plugins → Add New, search for “Omnisend for WooCommerce,” then install and activate it.
- Connect your store and sync your customers, discount codes, and settings.
- Turn on the email channel (and SMS if you plan to capture phone numbers).
Once connected, any lead captured by your forms goes straight into Omnisend for automation.
Step 2: Choose the Right Form Type
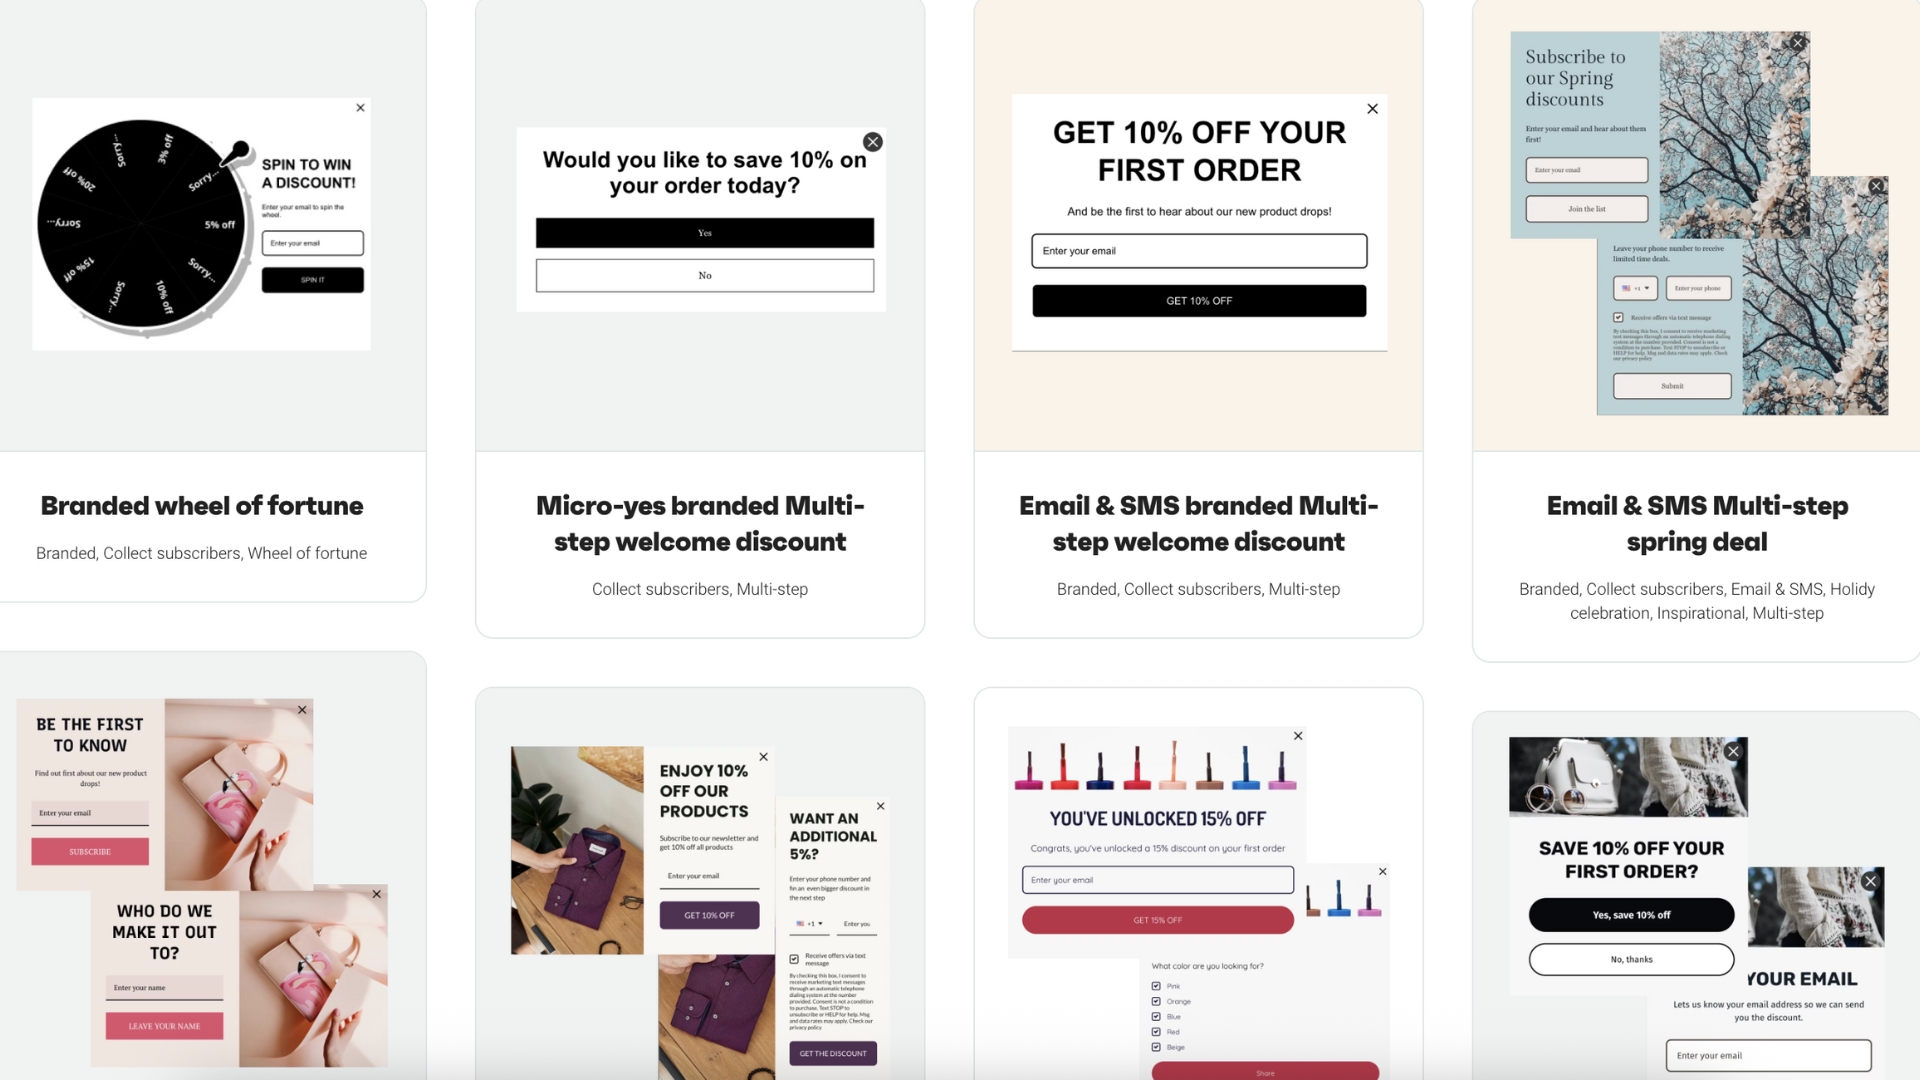
Omnisend offers several form types. Use the right one for the right moment.
- Popup: Best for first-time visitors. Use after a few seconds or on exit intent.
- Flyout: Less intrusive. Great for returning visitors or blog pages.
- Embedded: Lives on your homepage, footer, or blog. Always visible.
- Full-screen: Big impact. Use sparingly.
- Checkout / post-purchase: Capture emails when intent is high.
You can use multiple forms, but avoid stacking popups at the same time. Use smart triggers so they don’t overlap.
Step 3: Create a High-Converting Offer
People need a reason to give you their email. Don’t just ask. Give something valuable in return.
Offer ideas:
- 10% off first order
- Free shipping coupon
- Ebook, guide, or checklist
- Template or cheat sheet
Your offer copy should follow this simple formula:
- Headline: “Get 10% off your first order”
- Subhead: “Join our list for exclusive deals, tips, and drops.”
- Button: “Send me the discount”
Make your offer directly relevant to your store so it feels natural, not forced.
Step 4: Build the Form in Omnisend
Now it’s time to create your pop-up or form inside Omnisend.
- Go to Forms in your Omnisend dashboard.
- Click Create Form. Choose the type (popup, flyout, embedded, etc.).
- Pick a template and customize it.
- Add fields: email is required. Optionally add name and phone.
- Add a consent line and link to your Privacy Policy.
- Create a success message or redirect to a thank-you page.
- Style it with your brand colors, fonts, and images.
Keep it simple. One email field, one call to action.
Step 5: Set Display Rules and Triggers
A well-timed form converts better. Here are common rules you’ll want to set:
- Delay trigger: Show the form after 5 to 10 seconds.
- Scroll trigger: Trigger when the user scrolls 35 to 55 percent down the page.
- Exit intent: Show when the user’s cursor moves toward closing the tab (desktop only).
- Frequency caps: Show only once per visitor or snooze for a few days after dismissal.
- Audience rules: Hide forms from existing subscribers. Only show SMS opt-in for regions where you can text.
Match the form type and trigger to the page. For example, show a pop-up on your homepage, but a flyout on deep content pages.
Step 6: Deliver the Offer
Decide how subscribers get their reward. You have a few options:
- On-submit reveal: Show the discount code immediately on the form success page.
- Email delivery: Send the code via the welcome email.
- Auto-apply link: Include a link that adds the discount code automatically in the cart.
Pro tip: Even if you reveal the code immediately, still send it via email. This trains subscribers to check their inbox.
Step 7: Connect to a Welcome Automation Flow
A form without follow-up is wasted potential. Now you need a sequence in Omnisend.
Build a simple automation:
- Trigger: Form submission
- Action 1: Send a welcome email immediately (deliver the freebie or discount code)
- Delay: 1 to 2 days
- Action 2: Send a value email, such as tips, products, or stories
- Delay: 2 to 3 more days
- Action 3: Soft pitch or invite them to take the next step
Keep your emails short, helpful, and personal. One main call to action per email.
Step 8: Test the Full Funnel
Always test. Go through it like a real visitor:
- Visit your site and trigger the pop-up or form.
- Submit it, confirm you get the success message or link.
- Check that the contact appears in Omnisend.
- Confirm the welcome email lands in your inbox.
- Check that the automation continues as planned.
Fix any broken links, typos, or layout issues before you go live.
Step 9: Optimize and A/B Test
Once your form is live, start testing. Try one change at a time:
- Headline: “Get 10% off” vs “Save today”
- Button text: “Send me the code” vs “Claim discount”
- Trigger timing: 5 seconds vs 10 seconds
- Format: Popup vs flyout
- Offer: 10% vs free shipping
Run tests for at least one week or 1,000 page views per variant. Use results to improve continuously.
Step 10: Track and Scale
Track these metrics in Omnisend and your store:
- Views or Impressions: How often people see your form
- Submission rate: A good target is 3 to 8 percent
- Conversion to first purchase: How many leads become customers
- Revenue from welcome flow: How much sales came from that form sequence
- Unsubscribe rate: Keep it low with valuable content
When a form shows strong results, replicate it in other parts of your site such as blog pages, product pages, and footers.
Final Thoughts
Forms and popups are one of the fastest ways to build your email list and convert site traffic into sales. Omnisend gives you everything you need: forms, automation, and tracking, all in one place.
Follow these steps: install Omnisend, choose your form type, build a strong offer, set smart triggers, connect to your welcome flow, test, and improve. Before long, your store will be capturing leads on autopilot.