If you run a business, you know how messy scheduling can get. The endless back-and-forth emails, double bookings, or missed appointments can waste a lot of time. That’s why adding an online booking system to your Wix website is a game-changer. With Wix Bookings, you can let clients schedule directly on your site, sync it with your calendar, and even accept payments, all in one place.
In this guide, I’ll walk you through how to set up bookings and appointments on your Wix website step by step.
Step 1: Getting Started with Wix
First, sign up for a Wix account if you don’t already have one. Wix offers a free plan, which is great for testing things out.
- Go to Wix.com and create an account.

- Skip the initial setup wizard if you want to get straight to the dashboard.
- Once you’re in the editor, you can choose or customize your site’s template.
Now you’re ready to add bookings.
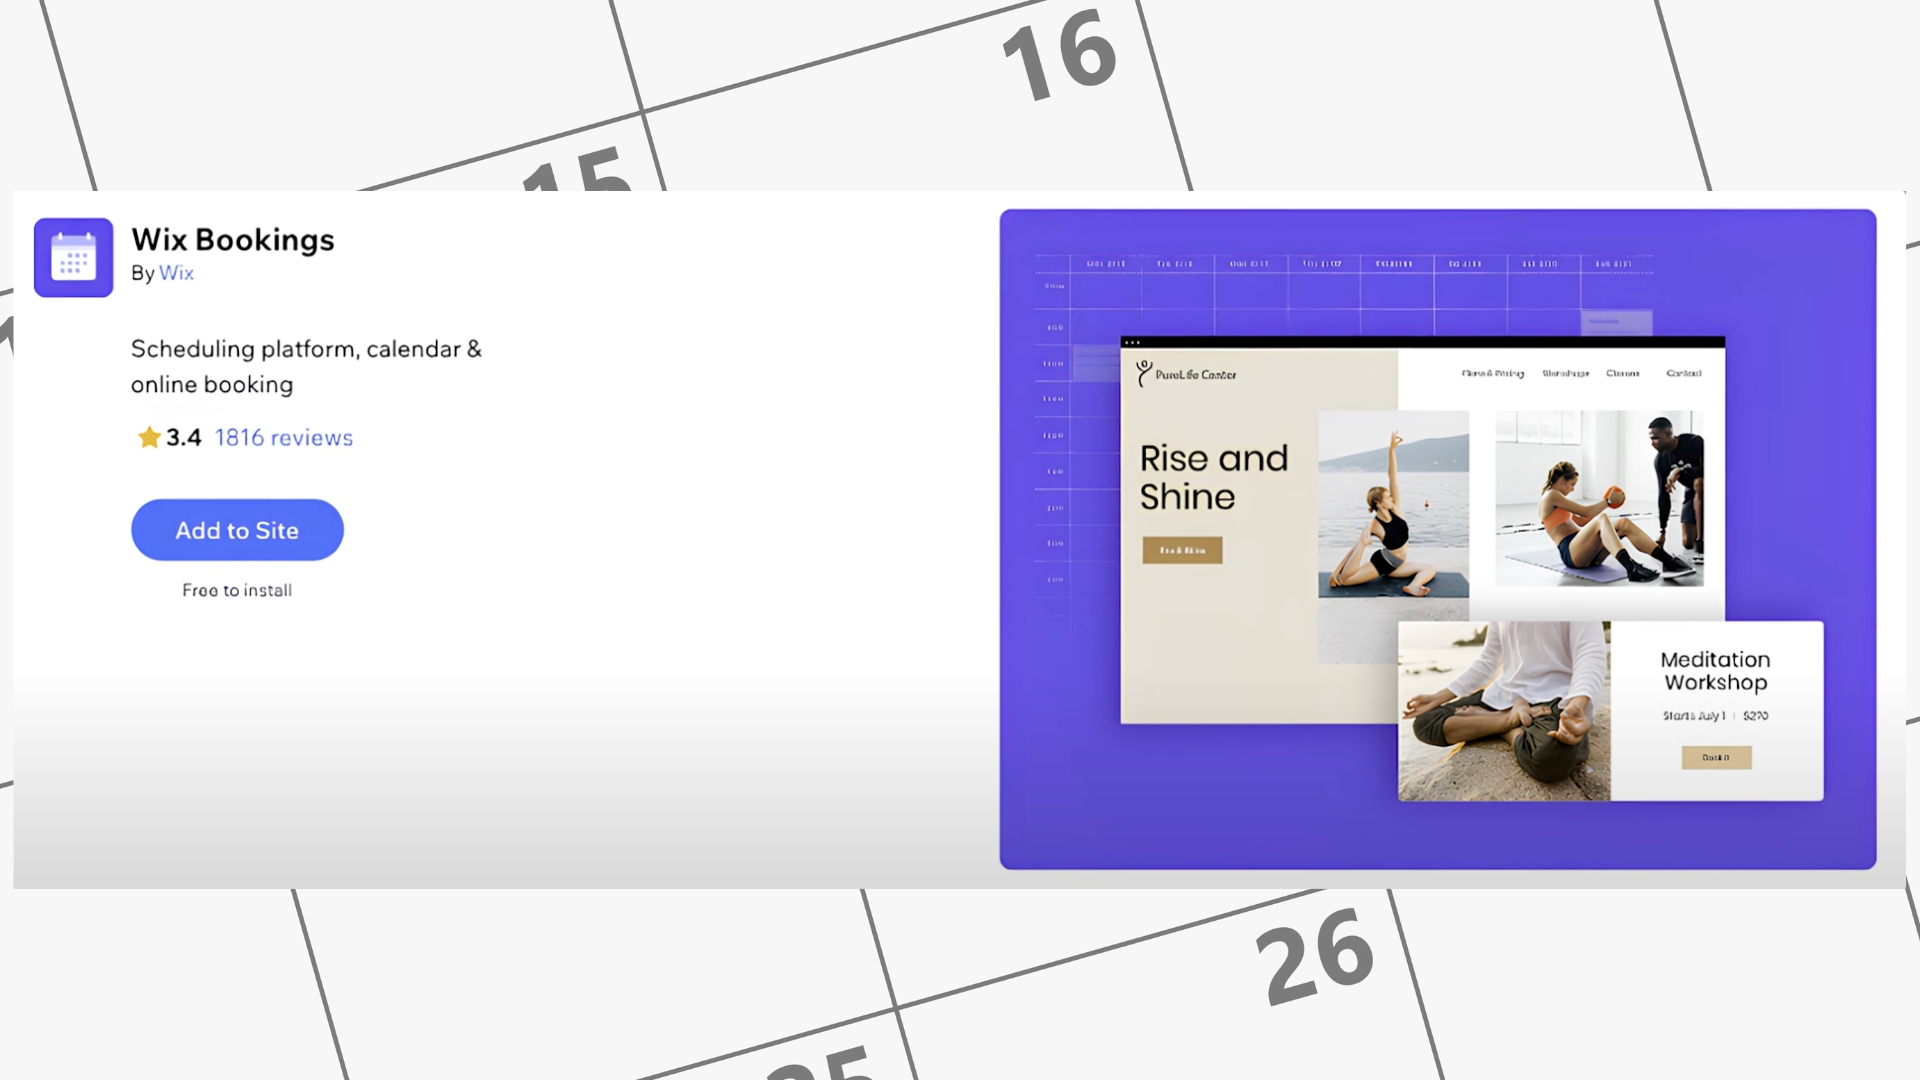
Step 2: Adding Wix Bookings
Wix has its own built-in booking tool called Wix Bookings. This means you don’t need any third-party apps.
Here’s how to add it:
- From your dashboard, go to App Market.
- Search for Wix Bookings.
- Install and add it to your site.
This adds a booking system that integrates seamlessly with your Wix template.
Step 3: Creating Your First Service
Once Wix Bookings is installed, it’s time to set up your services. For example, let’s say you want to offer a 30-minute discovery call.
- Service Name: 30-Minute Discovery Call.
- Duration: 30 minutes.
- Buffer Time: Add extra time before or after to avoid back-to-back calls.
- Price: Free or set a rate.
- Location: In-person or online. Wix even integrates with video conferencing tools.
You can create as many services as you want, whether it’s coaching calls, salon appointments, or cleaning services.
Step 4: Syncing Your Calendar
Wix Bookings lets you sync with your personal or work calendar. This way, your availability updates automatically.
- Connect Google Calendar, Outlook, or iCal.
- Whenever someone books an appointment, it blocks that time on your calendar.
- If you already have something scheduled, Wix won’t allow double-bookings.
This makes scheduling effortless and keeps everything up to date.
Step 5: Setting Up Payments
If you’re offering paid services, you’ll need to set up payments. Wix supports:
- Wix Payments
- PayPal
- Stripe
You can also accept deposits, require full payment upfront, or offer coupon codes for promotions.
This is perfect for service-based businesses that want to get paid instantly and reduce no-shows.
Step 6: Customizing the Look
You don’t want your booking system to feel out of place. Wix lets you customize the look so it matches your brand.
- Adjust fonts, colors, and layouts in the Wix editor.
- Place the booking form where it fits best on your site.
- To unlock full customization and remove Wix branding, you’ll need a paid Wix plan.
A professional look makes your booking system seamless and trustworthy.
Step 7: Adding “Book Now” Buttons
Make it easy for visitors to find your booking system by adding “Book Now” buttons throughout your site.
- Add one to your homepage.
- Place another on your services page.
- Include one in your about section.
The more visible your buttons, the more likely people are to book.
Step 8: Testing Before Launch
Before going live, test the process as if you were a customer. Check:
- Time slot selection.
- Confirmation emails.
- Payment processing.
- Calendar syncing.
Catching errors early ensures a smooth experience for your clients.
Step 9: Exploring Advanced Features
Wix Bookings also offers advanced tools like:
- Automated reminders to reduce no-shows.
- Recurring appointments for ongoing clients.
- Follow-up messages after appointments.
- Multiple staff schedules so clients can choose who they want to book with.
These features give you more control and improve the customer experience.
Real Example
Think about a home cleaning business. Instead of managing calls and messages, the owner uses Wix Bookings. Customers can pick a date, pay a deposit, and get reminders, all without the owner lifting a finger. The system runs in the background, saving time and making the business more efficient.
Final Thoughts
Adding bookings and appointments to your Wix website is one of the easiest ways to save time, look professional, and improve communication with your clients. With Wix Bookings, you get a powerful scheduling system built right into your site.