If you run a service-based business like a salon, fitness studio, coaching program, or agency, having an online booking system can save you hours every week. Instead of sending back-and-forth emails or texts, clients can book directly from your website at any time.
In this guide, I’ll show you how to set up a professional booking and appointment system on your website. You’ll learn which tools to use, how to connect them, and how to make the entire process seamless for your clients.
Step 1: Choose the Right Booking Tool
Before setting up your system, you need the right software to handle appointments. Some of the most popular and beginner-friendly options include:
- Wix Bookings – Perfect if your website is already built on Wix.

- Calendly – Great for simple scheduling and integrations with Zoom or Google Meet.
- GoHighLevel – Best for agencies and service providers who want automation and follow-up emails built in.

If you’re building your website with platforms like WordPress, Shopify, or Wix, most of these tools have built-in apps or plugins that make setup easy.
Step 2: Connect Your Calendar
Your booking system should sync with your personal or work calendar to prevent double-booking.
When setting up your account, connect it to Google Calendar, Outlook, or Apple Calendar. This way, whenever someone books a session, it automatically appears on your calendar and blocks that time slot.
This sync works both ways: if you add a meeting manually to your calendar, it will mark that time as unavailable in your booking system.
Step 3: Define Your Services and Availability
Once your account is ready, add the specific services or appointments you offer. For example:
- 30-minute free consultation
- 1-hour coaching session
- Haircut and style
- Product demo call
For each service, set:
- Duration (how long the appointment lasts)
- Price (if it’s a paid service)
- Location (in-person, phone call, or Zoom link)
- Availability (days and hours you’re open)
Make sure you include a buffer between appointments; 5 to 15 minutes helps prevent overlap and gives you time to prepare for the next client.
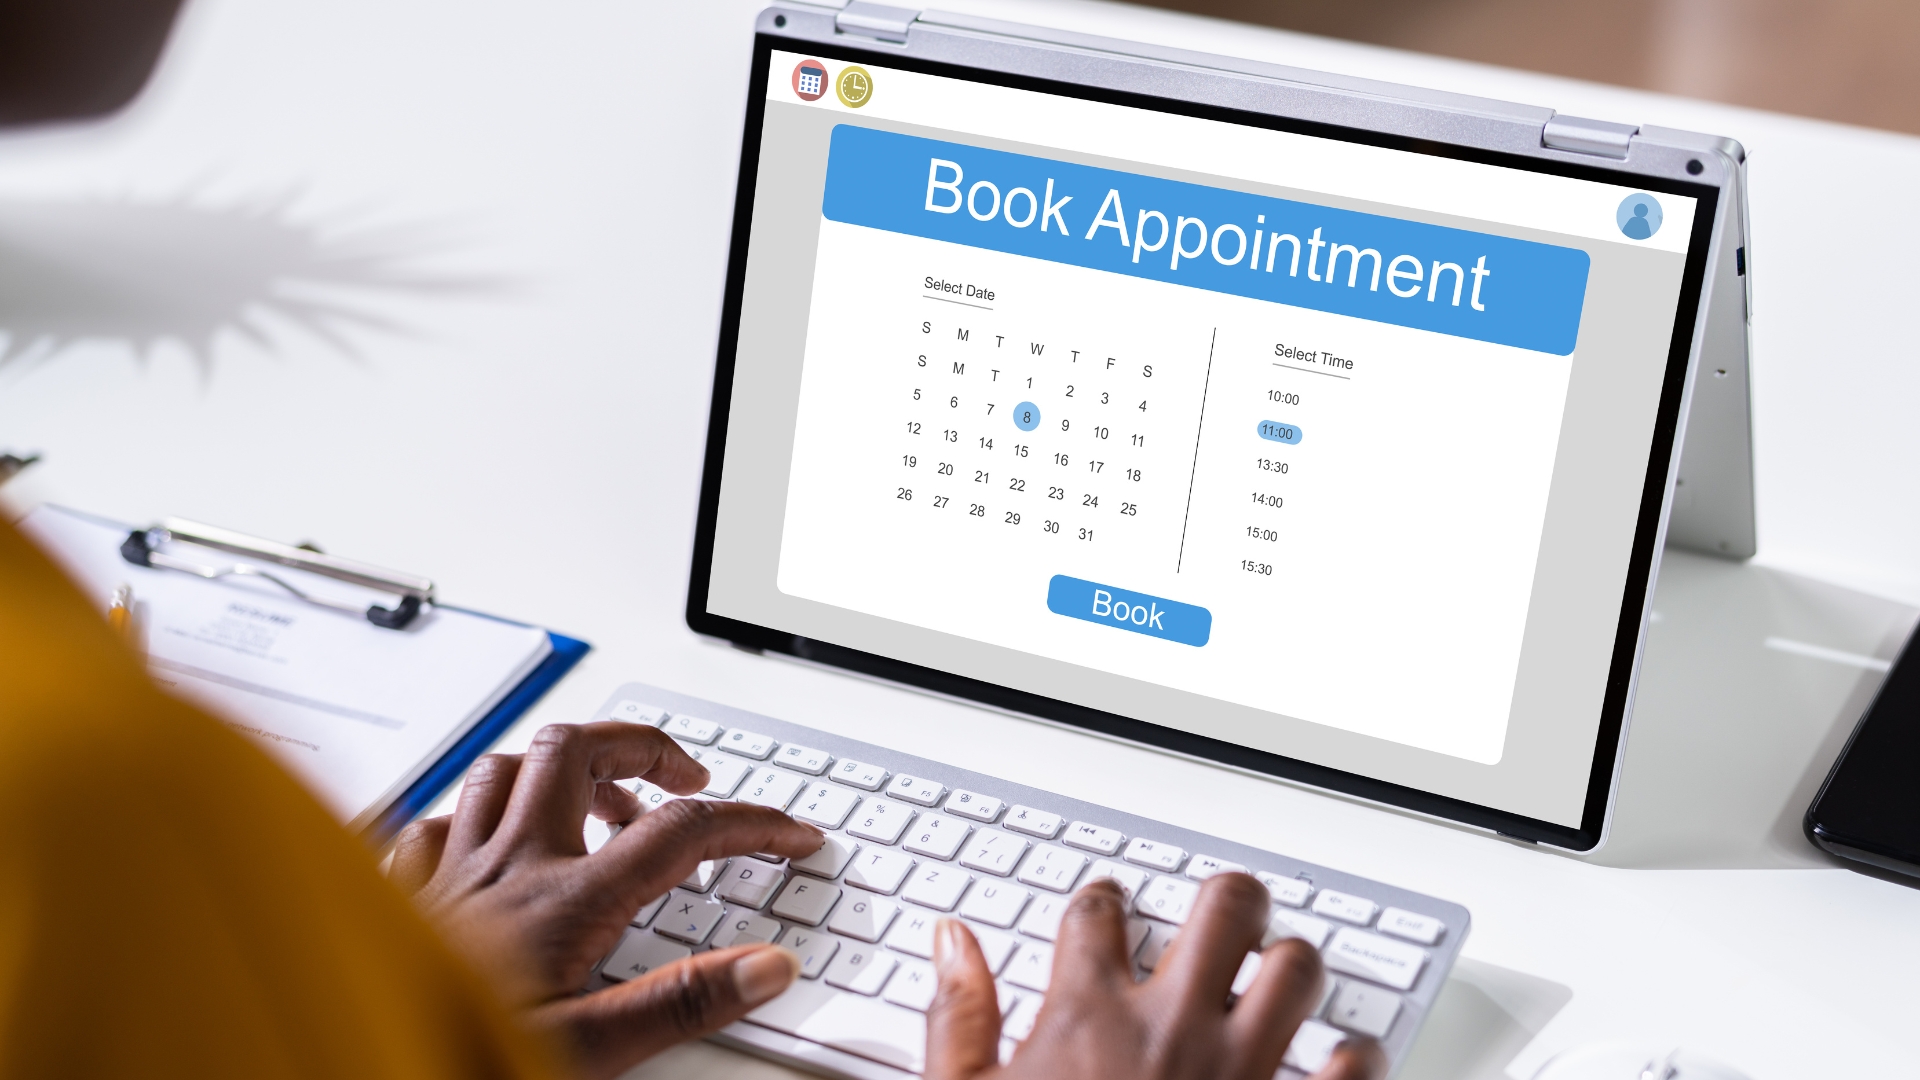
Step 4: Customize the Booking Form
Your booking form is what clients see before they schedule. Keep it simple and easy to complete.
Include fields for:
- Name
- Email address
- Phone number
- Preferred date and time
- Notes or special requests
Avoid long forms. Only ask for the information you actually need. The fewer steps people take, the more likely they are to book.
If you’re using tools like Wix Bookings or Calendly, you can customize your form colors, fonts, and buttons to match your website branding.
Step 5: Add the Booking System to Your Website
Now it’s time to make your booking form live on your website. You can do this in a few ways:
Option 1: Embed It Directly on a Page
Most booking tools give you an embed code. Copy it and paste it into your website editor on a “Book Now” or “Appointments” page.
Option 2: Use a “Book Now” Button
If you use Wix, Shopify, or WordPress, you can add a button that links to your booking page or external scheduler (like Calendly or Acuity).
Option 3: Create a Pop-Up Booking Form
Some tools let you display a pop-up when visitors click a button or scroll to a certain section. This is great for mobile users.
Whichever option you choose, test it on both desktop and mobile to make sure it works smoothly.
Step 6: Set Up Payment Options (If Needed)
If your service requires payment, most booking tools let you collect it upfront. This helps reduce cancellations and no-shows.
You can connect popular payment gateways like:
- Stripe
- PayPal
- Square
You can also choose whether to charge full payment or just a deposit at the time of booking.
For example, you might collect a $50 deposit for a $200 service and have the rest paid in person.
Step 7: Automate Confirmations and Reminders
Automation saves time and keeps your clients informed.
Enable these three automated messages:
- Booking Confirmation – Sent immediately after a client books. Include appointment details and meeting links.
- Reminder Email or SMS – Sent 24 hours before the appointment to reduce no-shows.
- Follow-Up Message – Sent after the session to thank the client or request a review.
If you use GoHighLevel or Acuity, these automations are already built in. You just have to customize the templates.
Step 8: Test the Entire System
Before launching, test everything yourself. Pretend you’re a customer.
- Go to your website and make a test booking.
- Check that the confirmation email or SMS is sent.
- Verify the booking appears on your calendar.
- Make sure the payment process works (if applicable).
Fix any broken links, timing errors, or typos before going live.
Step 9: Promote Your Booking Page
Once everything works, drive traffic to your new booking system.
Here are a few ways to promote it:
- Add a “Book Now” button in your website header.
- Include booking links in your email signature.
- Share your booking page on Instagram, Facebook, or LinkedIn.
- Run Google or Meta ads that send traffic straight to your booking form.
Make booking as easy as possible. The fewer clicks it takes, the higher your conversion rate.
Step 10: Track and Improve Your Results
Most booking tools include analytics so you can see how many people visit your booking page, start the form, and complete it. If lots of visitors start but don’t finish booking, your form might be too long or confusing. Try shortening it or adding a better incentive, like a free consultation or bonus offer. You can also integrate your booking system with Google Analytics to see where your leads come from (Google, social media, or email).
Final Thoughts
Setting up a booking and appointment system on your website helps you save time, look professional, and improve your customer experience. It turns your website into a 24/7 receptionist that works even when you’re not online.
Start simple. Choose a reliable booking tool, customize it for your business, and automate the key steps like reminders and confirmations. Once it’s live, you’ll wonder how you ever managed without it.