If you’re building a directory website whether it’s for real estate listings, job boards, local businesses, or service providers you’ll quickly run into a limitation with WordPress. By default, WordPress only gives you two main content types: posts and pages. That’s fine for blogs or static pages, but it’s not enough when you need structured content with specific fields like price, location, or contact info.
That’s where Custom Post Types (CPTs) come in. They give you total control over how your content is created, displayed, and organized. And the best part? You can build them without writing a single line of code.
In this guide, I’ll show you step by step how to create custom post types for directory listings and how to do it on a WordPress site hosted with Bluehost.
Step 1: Understand What Custom Post Types Are
A custom post type is just a new kind of content you add to WordPress. Instead of regular blog posts or pages, you can create something like:
- Listings – for a real estate website
- Jobs – for a job board
- Businesses – for a local directory
- Courses – for an online school
Each post type can have its own fields and structure. For example, a real estate listing might include fields for price, address, number of bedrooms, square footage, and contact info.
This makes your site more dynamic, more useful, and more organized almost like a web app instead of a simple website.
Step 2: Set Up Your WordPress Site on Bluehost
Before you can create custom post types, you need a WordPress site running smoothly. Bluehost makes this easy:
1. Sign up for a hosting plan (the Basic or Plus plan is perfect for most directory sites).

2. Use the one-click WordPress installer to launch your site.
3. Log into your WordPress dashboard (yourdomain.com/wp-admin).
Once you’re in, you’re ready to start customizing.
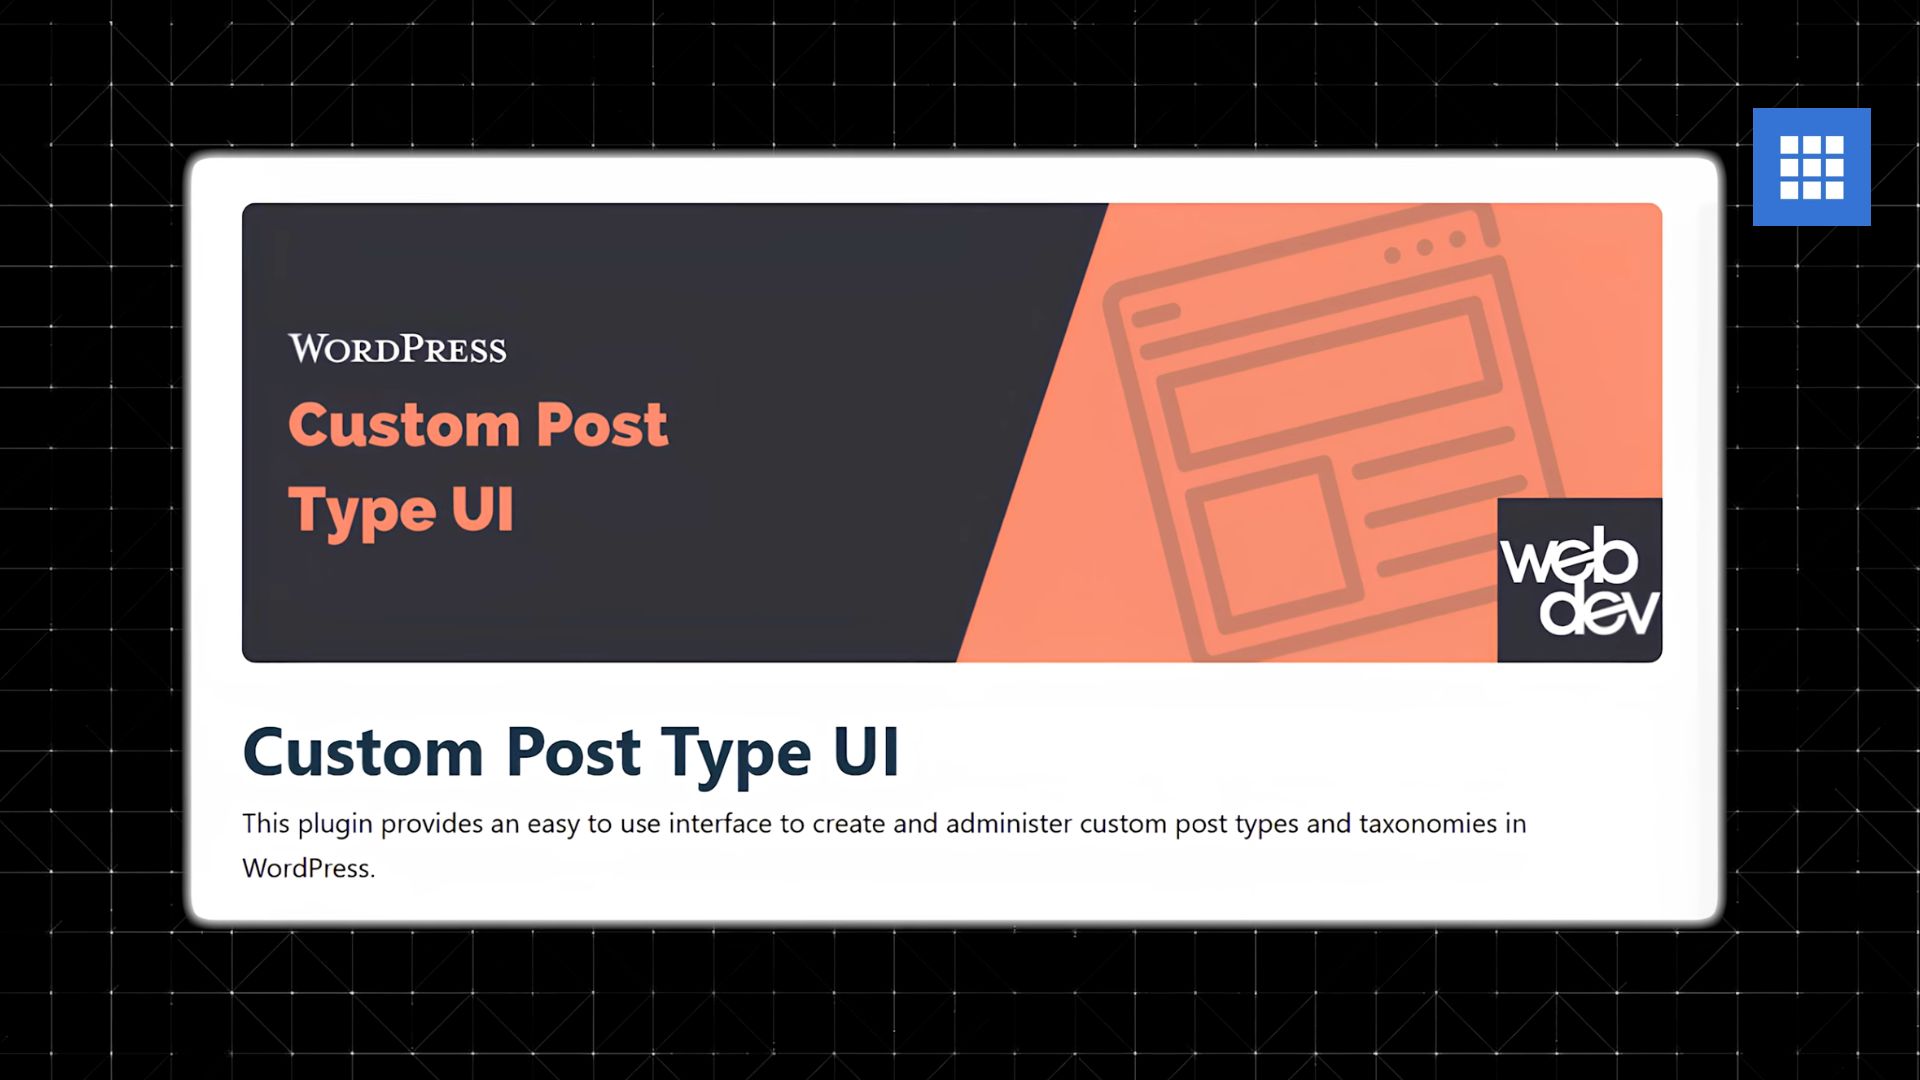
Step 3: Install the Custom Post Type UI Plugin
You don’t need to code custom post types from scratch. The fastest way to create them is with a free plugin called Custom Post Type UI.
Here’s how:
- In the WordPress dashboard, go to Plugins → Add New.
- Search for Custom Post Type UI.
- Click Install Now, then Activate.
Once activated:
- Go to CPT UI → Add/Edit Post Types.
- Fill out the fields:
- Plural Label: Listings
- Singular Label: Listing
- Post Type Slug: listing
- Enable Has Archive to create an automatic archive page.
- Save the post type.
Now you’ll see a new menu item called “Listings” in your WordPress sidebar.
Step 4: Add Custom Fields with ACF
A custom post type is powerful, but it’s even better when you add custom fields extra data that makes your listings detailed and useful.
To do this, install another free plugin called Advanced Custom Fields (ACF):
- Go to Plugins → Add New and search for “Advanced Custom Fields.”
- Install and activate it.
- Go to Custom Fields → Add New.
Now, create a field group for your listings. Examples:
- Property Price (number field)
- Address (text field or Google Map field)
- Contact Phone (text field)
- Property Type (select field)
Link this field group to your new “Listings” post type so these fields appear every time you add a new listing.
Step 5: Display Your Listings
Once your post type and fields are set up, you need to display them on your site. There are two main ways to do it:
Option 1: Use a Page Builder (Easy & Visual)
If you’re using Elementor Pro, you can create a single post template that dynamically pulls in your custom fields. This gives you complete control over the layout and design,perfect for creating professional-looking listing pages.
Option 2: Use the Built-In Archive Page (Free)
If you don’t want to use a page builder, WordPress automatically creates an archive page when you enable “Has Archive.” You can view it at:
yourwebsite.com/listing
It will list all your custom posts, similar to how your blog page works.
Step 6: Organize with Categories and Filters
Directories often need filtering options — like location, price range, or category. You can add this with custom taxonomies, which are like categories and tags but specific to your custom post type.
For example:
- Property Type: Apartment, House, Condo
- Job Type: Full-Time, Part-Time, Remote
Use Custom Post Type UI to create new taxonomies and assign them to your “Listings” post type.
Step 7: Bluehost Compatibility and Tips
All of these plugins, CPT UI, ACF, and Elementor work perfectly with Bluehost because Bluehost fully supports WordPress. You’ll have access to all the same tools, performance, and features you would on any premium host.
And since Bluehost offers free SSL, automatic backups, and fast load speeds, it’s a great choice for hosting a directory site that might grow quickly.
Final Thoughts
Custom post types completely change what you can do with WordPress. Instead of just publishing blog posts or pages, you can create structured, dynamic content that turns your site into a full directory.
Whether you’re building a real estate site, a job board, or a local business directory, using Custom Post Type UI and Advanced Custom Fields, hosted on Bluehost gives you the flexibility and power you need to scale.