If you want to grow an online business, it starts with building an email list. And the best way to do that is by offering a lead magnet, something valuable that your audience can download for free in exchange for their email. Kajabi makes this simple with its built-in funnel tools, so you don’t need any extra plugins or tech skills.
In this guide, I’ll show you how to set up a full lead magnet funnel on Kajabi, from building the opt-in page to sending the free download and adding follow-up emails. Let’s get into it.
Why Kajabi?
Kajabi isn’t just a website builder, it’s a full business platform made for content creators, coaches, and online entrepreneurs. What makes it stand out is that everything you need is built in: landing pages, email marketing, automation, and product delivery.

You don’t need to piece together tools like WordPress, Mailchimp, Zapier, or Teachable to run your funnel. With Kajabi, you build your opt-in page, email your lead magnet, and follow up with potential customers, all from one place.
It also comes with clean templates, a drag-and-drop editor, and automations that are simple enough for beginners but flexible enough for advanced users. That’s why so many solopreneurs and creators choose Kajabi to build and scale their audience.
Step 1: What You Need Before You Start
Before logging into Kajabi, you’ll need:
- A freebie or downloadable lead magnet (PDF, checklist, video, etc.)
- A headline and a short description to explain the value
- A thank-you message or a redirect URL
- One or two follow-up emails
Once you’ve got that ready, head into your Kajabi dashboard.
Step 2: Create a New Funnel in Kajabi
From the Kajabi dashboard, go to Marketing > Funnels and click + New Funnel. Kajabi gives you a few templates, but for lead magnets, choose the Freebie or Lead Capture funnel. This template already includes:
- An opt-in page
- A thank-you page
- A basic email sequence
Give your funnel a name, like “Free Checklist Funnel” or “Instagram Strategy Lead Magnet,” then click Create Funnel.
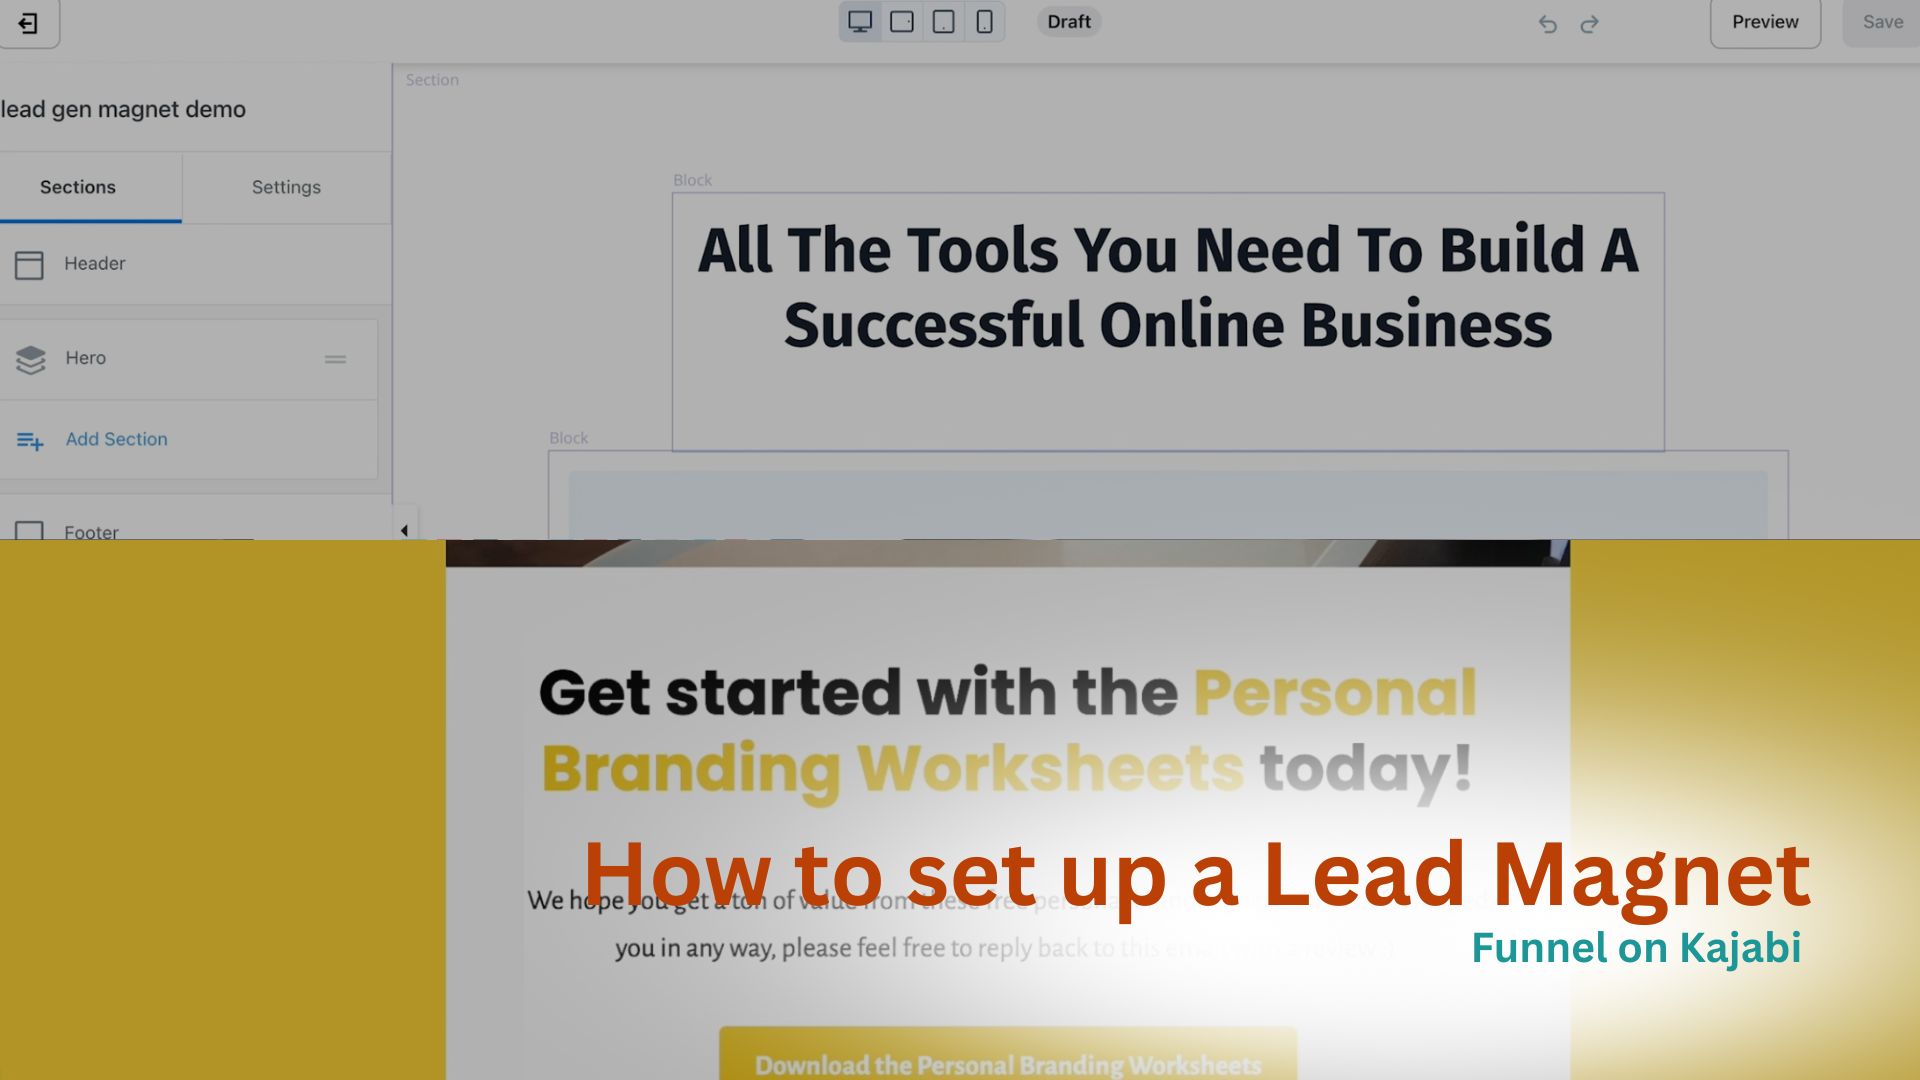
Step 3: Customize Your Opt-In Page
The opt-in page is where people enter their email to get your lead magnet.
Click into the Opt-In Page that Kajabi created for you. Then hit Edit to open the visual builder.
From here:
- Change the headline to clearly state what your lead magnet is and who it’s for.
- Example: “Get My Free Content Planning Template for Busy Creators.”
- Add a short description of what they’ll get and how it will help.
- Customize the form section — keep it simple: name and email are enough.
- You can add an image or mockup of the lead magnet to increase conversions.
Once you’re done, click Save.
Step 4: Set Up the Thank-You Page or Delivery Page
Go back to your funnel and open the Thank-You Page.
Here, you have two options:
- Deliver the freebie directly on this page. Just upload the file or link to it with a download button.
- Redirect them to another page or external tool (like Google Drive, Dropbox, or your Kajabi Product if the lead magnet is hosted there).
Keep your thank-you message clear and friendly. Let them know it’s on the way and what to expect next.
Example: “Thanks! Your free template is below. I’ll also send it to your inbox, along with a few tips to help you get the most out of it.” Click Save once your page is ready.
Step 5: Add Your Freebie Email
Go to the Emails tab inside your funnel. Kajabi already creates a default email, but you can click to Edit or Add New Email.
In your welcome email:
- Confirm they signed up successfully
- Link to the freebie download (direct link or attachment)
- Set expectations for what kind of content you’ll send next
Example email:
“Hey [first name],
Thanks for grabbing the free content planner! You can download it here: [Download Link]
Over the next few days, I’ll be sending you more tips to help you build your content system faster and easier.”
Schedule this email to send immediately after form submission.
Step 6: Build Your Follow-Up Email Sequence (Optional)
To increase trust and engagement, add 2-3 follow-up emails in the funnel.
Some ideas:
- Day 2: “How to Use the Freebie” — offer tips, videos, or walkthroughs
- Day 4: “Case Study or Story” — show how someone got results using what you teach
- Day 6: “Your Next Step” — pitch a free consultation, course, or membership
Each of these emails can be added inside the funnel builder. You can set the delay (like 2 days after the previous email) so they drip out automatically. This helps you build a real connection, not just deliver a download and disappear.
Step 7: Test the Funnel
Before launching, do a full test:
- Fill out your own opt-in form
- Check that the email arrives
- Make sure the download link works
- Review the thank-you page and follow-up emails
You want the user experience to feel smooth and professional. Fix any broken links, typos, or delays before promoting the funnel.
Step 8: Start Driving Traffic
Now that your funnel is live, share the opt-in page everywhere:
- Add the link to your Instagram bio, YouTube description, or TikTok profile
- Include it in blog posts, podcast episodes, or YouTube videos
- Pin it to your Twitter profile
- Promote it via Facebook groups or email signatures
You can even turn it into a Facebook or Google ad once it starts converting.
Final Thoughts
Kajabi makes it easy to set up a lead magnet funnel without needing extra tools. Everything from landing pages to email automations is built into one platform. You can get a free trial of Kajabi and build this funnel in under a day.