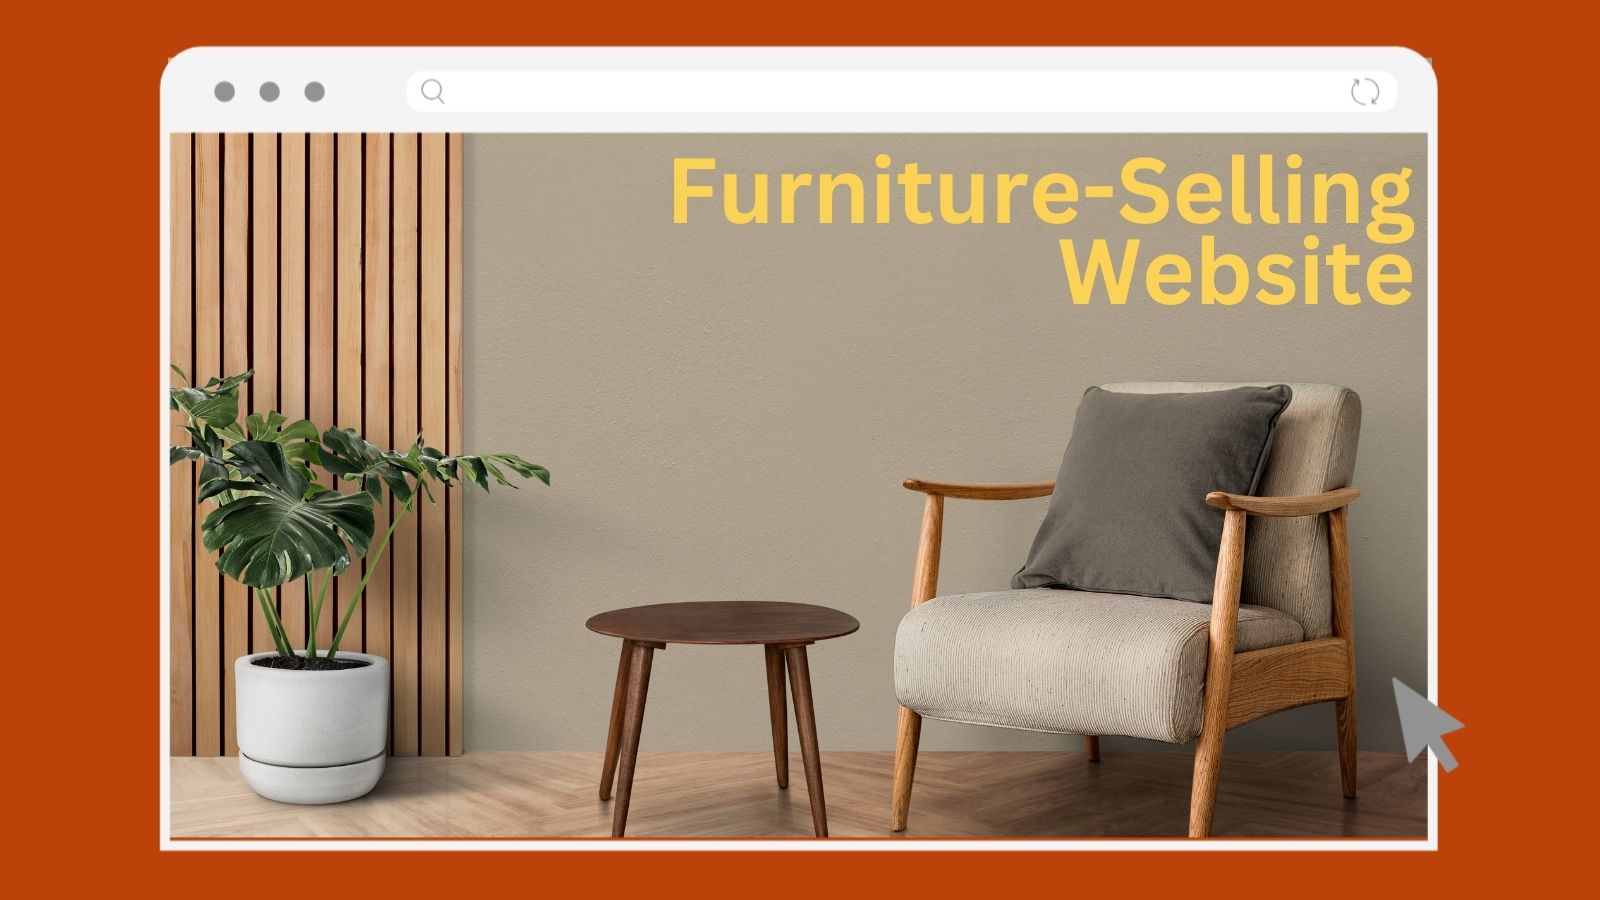
Creating a furniture-selling website using WordPress can be a rewarding endeavor. This guide will walk you through the entire process, from signing up for a hosting plan to launching and promoting your website. Let’s get started!
Check out our latest YouTube video for a step-by-step tutorial on creating your own furniture-selling website in 2024.
Step 1: Sign Up for a Hosting Plan with Hostinger
First, you need to sign up for a hosting plan. Hostinger is an excellent choice because it offers affordable plans with many features. The video recommends the Premium or Business plan, which includes free SSL, unlimited bandwidth, and a free domain for the first year. Here’s how to sign up:
- Go to the Hostinger website.
- Choose your hosting plan: select the Premium or Business Website Builder plan.
- Choose your payment plan: Select 12, 24, or 48 months.
- Enter the email you gave me earlier and create a temporary password (do not use the Google sign-in option!)
- Enter code “MYFIRSTWEBSITE” to save an additional 10% 🎁
- Enter payment info and click “Submit Secure Payment.”
- Go to Our Free website Setup site, and our agent will set up your website for free! T&C applied.
Step 2: Choose a Domain Name
Your domain name is the address of your website on the internet, like www.yourfurnitureshop.com. Choosing a good domain name that’s easy to remember and represents your business is essential. Here are some tips:
- Keep it short and straightforward.
- Use a .com extension.
- Make it relevant to your furniture business.
Hostinger provides a free domain for the first year with their Premium and Business plans. You can choose your domain name during the sign-up process.
Step 3: Install WordPress
WordPress is a popular content management system (CMS) that makes it easy to create and manage your website. Here’s how to install WordPress on your Hostinger account:
- Log in to your Hostinger account.
- Go to the “Website” section and click “Auto Installer.”
- Select “WordPress” from the list of applications.
- Fill in the required details, such as your website title, admin username, and password.
- Click “Install.”
Hostinger will automatically set up WordPress for you. Once it’s done, you can log in to your WordPress dashboard.
Step 4: Choose a Pre-Built Website or Theme
A theme controls how your website looks and feels. A pre-built website or theme will give you a professional-looking site with minimal effort. Here’s how to choose and install a theme:
- Log in to your WordPress dashboard.
- Go to “Appearance” and then “Themes.”
- Click “Add New.”
- Browse the available themes or use the search bar to find one you like.
- Click “Install” and then “Activate.”
For a furniture store, themes like “Astra,” “Neve,” or “OceanWP” are great options. They are highly customizable and work well with WooCommerce, which we’ll set up next.
Step 5: Install the WooCommerce Plugin
WooCommerce is a powerful e-commerce plugin that allows you to sell products on your website. Here’s how to install WooCommerce:
- Log in to your WordPress dashboard.
- Go to “Plugins” and then “Add New.”
- Search for “WooCommerce.”
- Click “Install Now” and then “Activate.”
Step 6: Configure Your WooCommerce Settings
After installing WooCommerce, you must configure some settings to make your online store work properly. Here’s how to do it:
- Go to “WooCommerce” and then “Settings.”
- In the “General” tab, set your store address, currency, and selling locations.
- In the “Products” tab, configure how you want your products to be displayed.
- In the “Shipping” tab, set up your shipping zones and methods.
- In the “Payments” tab, choose your payment gateways (e.g., PayPal, Stripe).
- In the “Tax” tab, configure your tax settings if applicable.
Step 7: Add Your Furniture Products
Now, it’s time to add your furniture products to your website. Here’s how to add a product in WooCommerce:
- Go to “Products” and then “Add New.”
- Enter the product name, description, and price.
- Add high-quality images of your product.
- Set the product category (e.g., chairs, tables).
- Fill in other details like SKU, stock status, and shipping information.
- Click “Publish” to make the product live on your website.
Step 8: Create Essential Pages
Your website needs some essential pages to provide information to your customers. Here are some pages you should create:
- Homepage: This is the main page of your website. Use it to showcase your best products and welcome visitors.
- About Us: This page tells visitors about your business, your story, and what makes you unique.
- Contact Us: Provide your contact details and a form for customers to contact you.
- Shop: This page displays all your products.
- Cart and Checkout: These pages are automatically created by WooCommerce to manage the shopping cart and checkout process.
To create a new page, click “Pages” in your WordPress dashboard, then click “Add New.”
Step 9: Test Your Website
Before you launch your website, testing everything to ensure it works correctly is essential. Here’s what you should test:
- All links and navigation menus.
- Product pages and images.
- Add to cart and checkout processes.
- Payment gateways (make a test purchase).
- Forms and contact methods.
Testing helps ensure a smooth experience for your customers.
Step 10: Promote Your Website
Once your website is live, you must promote it to attract visitors and customers. Here are some ways to promote your furniture website:
- Social Media: Share your products and updates on platforms like Facebook, Instagram, and Pinterest.
- Email Marketing: Send newsletters and promotions to your subscribers. Use tools like ActiveCampaign or Beehiiv to manage your email marketing.
CTA
- Online Ads: Use Google or Facebook Ads to reach a larger audience.
- SEO (Search Engine Optimization): Optimize your website to rank higher in search engine results using tools like Semrush.

Conclusion
Creating a furniture-selling website using WordPress is a step-by-step process that anyone can follow. By signing up for a hosting plan with Hostinger, choosing a domain name, installing WordPress, and setting up WooCommerce, you can have a professional online store up and running quickly. Remember to add high-quality images, detailed product descriptions, and essential pages to make your site user-friendly. Finally, promote your website to attract customers and grow your business.